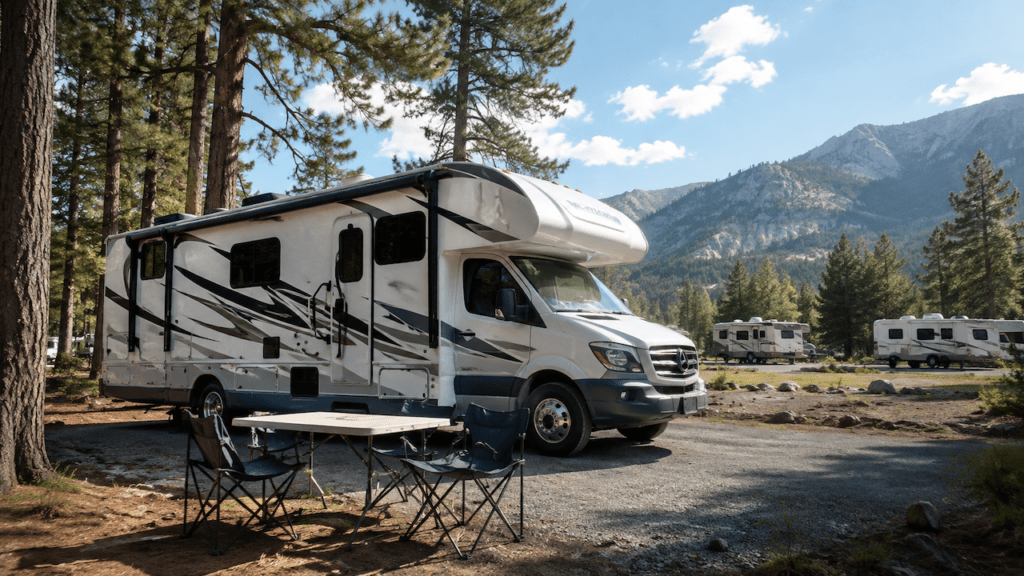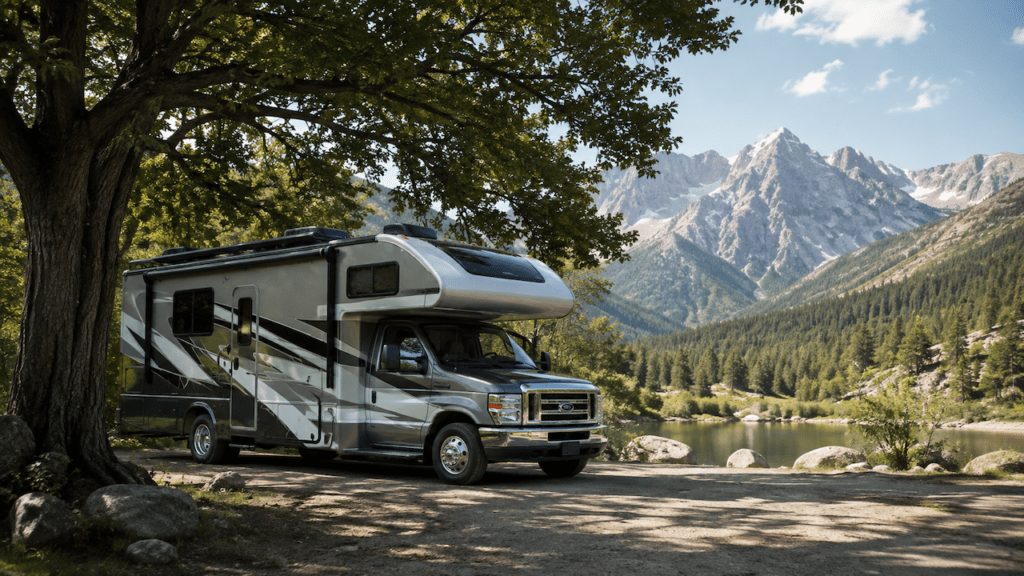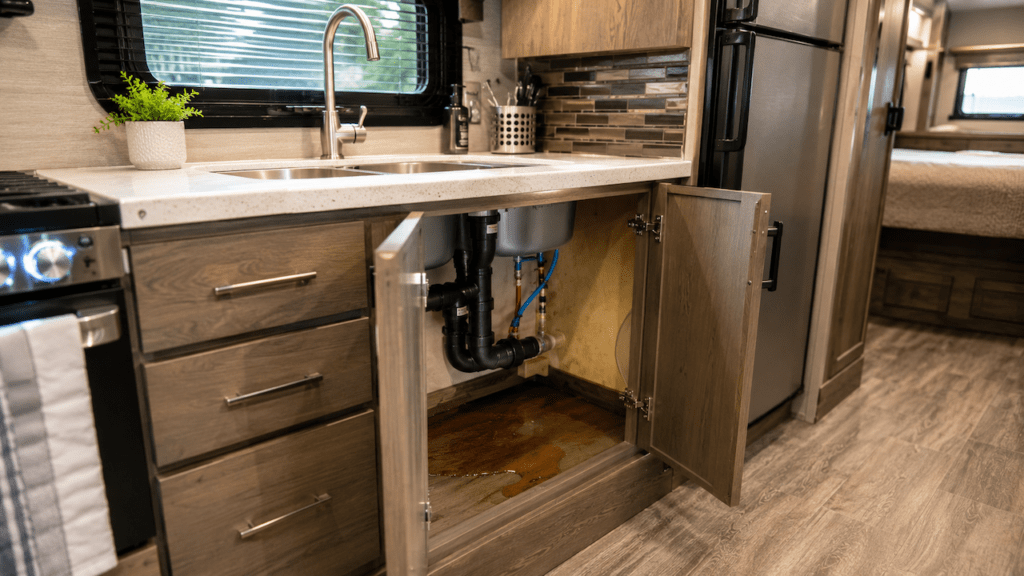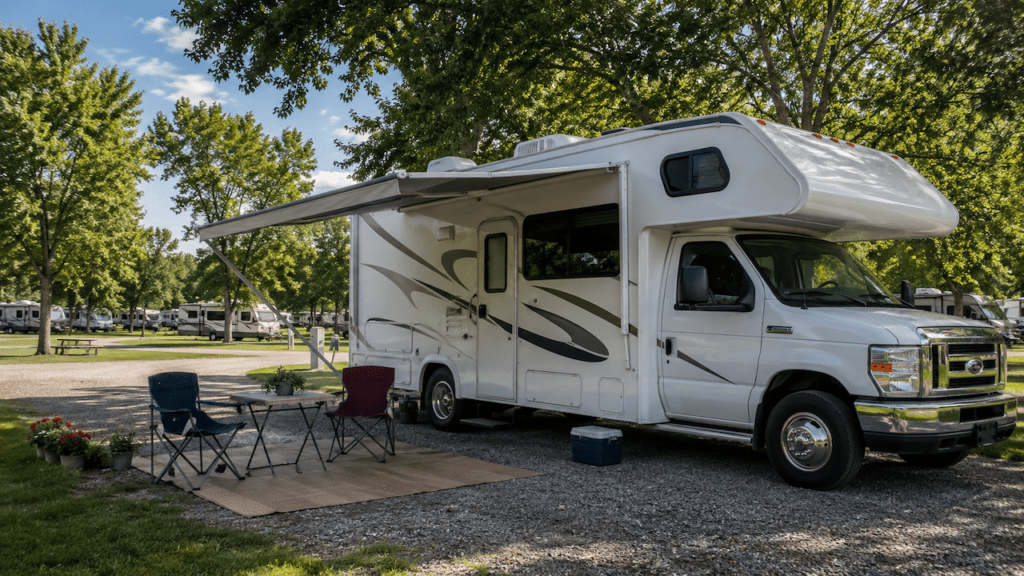
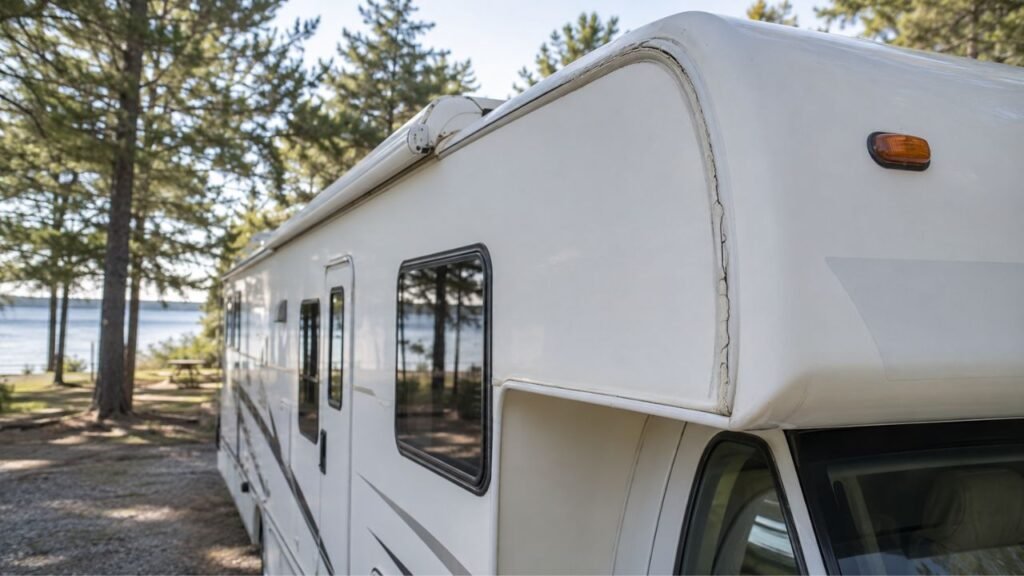
RV exterior sealant cracks quickly because your RV constantly flexes, vibrates, heats up, cools down, and sits under damaging UV rays. Premature cracking can also happen when the wrong sealant is used, the surface was not prepared correctly, or the seam underneath keeps moving.
If your sealant seems to fail much sooner than expected, I’ll help you narrow down the cause. We’ll look at crack patterns, problem areas, repair methods, and ways to prevent the same crack from returning.
Key Takeaways
- RV bodies flex and twist slightly while traveling.
- UV exposure gradually dries and weakens exterior sealants.
- Temperature swings repeatedly expand and contract exterior seams.
- New sealant may fail quickly on dirty or incompatible surfaces.
- Thin or poorly applied beads cannot handle much joint movement.
- Repeated cracking in one spot may indicate a moving seam.
- Roof and sidewall areas often require different sealant types.
- Regular inspections help stop small cracks from becoming water leaks.
Why Does RV Exterior Sealant Crack Faster Than Expected?
RV sealant lives a much harder life than ordinary household caulk. It must remain bonded while the entire RV moves, flexes, heats, cools, and gets exposed to rain and sunlight.
Several problems can speed up that normal aging process.
Road Vibration and RV Body Flexing
An RV is not a completely rigid structure.
The chassis moves slightly when you drive over uneven pavement. The walls, roof, front cap, rear cap, and trim move with it.
You may never notice that movement while sitting inside. However, the sealant around exterior joints experiences it constantly.
Every pothole, railroad crossing, rough campground road, and steep driveway can create small amounts of twisting.
A flexible RV sealant can stretch with this movement. A hardened or unsuitable product may eventually split instead.
You may notice cracking around:
- Roof edges
- Front cap seams
- Rear cap seams
- Corner trim
- Windows
- Exterior moldings
- Roof-mounted accessories
These locations often connect two materials that move differently.
UV Rays Dry and Age the Sealant
Sunlight is another major reason RV sealant deteriorates.
Your roof receives direct UV exposure for hours every day. Sidewall seals also receive significant sunlight depending on parking direction.
Over time, weather exposure can make some sealants:
- Harder
- Less flexible
- Chalky
- Discolored
- Brittle
- Easier to crack
This explains why an RV stored outside may need closer inspection than one stored under covered parking.
Arizona and Nevada sun can be especially demanding. However, UV damage can happen almost anywhere in the United States.
Even cooler northern states still receive strong summer sunlight.
Heat and Cold Keep Expanding the Joint
Your RV exterior contains several different materials.
You might have fiberglass walls, aluminum framing, plastic trim, rubber roofing, metal fasteners, and sealant all meeting at one seam.
These materials do not always expand equally.
During a hot afternoon, exterior panels can become very warm. Later that night, they cool and contract again.
This cycle repeats throughout the year.
A Texas summer may expose the RV to intense daytime heat. A northern winter may expose the same joints to freezing temperatures.
That repeated expansion and contraction continually stretches the sealant.
If the bead has already become stiff, tiny cracks can begin forming.
The Wrong Sealant Was Used
Not every waterproof caulk belongs on an RV.
This is where many otherwise good repairs fail.
A product may work perfectly around a household bathtub but perform poorly on a moving RV seam.
Different RV locations can also require different formulas.
For example:
- Horizontal roof areas often use self-leveling sealant.
- Vertical surfaces usually require non-sag sealant.
- Exterior trim may use a flexible cap sealant.
- Windows and fixtures may rely on butyl tape underneath.
- Certain roof materials require specifically compatible products.
You also need to consider the existing material.
Two sealants may not bond properly to each other. Some roofing systems also have strict compatibility requirements.
If you are unsure, check the RV or roofing manufacturer’s recommendations first.
That small step can prevent another failed repair.
The Surface Was Dirty, Wet, Oily, or Oxidized
Sealant needs a solid surface to stick properly.
Unfortunately, RV exteriors collect plenty of contaminants.
The area may have:
- Dust
- Wax
- Grease
- Tree sap
- Roof chalk
- Soap residue
- Old adhesive
- Moisture
If fresh sealant goes over contamination, it may look fine initially.
Later, one edge can begin lifting.
That is slightly different from the sealant itself cracking.
A cracked bead has usually split through the material. Adhesion failure happens when the bead separates from the RV surface.
Both problems can allow water inside.
This is why surface preparation matters so much.
New Sealant Was Applied Over a Failing Base
Applying new sealant over old material is not automatically wrong.
The problem starts when the old layer is already loose, brittle, dirty, or separating.
Think of it like painting over peeling paint.
The new layer may bond to the old caulk perfectly. However, the old caulk is no longer bonded securely underneath.
Eventually, both layers can lift together.
If the existing sealant remains firmly attached and compatible, some products allow touch-up applications.
However, badly deteriorated material should generally be removed first.
Do not keep building thick layers over a visibly failing foundation.
The Bead Is Too Thin or Poorly Shaped
More sealant is not always better, but too little can also cause problems.
A very thin smear does not have much material available to stretch.
You may see this when someone spreads sealant almost flat across a joint.
Other application problems include:
- Missed edges
- Small pinholes
- Incomplete coverage
- Gaps around screw heads
- Extremely narrow beads
- Uneven contact with both surfaces
The sealant needs enough contact area to stay bonded.
It also needs enough thickness to tolerate normal movement.
Follow the product instructions instead of simply wiping the bead as thin as possible.
The Sealant Did Not Cure Under Suitable Conditions
Sealant needs suitable conditions while it sets and cures.
Problems can occur when you apply it:
- Before heavy rain
- On a wet surface
- In extreme cold
- On an excessively hot surface
- Outside the product’s recommended temperature range
Curing also takes time.
The surface may feel dry while deeper material continues curing underneath.
Moving the RV too soon can stress the fresh bead.
Always check the specific product instructions.
Application temperature, rain resistance, tack-free time, and full cure time can vary considerably.
The Seam or Trim Is Actually Moving
This is one of the most important causes to recognize.
Sometimes the sealant is not the real problem.
A crack may keep returning because the parts underneath are physically moving apart.
Possible causes include:
- Loose molding
- Backed-out screws
- Damaged fasteners
- Failed butyl tape
- Separated body panels
- Loose corner trim
- Excessive frame movement
You can apply excellent sealant perfectly and still get another crack.
If the gap repeatedly opens, inspect the joint itself.
Caulk should seal a sound joint. It should not hold loose body panels together.
What Does the Crack Pattern Tell You?
The appearance of damaged sealant can provide useful clues. Before scraping everything away, look carefully at how the bead actually failed.
| What You See | Likely Cause | What It May Mean | Best Next Step |
| Fine surface hairlines | Aging and weather exposure | Sealant is beginning to deteriorate | Inspect adhesion and surrounding seams |
| Deep crack through the bead | Movement or brittle sealant | The bead cannot stretch enough | Check joint movement and product type |
| Sealant pulling from one edge | Adhesion failure | Surface contamination or movement is possible | Remove loose material and prepare surface |
| Entire bead lifting | Poor bonding | Sealant may never have bonded correctly | Remove failed material and reseal |
| Same crack returning repeatedly | Moving seam or trim | Underlying joint problem is likely | Inspect screws, trim, and butyl seal |
| Small holes or voids | Application issue | Water may reach the seam underneath | Clean and reseal the affected area |
| Sealant shrinking from edges | Aging or application problem | Seam edges may become exposed | Inspect and repair before leaking starts |
| Crack beside loose molding | Mechanical movement | Sealant alone may not solve it | Secure the joint before resealing |
A crack pattern cannot diagnose every problem perfectly. However, it can tell you where to investigate first.
Is Cracked RV Sealant Always a Serious Problem?
Not every tiny surface line means water is already entering your RV.
Some older sealants develop minor surface checking before complete failure. However, you should still inspect those areas closely.
A crack becomes more concerning when it:
- Reaches completely through the bead
- Exposes the seam underneath
- Creates an open gap
- Separates from one surface
- Appears beside loose trim
- Allows water to collect underneath
Remember that interior damage can appear much later.
Water may enter a roof or wall cavity before you notice stains.
That is why catching exterior sealant problems early matters.
Where Does RV Exterior Sealant Usually Crack First?
Certain exterior locations experience more movement, heat, sunlight, or water exposure. I recommend paying extra attention to these spots during inspections.
- Front roof seam: This area can experience strong wind pressure while driving.
- Rear roof seam: Body movement can stress the roof-to-cap connection.
- Roof edges: Long seams experience temperature changes across large areas.
- Roof vents: Plastic and roofing materials may expand differently.
- Skylights: Large plastic fixtures can move with temperature changes.
- Antenna mounts: Screw holes and edges create possible leak paths.
- Solar cable entries: Small penetrations rely heavily on proper sealing.
- Ladder mounts: Vibration can stress both fasteners and surrounding sealant.
- Front cap seams: These joints often experience noticeable body flex.
- Rear cap seams: Road vibration can gradually work on the sealed joint.
- Corner moldings: Several body panels meet around these areas.
- Windows: The visible bead protects a larger sealed opening underneath.
- Baggage doors: Repeated opening and body movement can stress surrounding seals.
- Clearance lights: Small openings can leak when perimeter sealant separates.
- Utility connections: Water, power, and exterior ports create multiple penetrations.
Do not inspect only the roof.
Sidewall leaks can cause serious damage too.
Why Does New RV Sealant Crack Again After Only a Few Months?
Fresh RV sealant should not normally look badly deteriorated within a short period. When it does, I would investigate the application and the joint underneath.
Common causes include:
- Incorrect sealant for the location
- Incompatible old material underneath
- Poor cleaning before application
- Moisture trapped on the surface
- Application during unsuitable weather
- A bead that was spread too thin
- Loose trim or fasteners
- Failed butyl tape underneath
- Excessive movement in the seam
Pay particular attention when the crack returns in exactly the same place.
That pattern often points toward joint movement rather than normal sealant aging.
For example, imagine a corner molding that has one loose screw.
The molding moves slightly during every trip. Fresh caulk gets stretched each time.
Eventually, the new bead splits again.
Adding another layer will probably create the same result.
Fix the moving joint first.
Does the Sealant Location Change Which Product You Need?
Yes. The correct sealant depends heavily on where you are working. A product designed for one location may be frustrating or ineffective somewhere else.
Horizontal RV Roof Surfaces
Horizontal roof surfaces commonly use self-leveling RV sealant.
This material slowly flows after application.
That helps it cover:
- Screw heads
- Flange edges
- Small surface irregularities
- Roof penetrations
You commonly see it around vents, skylights, antennas, and similar roof fixtures.
However, roof compatibility still matters.
RV roofs can use EPDM, TPO, PVC, fiberglass, aluminum, or other materials.
Do not assume every roof sealant works on every roof.
Identify your roofing material before buying the product.
Vertical Sidewalls and Exterior Trim
Self-leveling sealant normally creates problems on vertical walls.
It can flow downward before curing.
For sidewalls, corner moldings, windows, and vertical seams, a non-sag or non-leveling product is usually more appropriate.
These products stay where you place them.
They can form a clean bead along the joint.
Again, confirm compatibility with the wall, trim, and existing sealant.
Windows, Doors, and Exterior Openings
The visible caulk around a window may not be its only seal.
Many RV windows and exterior fixtures use material underneath the flange.
That hidden seal might include:
- Butyl tape
- Putty tape
- Foam gasket
- Rubber gasket
- Factory sealing material
This matters because replacing only the visible perimeter bead may not fix a failed inner seal.
If water keeps entering after you recaulk the edge, the fixture may need removal and proper resealing.
Front Caps, Rear Caps, and Corner Moldings
These joints deserve special attention because different sections of the RV meet there.
The body can flex noticeably while traveling.
Large caps and sidewalls may also expand differently during temperature changes.
If cracks repeatedly appear along these seams, inspect the molding and fasteners closely.
A flexible sealant helps, but it cannot compensate for a loose joint forever.
Can You Put New RV Sealant Over Cracked Sealant?
Sometimes, but only when the existing material remains firmly bonded and the new product is compatible.
I would not simply cover old sealant when it is:
- Loose
- Peeling
- Brittle
- Badly cracked
- Dirty
- Lifting
- Separating from the RV
New material is only as secure as the surface underneath it.
If the old sealant pulls away later, your new layer goes with it.
You also need to avoid blindly mixing sealant types.
Some materials bond poorly to others.
Before applying a different product, confirm that both the surface and existing sealant are compatible.
How Do You Repair Cracked RV Exterior Sealant So It Lasts?
A lasting repair starts before you open the caulk tube. Take a few extra minutes to diagnose the joint first.
Inspect More Than the Visible Crack
Do not focus only on the split bead.
Check the surrounding area carefully.
Look at:
- Nearby screws
- Exterior trim
- Roof membrane
- Fixture flange
- Adjacent sealant
- Interior wall or ceiling
Press lightly around the molding if appropriate.
It should not feel obviously loose.
Also check inside the RV for staining, softness, or musty odors.
Identify the Existing Sealant and Surface
Before buying replacement sealant, identify what you are working on.
Determine:
- Roof type
- Wall material
- Fixture material
- Seam location
- Existing sealant if possible
Your RV owner’s documentation can be very helpful here.
Roofing manufacturers may also specify approved sealants and cleaners.
This reduces the chance of damaging the surface or creating compatibility problems.
Remove Loose or Failed Sealant
You do not always need to strip every trace of old material.
However, loose and badly deteriorated sections should not stay underneath.
Work slowly.
You do not want to damage:
- Roof membranes
- Fiberglass
- Painted surfaces
- Plastic trim
- Fixture flanges
Avoid aggressively digging into soft roofing material.
If removal feels risky, professional help may cost less than repairing a torn roof membrane.
Clean and Dry the Bonding Surface
Cleaning is one of the easiest steps to rush.
It is also one of the most important.
Remove dirt, dust, grease, loose residue, and other contamination.
Then allow the area to dry fully.
Use cleaners approved for the specific surface.
Do not assume strong solvents are safe everywhere.
Certain chemicals can damage:
- Rubber roofing
- Paint
- Plastic
- Adhesives
The sealant manufacturer may recommend a specific preparation method.
Follow that when available.
Repair Loose Trim or Fasteners First
This step can save you from repeating the job.
If a screw is loose, fix it.
If molding moves, investigate why.
If a fixture flange is separating, correct the mechanical problem first.
Otherwise, you are asking fresh caulk to act like an adhesive and fastener.
That is not its job.
Once the joint is secure, sealant can perform its actual job properly.
Apply the Correct RV-Compatible Sealant
Apply the sealant according to its intended location.
Use a product appropriate for:
- Horizontal or vertical application
- The RV surface
- Existing compatible material
- Expected weather exposure
Make sure the bead contacts both sides of the joint.
Cover screw heads or flange edges when the application requires it.
Do not spread the material extremely thin just to make it look neat.
Function matters more than appearance.
Give the Sealant Enough Cure Time
Do not immediately hitch up and start driving.
Fresh sealant needs time to stabilize.
Check the label for:
- Application temperature
- Skin-over time
- Rain-ready time
- Cure time
- Temperature restrictions
Some products remain soft underneath long after the surface feels dry.
If possible, plan the repair around suitable weather.
This gives the sealant its best chance to bond properly.
How Can You Keep RV Exterior Sealant From Cracking Prematurely?
You cannot stop sealant from aging forever. However, you can greatly reduce premature failure with simple maintenance habits.
- Inspect exterior seams several times throughout the year.
- Check again after especially rough travel.
- Look over the roof before and after long storage.
- Remove dirt and tree sap before buildup becomes severe.
- Use sealant approved for the specific RV surface.
- Avoid layering fresh material over loose old caulk.
- Fix loose moldings before resealing around them.
- Follow the recommended application temperature.
- Apply sealant only to clean and dry surfaces.
- Give repairs enough time to cure.
- Check high-movement front and rear cap seams closely.
- Inspect after periods of extreme heat or freezing weather.
- Use covered storage when practical to reduce sun exposure.
A cover or shelter can help reduce UV exposure.
However, it does not eliminate vibration, aging, or temperature changes entirely.
You still need routine inspections.
How Often Should You Inspect RV Exterior Sealant?
There is no single replacement schedule that works for every RV. Inspection frequency is more useful because climate, storage, travel, and sealant type can vary widely.
A practical routine is to check major seams regularly throughout the year.
Pay particular attention:
- Before camping season
- During long trips
- After rough-road travel
- After extreme heat
- After winter storage
- Before long-term storage
- After long-term storage
- Anytime you notice moisture inside
Your RV manufacturer may recommend a specific inspection schedule.
Follow that schedule when it is more frequent.
Do not wait until the sealant looks severely cracked.
Early repairs are usually much easier.
When Cracked Sealant May Indicate a Bigger RV Problem
Most cracked sealant is manageable maintenance. However, repeated or severe failure can sometimes point to movement or water damage underneath.
Watch for these warning signs:
- The same seam opens after every repair.
- Exterior molding moves when lightly pressed.
- Screws repeatedly back out.
- Rust appears around fasteners.
- Body panels seem separated.
- Fiberglass begins bubbling or delaminating.
- Roof decking feels soft.
- Interior walls develop stains.
- Ceiling panels discolor.
- Cabinets smell musty near the seam.
- Sealant splits shortly after every trip.
If you see several of these signs together, investigate further before recaulk.
You may need to remove trim or inspect the structure underneath.
A thicker bead will not solve damaged wood or a loose exterior assembly.
Common Mistakes That Make RV Sealant Fail Early
Many early failures come from small mistakes during repair. Avoiding them can make your next sealant job last much longer.
- Using any product simply because it says waterproof
- Assuming one sealant works everywhere on the RV
- Applying sealant to dusty surfaces
- Sealing over wet material
- Covering loose or peeling old caulk
- Mixing products without checking compatibility
- Spreading the new bead extremely thin
- Ignoring loose screws beside the crack
- Ignoring movement in exterior molding
- Applying sealant outside recommended temperatures
- Driving before the product has cured enough
- Using aggressive solvents without checking surface compatibility
- Assuming every RV roof uses the same material
- Waiting for an interior leak before inspecting seams
The repair itself is usually not complicated.
Choosing the right material and preparing the surface properly matter most.
Final Words
RV exterior sealant cracks because it works in a constantly changing environment. Your RV flexes while traveling, then sits through sunlight, heat, freezing weather, rain, and temperature swings.
Older sealant will eventually need attention. However, very fast failure deserves a closer look.
If fresh sealant keeps cracking in the same location, do not keep adding more caulk. Check the seam, molding, fasteners, surface preparation, and product compatibility first.
A few minutes of careful inspection can save you from repeating the repair. More importantly, it can keep water away from expensive walls, flooring, and roof structures.
Related FAQs
Why Is My New RV Sealant Already Cracking?
New RV sealant may crack quickly when the wrong product was used, the surface was dirty or wet, the bead was too thin, or the joint underneath is moving more than the sealant can tolerate.
How Long Should RV Exterior Sealant Last?
There is no universal lifespan for RV exterior sealant because durability depends on the product, climate, storage conditions, sunlight exposure, surface preparation, and how much the joint moves while traveling.
Are Small Cracks in RV Roof Sealant Normal?
Minor surface lines can appear as sealant ages, but you should inspect them closely. Cracks that reach the seam, create gaps, or cause lifting need attention before water can enter.
Can I Apply New RV Sealant Over Old Sealant?
You can sometimes apply compatible sealant over old material that remains firmly bonded. Loose, brittle, dirty, peeling, or badly cracked material should generally be removed before applying fresh sealant.
Should I Remove All Old Sealant Before Resealing an RV?
You usually need to remove loose or failed sections rather than automatically stripping every trace. The correct approach depends on the existing sealant, roof material, and the replacement product’s instructions.
Can I Use Regular Silicone Caulk on an RV?
Regular household silicone should not be treated as a universal RV sealant. Some RV surfaces require specific flexible products, and certain roofing systems may not be compatible with silicone products.
Should I Use Self-Leveling Sealant on RV Sidewalls?
Self-leveling sealant is generally intended for appropriate horizontal roof applications. Vertical sidewalls normally need a non-sag sealant that stays in place while curing.
Does Hot Weather Cause RV Sealant to Crack?
Hot weather can speed sealant aging because high surface temperatures and UV exposure repeatedly stress the material. Daily heating and cooling also make adjoining surfaces expand and contract.
Can Freezing Weather Crack RV Sealant?
Cold weather can contribute to cracking because materials contract as temperatures fall. Older sealant may also become less flexible, making repeated freeze and thaw cycles harder on the bead.
Why Does My RV Sealant Keep Cracking in the Same Spot?
Repeated cracking in one location often suggests movement in the seam, trim, screws, or fixture underneath. Fixing that mechanical problem may be necessary before another sealant repair will last.

Gregory Allen covers outdoor RV camping, essential gear, and travel preparation. His reviews are based on real conditions, not spec sheets alone. He helps RVers choose equipment that works reliably in everyday outdoor use.