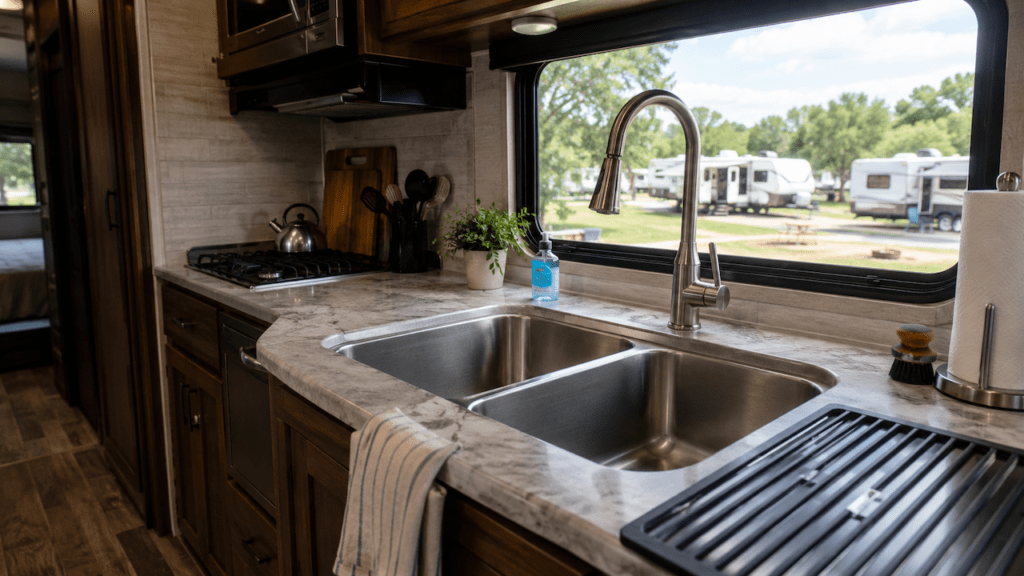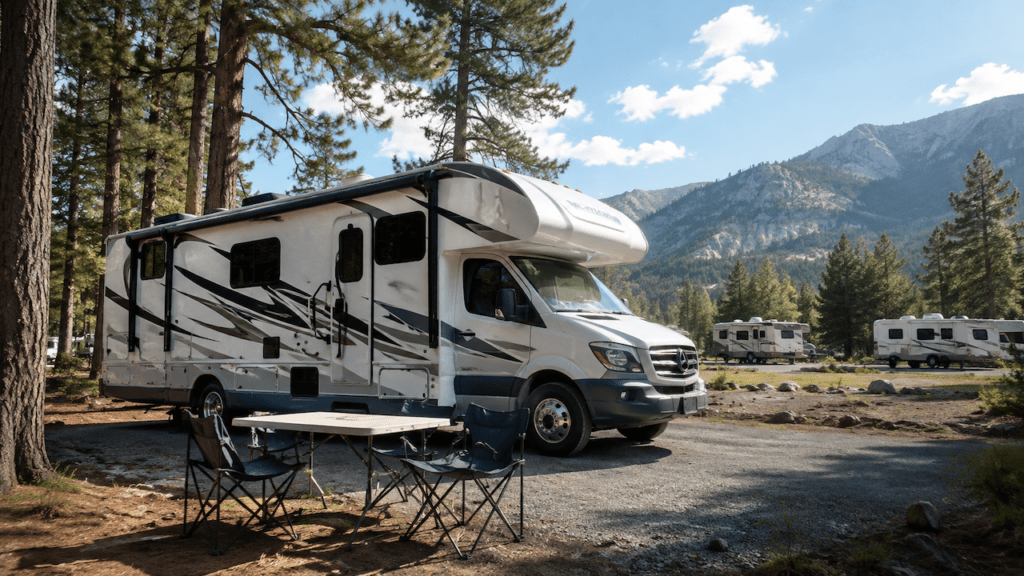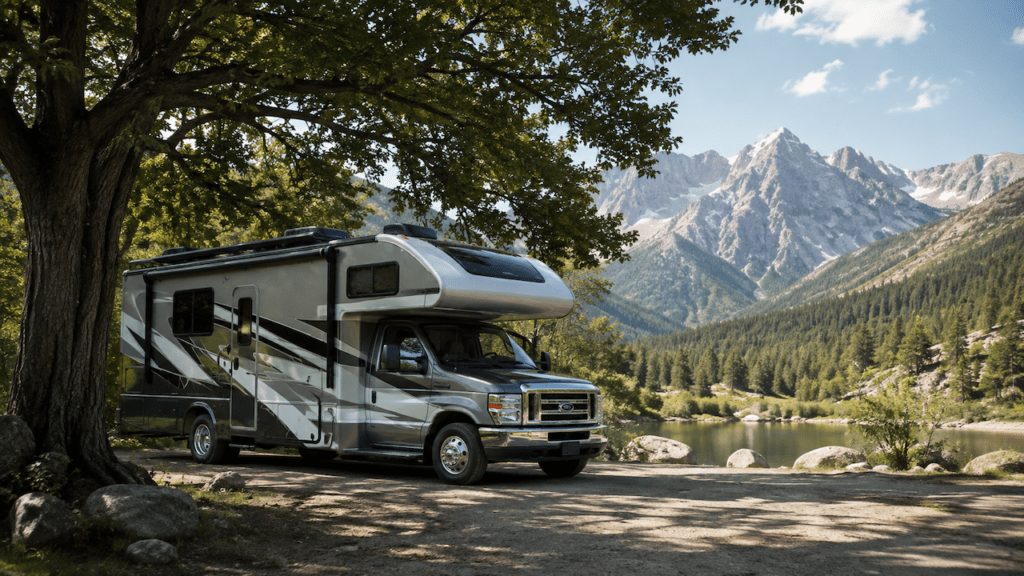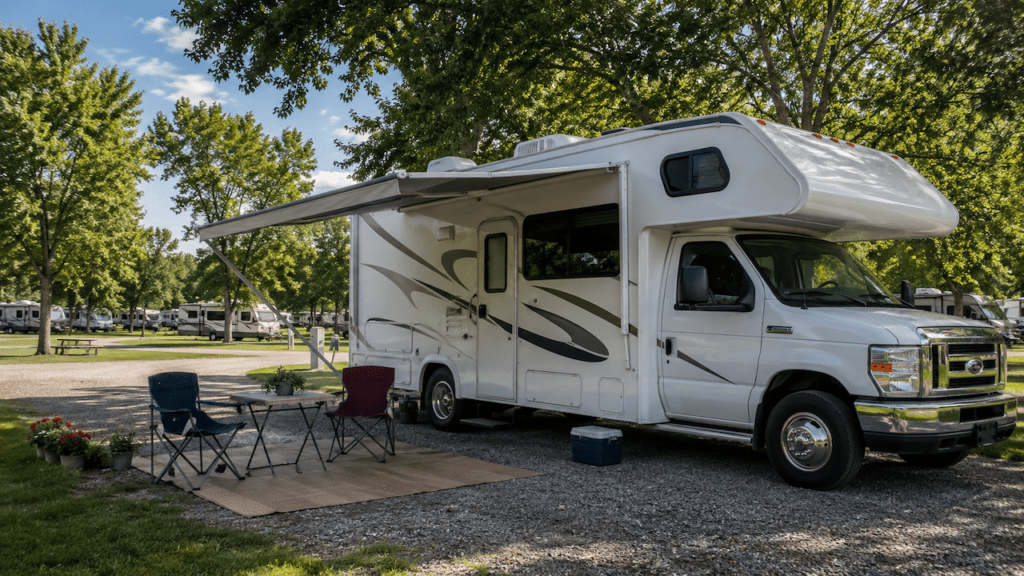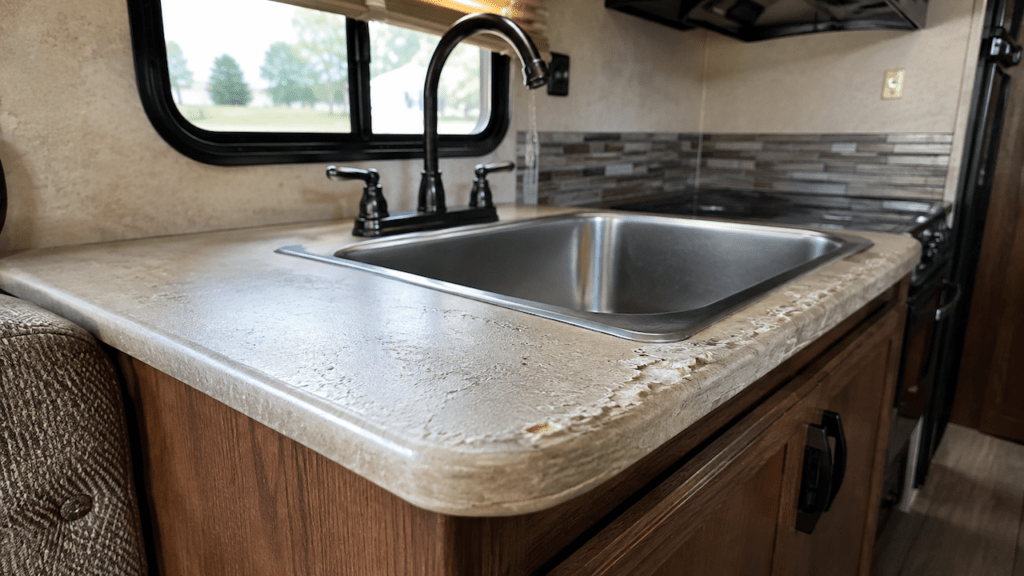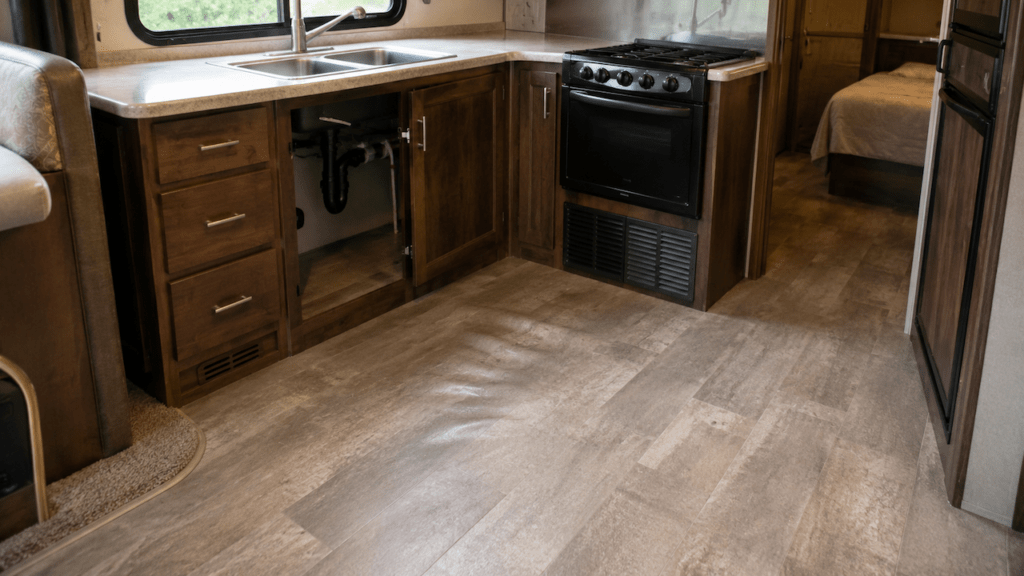
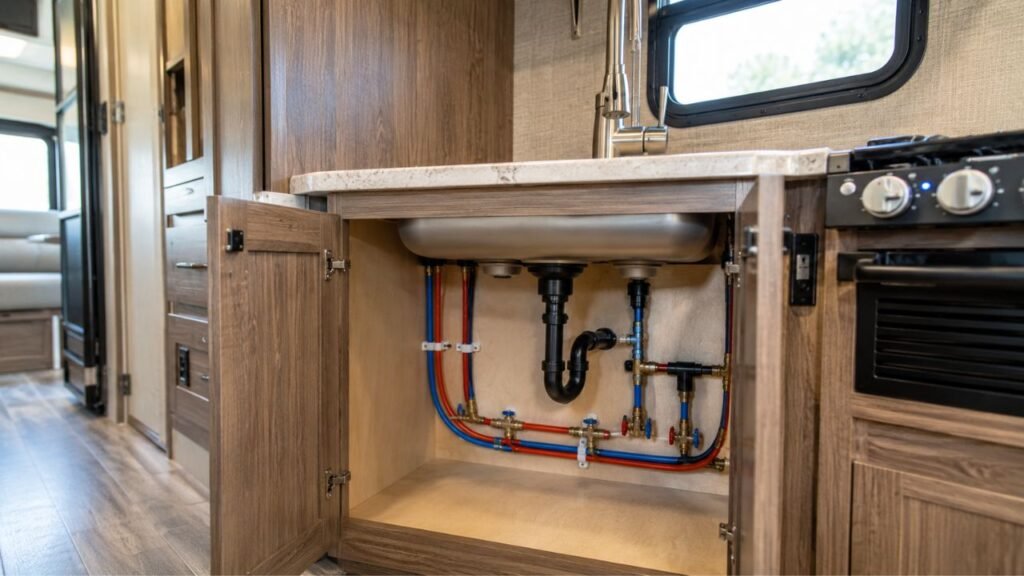
To sanitize RV kitchen water lines, run a properly diluted sanitizing solution through both hot and cold plumbing lines, let it remain for the required contact time, then drain and flush the system with clean potable water. In most RVs, this means sanitizing the fresh-water system that supplies the kitchen faucet rather than cleaning only the faucet itself.
I’ll walk you through the complete process below. We’ll cover bleach amounts, filters, water heaters, different filling systems, flushing, and what to do if your kitchen water still smells afterward.
Key Takeaways
- Sanitize both the hot and cold kitchen water lines.
- The kitchen faucet usually shares the RV’s main fresh-water system.
- Check your RV manual before choosing bleach concentration or soak time.
- Use plain unscented household bleach when your manufacturer allows it.
- Remove or bypass water filters before sanitizing when required.
- Never mix bleach with vinegar or other cleaning chemicals.
- Flush the system thoroughly before returning it to normal use.
What Does Sanitizing RV Kitchen Water Lines Actually Mean?
Sanitizing RV kitchen water lines means disinfecting the plumbing that carries fresh water to your kitchen faucet.
That includes more than the faucet itself.
Your kitchen cold line usually receives water directly from the fresh-water tank, pump, or city-water plumbing. The hot side normally travels through or around the water heater before reaching the sink.
Because of that setup, cleaning the faucet aerator alone does not sanitize the lines.
Think of the faucet as the end of the plumbing system. If bacteria, stale water, or residue remains upstream, cleaning only the faucet will not solve the complete problem.
For most RV owners, the safest approach is to sanitize the entire potable-water system. This allows the sanitizing solution to reach both kitchen branches and other connected plumbing.
When Should You Sanitize Your RV Kitchen Water Lines?
You do not need to sanitize the plumbing every time you fill your tank. However, certain situations make sanitizing especially worthwhile.
Consider sanitizing your RV water system:
- After de-winterizing the RV.
- Before using a newly purchased RV.
- After purchasing a used RV.
- After long-term storage.
- After filling from a questionable water source.
- When the water develops an unusual odor.
- When you notice slime or discoloration.
- After replacing sections of freshwater plumbing.
- After replacing a pump or kitchen faucet.
- At the maintenance interval recommended by your RV manufacturer.
I would also sanitize before a long trip if the RV has been sitting unused for months.
Stagnant water inside warm plumbing creates conditions where unwanted growth can develop.
What Do You Need to Sanitize RV Kitchen Water Lines?
You do not need complicated tools for this job. Most of what you need is already in the RV or available at home.
Gather these items before starting:
- Your RV owner’s manual.
- Plain unscented household chlorine bleach, if approved.
- A measuring cup.
- A clean gallon container.
- A potable-water hose.
- A funnel if your RV has gravity fill.
- A winterization or sanitizing hose if equipped.
- Gloves and eye protection.
- Access to clean potable water.
- A suitable place to drain the system.
You can also use an RV freshwater sanitizer instead of bleach.
If you choose a commercial product, follow its dilution and contact-time instructions exactly.
How Much Bleach Should You Use in RV Water Lines?
Bleach concentration matters. Too little may not sanitize effectively, while unnecessarily strong mixtures can be harder on plumbing components and take much longer to flush.
A commonly used RV reference for standard household bleach is about 1/4 cup per 15 gallons of freshwater capacity. However, bleach strength and RV manufacturer instructions can differ.
| Fresh Tank Capacity | Common Reference Amount |
| 15 gallons | 1/4 cup |
| 20 gallons | About 1/3 cup |
| 30 gallons | 1/2 cup |
| 40 gallons | About 2/3 cup |
| 45 gallons | 3/4 cup |
| 60 gallons | 1 cup |
| 75 gallons | 1 1/4 cups |
| 90 gallons | 1 1/2 cups |
Treat this table as a starting reference rather than a universal rule.
Check your bleach label for sodium hypochlorite concentration. Modern household bleach can be stronger than older formulas.
More importantly, follow your RV manufacturer’s sanitizing instructions when they provide a specific amount.
I also recommend diluting the measured bleach in clean water before adding it to the RV.
Do not pour concentrated bleach directly into one small area of the tank.
Should You Bypass the RV Water Heater Before Sanitizing?
Water-heater instructions vary between RVs, so this is one area where I would not follow a generic rule. Some manufacturers sanitize through the heater, while others instruct owners to bypass it.
If Your Manufacturer Says to Bypass the Water Heater
Set the bypass valves according to your RV manual before circulating sanitizer.
The solution can still reach the kitchen hot-water plumbing on many systems without filling the heater tank.
Keep the water heater turned off while it is bypassed or empty.
Never energize an empty electric water heater. Doing so can damage the heating element very quickly.
If Your Manufacturer Sanitizes Through the Water Heater
Some RV procedures include the water heater as part of the sanitizing process.
In that case, the manufacturer may include the heater’s capacity when calculating total water volume.
Follow that procedure rather than bypassing it automatically.
What About Tankless RV Water Heaters?
Tankless heaters deserve extra care.
These units can have their own sanitizing, flushing, and descaling requirements. Some manufacturers may allow diluted chlorine exposure, while others specify different procedures.
Check the water-heater manual before sending sanitizing solution through it.
That small check can prevent an expensive mistake.
Should You Remove RV Water Filters Before Sanitizing?
Yes, many RV water filters should be removed or bypassed during sanitizing.
Carbon filters can remove chlorine from the water. That means they may weaken the sanitizing solution before it reaches your kitchen plumbing.
Strong chlorine exposure can also shorten the life of certain filter cartridges.
Check for filters in several locations.
Your RV may have an external canister, under-sink filter, refrigerator filter, ice-maker filter, or inline filter near the water pump.
Remove or bypass them according to their instructions.
Reinstall or replace the appropriate filter only after the system has been thoroughly flushed.
How Do You Sanitize RV Kitchen Water Lines Step by Step?
The basic goal is simple. You want the sanitizing solution to reach every section of the kitchen’s hot and cold plumbing, remain there long enough to work, and then be completely flushed out.
1. Turn Off the Water Heater and Water Pump
Start by switching off the water heater.
Turn off both propane and electric heating modes if your RV uses both.
Then turn off the water pump.
If the water heater has recently been operating, give it enough time to cool before draining or changing plumbing valves.
2. Drain the Fresh Water Tank and Old Water
Open the fresh-water tank drain.
You can also open the hot and cold low-point drains if your RV has them.
Open the kitchen faucet briefly to help release pressure.
Allow old or stagnant water to drain from the system.
Once drainage is complete, close the tank and low-point drains.
3. Remove or Bypass Water Filters
Remove applicable freshwater filter cartridges before introducing sanitizer.
If your RV has a bypass setting, use it according to the manufacturer’s directions.
Do not forget an under-sink filter if one supplies only the kitchen faucet.
4. Set the Water Heater Correctly
Now place the water heater in the position required for sanitizing.
That may mean normal operation or bypass mode depending on your RV.
Keep the heater itself turned off during this entire process.
5. Measure and Dilute the Sanitizer
Calculate how much bleach your RV requires.
Measure it carefully instead of estimating.
Pour the bleach into a clean container containing water and mix gently.
This creates a diluted solution that is easier to introduce evenly into the freshwater system.
Never mix bleach with vinegar, ammonia, toilet chemicals, or household cleaners.
6. Add the Sanitizing Solution to the RV
How you add the solution depends on your RV.
RVs With Gravity Fresh-Water Fill
Use a clean funnel to pour the diluted solution through the freshwater fill opening.
Then add potable water.
RVs With a Winterization or Sanitizing Hose
Some RVs let the water pump draw liquid through a dedicated hose.
Place the hose into your prepared solution.
Set the valves according to the manufacturer’s sanitizing procedure, then use the pump to draw the mixture into the system.
RVs With a Wet-Bay or Manifold System
Modern motorhomes and trailers may use valve-controlled filling systems.
Select the appropriate tank-fill or sanitizing setting described in the owner’s manual.
Do not assume the city-water connection automatically fills the freshwater tank.
7. Fill the Fresh Tank With Potable Water
Finish filling the tank with clean potable water.
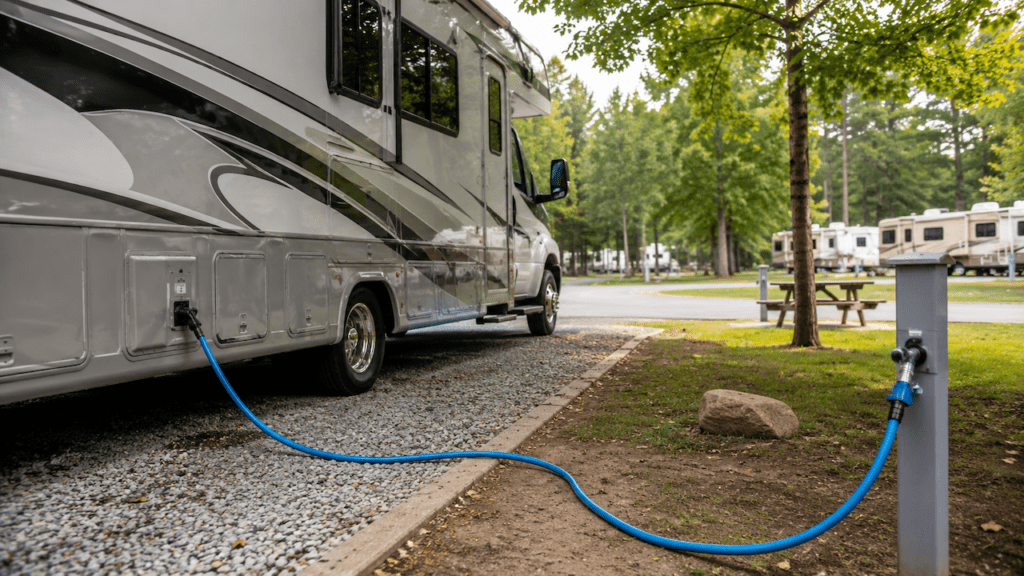
Use a hose intended only for drinking-water service.
Avoid using your freshwater hose for sewer flushing or other dirty jobs.
Once the tank contains the correct sanitizing mixture, disconnect the city-water source if your procedure requires the pump to draw from the tank.
8. Run Sanitizer Through the Cold Kitchen Line
Turn on the RV water pump.
Go to the kitchen sink and open the cold-water side.
Let it run until you can tell the sanitizing solution has reached the faucet.
A chlorine odor is commonly used as an indicator when bleach is the approved sanitizer.
Once the solution reaches the faucet, turn the cold side off.
There is no reason to waste large amounts of sanitizing water once the line is filled.
9. Run Sanitizer Through the Hot Kitchen Line
Now open the hot side of the kitchen faucet.
Let it run until sanitizing solution reaches that plumbing branch.
The hot and cold lines are separate paths.
Running sanitizer through the cold line does not automatically sanitize the hot line.
Once the hot side contains the solution, close the faucet.
10. Run Sanitizer Through Every Other Water Outlet
Do not stop at the kitchen sink.
Untreated branches elsewhere in the RV can hold stale water.
Run sanitizing solution through applicable fixtures such as:
- Bathroom sink.
- Shower.
- Outside shower.
- Toilet supply.
- Spray ports.
- Second sinks.
- Washer hookups.
- Refrigerator or ice-maker lines when approved.
Run both hot and cold sides where applicable.
Once sanitizer reaches each fixture, shut it off.
11. Let the Solution Sit
Now allow the sanitizing solution to remain inside the tank and plumbing.
This contact time allows the chlorine or other approved sanitizer to work.
Do not assume one waiting time works for every RV.
Some procedures use several hours. Others recommend overnight contact.
The correct time depends on sanitizer concentration and your RV manufacturer’s procedure.
Use the contact time stated in your owner’s manual or sanitizer instructions.
12. Drain the Sanitizing Solution
After the required waiting period, drain the freshwater tank.
Open the tank drain and other drains recommended by your manufacturer.
You can also run some water through the faucets to help move solution out of the plumbing.
Dispose of chlorinated water responsibly.
Avoid releasing a strong sanitizing mixture directly onto plants or sensitive landscaping.
13. Refill With Fresh Potable Water
Close the drains.
Fill the fresh tank again using clean potable water.
Turn the water pump back on.
You are now ready to flush the kitchen plumbing.
14. Flush the Cold Kitchen Line
Open the cold side of the kitchen faucet.
Let clean water flow until the sanitizer has been flushed according to your sanitizing procedure.
The bleach odor should gradually become weaker.
If a noticeable odor remains, continue flushing.
15. Flush the Hot Kitchen Line
Open the hot side next.
Flush it thoroughly as well.
Remember that hot-water plumbing may hold more water than the cold branch, especially when the water heater is included in the system.
Give it enough time to clear.
16. Flush Every Other Fixture
Move through the RV again.
Flush all faucets, showers, toilets, outdoor fixtures, and other treated branches.
You do not want sanitizing solution trapped inside a rarely used line.
A second tank fill and flush may be necessary if the odor remains strong.
17. Restore the Water Heater and Filters
Once the system is completely flushed, return the water-heater valves to their normal position.
If your heater uses a tank, make sure it is completely full before turning the heater back on.
Open a hot faucet until water flows steadily without large bursts of air.
Then restore the water heater.
Reinstall or replace freshwater filters as required.
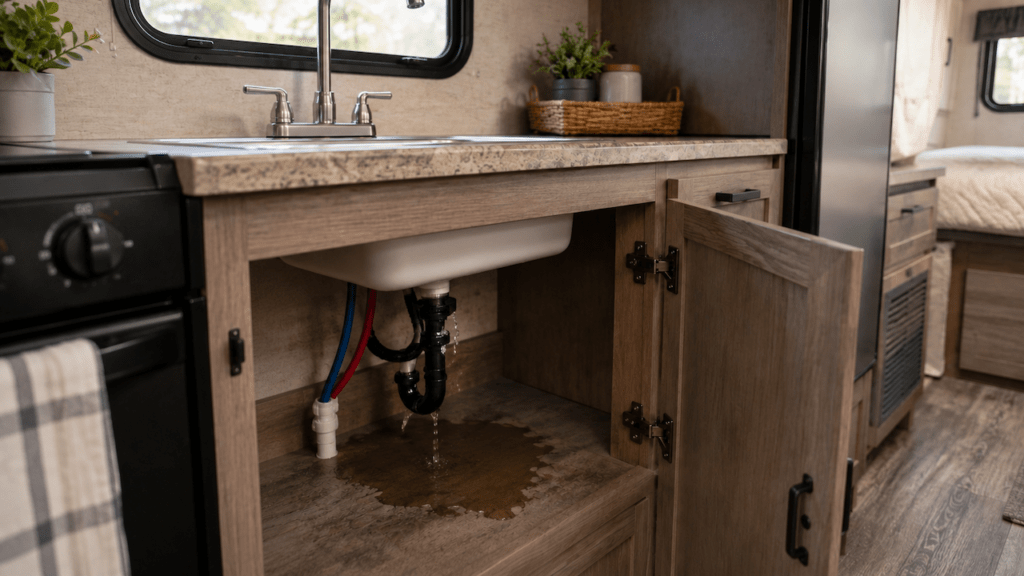
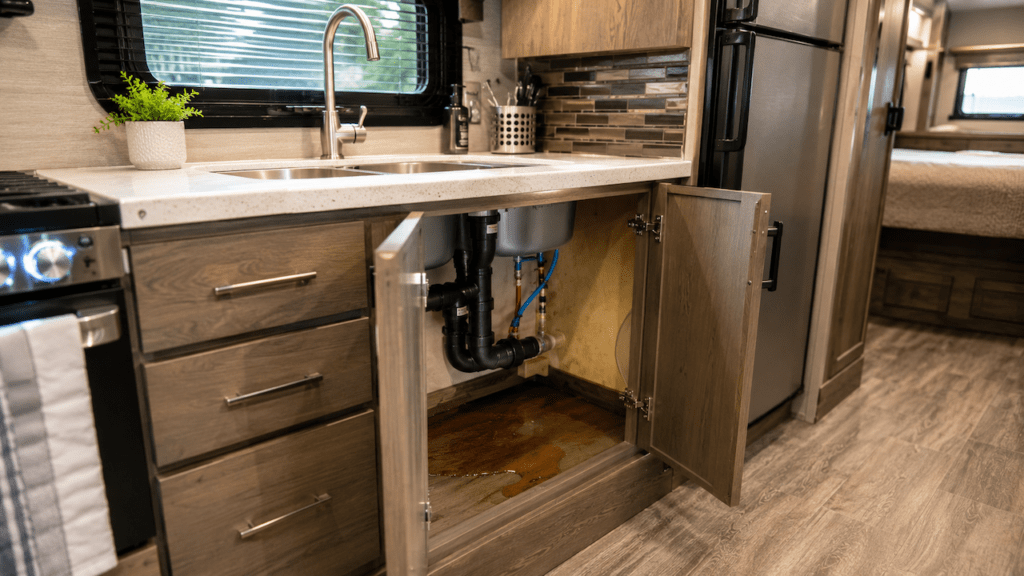
18. Check the Kitchen Plumbing for Leaks
Before finishing, look underneath the kitchen sink.
Check the faucet connections, filter housing, flexible hoses, fittings, and nearby plumbing.
Watch for slow drips.
You should also listen to the water pump.
If it continues cycling while every faucet is closed, you may have a leak somewhere in the system.
Can You Sanitize Only the RV Kitchen Water Lines?
You technically can sanitize only part of the plumbing on some RVs, but it is not always the best solution.
A localized treatment may make sense after replacing the kitchen faucet, repairing a short PEX section, or working on an under-sink filter.
Some RVs also have winterization or sanitizing connections that let you draw disinfecting solution directly into the plumbing.
However, consider the cause before choosing this shortcut.
If the RV has been stored for months, smells musty, contains stale tank water, or was filled from an uncertain source, sanitizing only the kitchen branch leaves the rest of the system untreated.
The fresh tank can simply send contaminated water back through your newly sanitized kitchen lines.
In those cases, sanitize the entire potable-water system.
Can You Sanitize RV Kitchen Water Lines Through the City Water Connection?
You may be able to sanitize the plumbing through a city-water connection, but that does not mean the freshwater tank will also be treated.
Most RV city-water connections pressurize the plumbing directly.
Water often bypasses the freshwater tank unless the RV has a tank-fill valve or wet-bay system designed to redirect city water.
That plumbing difference matters.
If you sanitize only through city water, the kitchen lines may receive sanitizer while the tank remains untreated.
Check your RV’s water-flow diagram before choosing this method.
For a complete system sanitizing job, make sure the procedure actually treats the freshwater tank when needed.
How Do You Know the RV Kitchen Water Lines Are Fully Flushed?
A proper flush is just as important as sanitizing. You want to remove leftover sanitizer from every treated plumbing branch before normal use.
Look for these signs:
- Sanitizer odor has cleared according to the procedure.
- Water runs clear.
- Both hot and cold kitchen lines have been flushed.
- Faucet flow becomes steady.
- Other plumbing branches have also been flushed.
- Filters are restored correctly.
- The water heater is returned to normal.
- No new leaks appear afterward.
Do not rely on repeatedly tasting the water to check whether bleach remains.
Use odor, flushing time, and your manufacturer’s procedure instead.
Common Mistakes When Sanitizing RV Kitchen Water Lines
Most sanitizing problems come from small steps being skipped. These mistakes are easy to avoid once you know what to watch for.
| Mistake | Why It Causes Problems | Better Approach |
| Cleaning only the faucet | Leaves upstream plumbing untreated | Sanitize the supply lines |
| Running only cold water | Leaves the hot branch untreated | Sanitize both sides |
| Guessing the bleach amount | Concentration may be wrong | Measure carefully |
| Using scented bleach | Adds unwanted chemicals | Use approved plain unscented bleach |
| Pouring concentrated bleach directly into the tank | Creates a strong localized concentration | Dilute it first |
| Forgetting water filters | Can weaken sanitizer or damage cartridges | Remove or bypass them |
| Always bypassing the heater | Not correct for every RV | Follow the model-specific procedure |
| Turning on an empty water heater | Can damage the heating element | Confirm the tank is full |
| Ignoring outside fixtures | Leaves untreated branches | Sanitize every connected outlet |
| Mixing bleach with vinegar | Can create dangerous chlorine gas | Never combine cleaning chemicals |
| Refilling from a questionable source | Can contaminate the system again | Use potable water |
One mistake deserves extra emphasis.
Never pour vinegar into a system that still contains bleach.
Drain and thoroughly flush the bleach first before using any separate cleaning product.
What If Your RV Kitchen Water Still Smells Bad After Sanitizing?
Sanitizing usually removes stale-water odors, but not every smell comes from the freshwater tank. The location and type of odor can help you narrow the problem down.
Bleach Smell Remains
A lingering bleach smell usually means the system needs more flushing.
Drain the remaining water and refill with fresh potable water.
Run both kitchen lines again.
Do not add another chemical just to cover the smell.
Rotten Egg Smell Comes From Hot Water Only
If only hot water smells like rotten eggs, look closely at the water heater.
Stagnant water inside the heater, mineral reactions, or anode-related issues can create sulfur-like odors.
Repeatedly sanitizing the fresh tank may not solve that problem.
Musty Smell Comes From Both Hot and Cold Water
If both sides smell musty, inspect the entire freshwater path.
Possible sources include the fresh tank, freshwater hose, filter housing, plumbing lines, or campground water.
A dirty fill hose can contaminate a clean tank surprisingly quickly.
Only the Kitchen Faucet Smells
A kitchen-only odor usually points to something local.
Remove and clean the faucet aerator.
If you have a pull-down faucet, inspect its flexible hose.
Check under-sink filters and short flexible supply lines too.
Water can sit inside these areas longer than expected.
Black, Green, or Slimy Material Appears
Visible slime or unusual material deserves more attention than a quick flush.
Stop normal use until you identify the source.
Inspect the freshwater tank, filter housings, faucets, and accessible plumbing.
If contamination keeps returning after proper sanitizing, the system may need deeper cleaning or professional inspection.
Does Sanitizing the RV Water Lines Make Questionable Water Safe to Drink?
Sanitizing your RV plumbing and treating unsafe source water are two different things.
The sanitizing process addresses contamination inside the RV’s freshwater system.
It does not remove every contaminant that might already exist in the water source.
For example, chlorination does not remove many dissolved chemicals, salts, or heavy metals.
That is why you should fill your RV only from a known potable-water source whenever possible.
A clean plumbing system cannot compensate for unsafe water entering the tank.
How Can You Keep RV Kitchen Water Lines Cleaner Between Sanitizing?
Good freshwater habits reduce how often odors and contamination return.
A few simple practices make a noticeable difference:
- Use a dedicated potable-water hose.
- Keep freshwater hose ends capped.
- Store freshwater equipment away from sewer gear.
- Avoid leaving questionable water sitting for months.
- Drain the system before long storage when appropriate.
- Replace water filters on schedule.
- Keep the freshwater fill opening clean.
- Sanitize after long storage or winterization.
- Investigate unusual smells instead of masking them.
- Fill from known potable-water sources.
I also recommend keeping your fresh-water hose off the ground while filling.
It helps reduce dirt and campground debris around the hose connection.
Final Words
Sanitizing RV kitchen water lines is not difficult once you understand the water path.
The important part is getting the correct sanitizing solution through both the hot and cold kitchen branches, giving it enough contact time, and flushing everything thoroughly afterward.
Do not focus only on the kitchen faucet if the problem may originate in the fresh tank.
Treat the full potable-water system when needed, follow your RV manufacturer’s instructions, and take your time with the final flush.
That approach gives you cleaner plumbing without unnecessarily stressing your RV’s water-system components.
Related FAQs
How Often Should I Sanitize My RV Kitchen Water Lines?
Sanitize your RV kitchen water lines after long storage, de-winterizing, questionable water exposure, or when odors appear. For routine maintenance, follow your RV manufacturer’s recommended sanitizing interval rather than relying on one universal schedule.
How Much Bleach Do I Need to Sanitize RV Water Lines?
A common reference is about 1/4 cup of standard household bleach for every 15 gallons of freshwater capacity. However, bleach strength and manufacturer procedures vary, so your RV owner’s manual should take priority.
Can I Put Bleach Directly Into My RV Fresh Water Tank?
It is better to dilute the measured bleach in clean water before adding it. Dilution helps distribute the sanitizer more evenly and avoids creating an unnecessarily strong concentration in one small area of the tank.
Should I Sanitize Both Hot and Cold RV Water Lines?
Yes. Your hot and cold kitchen lines are separate plumbing paths, so sanitizing only one side can leave untreated water in the other branch.
Should I Bypass My RV Water Heater While Sanitizing?
It depends on the RV and water-heater manufacturer. Some procedures call for bypassing the heater, while others sanitize through it. Follow the instructions for your specific RV rather than assuming one setup works everywhere.
Can I Sanitize RV Water Lines Without Using the Fresh Tank?
Yes, some RVs have winterization or sanitizing connections that let the pump draw solution directly into the plumbing. This can work for line-only sanitizing, but it will not clean the fresh tank unless your plumbing configuration also routes sanitizer through it.
Can I Use Vinegar Instead of Bleach to Sanitize RV Water Lines?
Vinegar is useful for certain scale and odor problems, but it should not automatically replace an approved sanitizing solution. Most importantly, never mix vinegar with bleach or add vinegar while bleach remains inside the system.
How Long Should Bleach Stay in RV Water Lines?
The required contact time depends on sanitizer concentration and your RV manufacturer’s procedure. Some methods require several hours, while others specify overnight treatment. Follow the time listed in your owner’s manual or sanitizer directions.
Should I Replace My RV Water Filter After Sanitizing?
Replace or reinstall the filter according to its manufacturer’s instructions. Some cartridges should be removed before sanitizing and replaced afterward, especially if they are old or have been exposed to questionable water.
Why Does My RV Kitchen Water Still Smell After Sanitizing?
A remaining odor may come from the water heater, faucet aerator, under-sink filter, freshwater hose, stagnant branch line, or incoming water source. Identifying whether the smell occurs on hot, cold, or both sides can help narrow the cause.
Can I Drink RV Water Immediately After Sanitizing the Lines?
Wait until the sanitizing solution has been completely drained and the system has been flushed according to the recommended procedure. The replacement water should also come from a suitable potable-water source.

Gregory Allen covers outdoor RV camping, essential gear, and travel preparation. His reviews are based on real conditions, not spec sheets alone. He helps RVers choose equipment that works reliably in everyday outdoor use.