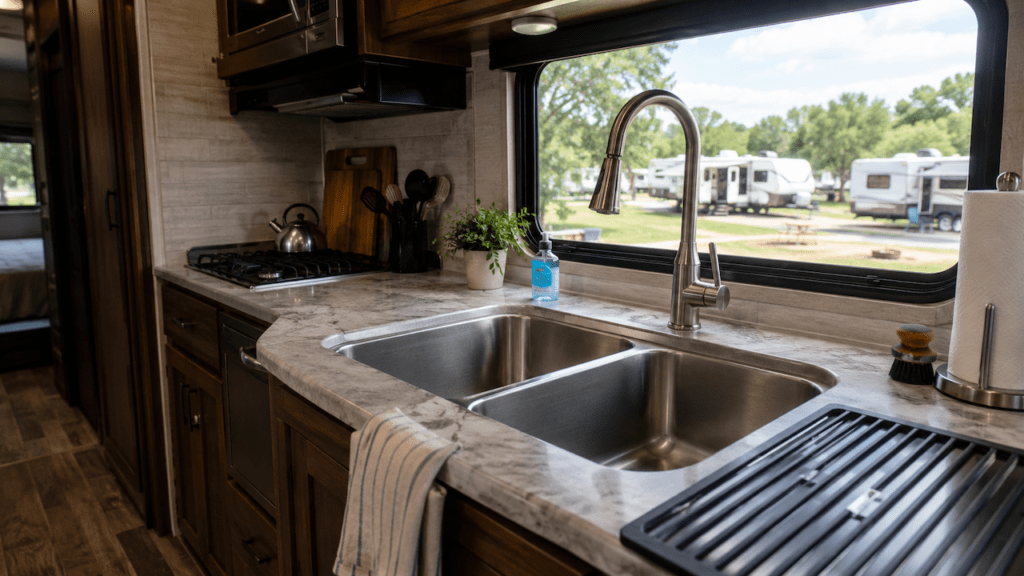
Your RV countertop is usually swelling around the sink because water has reached the wood-based core beneath the surface. A failed sink seal, loose faucet, plumbing drip, or repeated splashing can soak particleboard or MDF, causing it to expand and push the laminate upward.
The important part is finding where that water is entering before the damage spreads. I’ll help you locate the leak, judge whether the countertop can still be repaired, fix minor damage, and know when replacement makes more sense.
Key Takeaways
- Swelling usually means moisture has reached the countertop’s inner wood-based core.
- Failed sink sealant is common, but faucet and plumbing leaks can cause the same damage.
- Particleboard that has physically swollen may stay enlarged even after drying.
- A firm countertop may still be repairable if you catch the problem early.
- Soft, crumbly, badly distorted material usually needs replacement.
- Always stop the leak before repairing or resealing the countertop.
- Exposed sink-cutout edges should be protected from future moisture.
Why Is My RV Countertop Swelling Around the Sink?
What looks like the countertop surface swelling is usually the material underneath expanding.
Many lightweight RV countertops use laminate over particleboard, MDF, plywood, or another wood-based core. These materials keep RV construction relatively light and affordable, but they do not handle repeated water exposure well.
Once water slips beneath the sink edge or reaches an exposed cutout, the core starts absorbing moisture. Particleboard and MDF are especially vulnerable because they contain compressed wood fibers or particles.
As those fibers take on water, they expand.
The countertop may then develop:
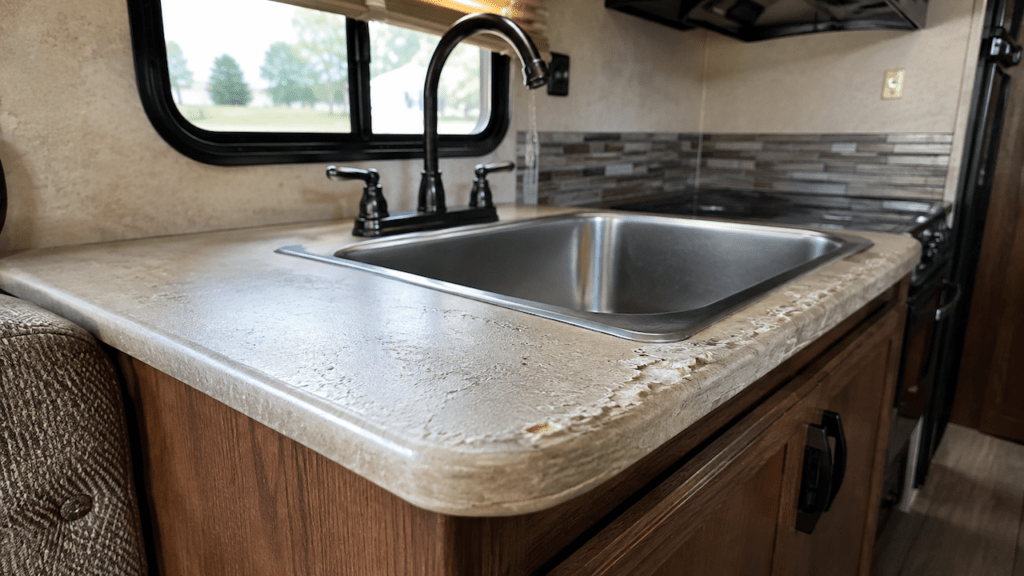
- A raised ridge around the sink
- Bubbling laminate
- A thickened countertop edge
- Peeling surface material
- A soft area beside the sink
- Gaps between the sink and counter
- Crumbling material underneath
The laminate itself usually is not actually swelling. The damp substrate beneath it is expanding and pushing the finished surface upward.
One thing I want you to keep in mind is that drying does not always reverse this expansion. A lightly affected countertop may remain usable, but seriously swollen particleboard often stays distorted even after all moisture is gone.
Where Is the Water Getting Into the Countertop?
Finding the entry point is more important than immediately reaching for a tube of silicone. Water can reach the countertop core from several places, and the leak is not always where the swelling looks worst.
Common sources include:
- Cracked, missing, or separated sealant around the sink rim
- A loose undermount sink pulling away from the countertop
- Loose sink clips or mounting brackets
- Water splashing repeatedly onto the countertop
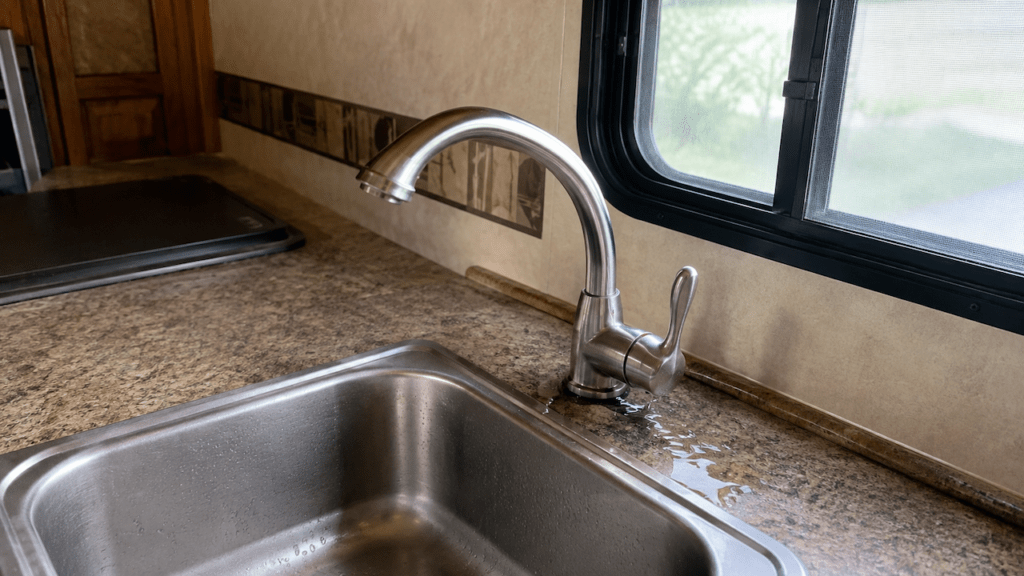
- A faucet leaking around its base
- Water entering through the faucet mounting hole
- Loose hot or cold supply-line fittings
- A leaking pull-out sprayer hose or connection
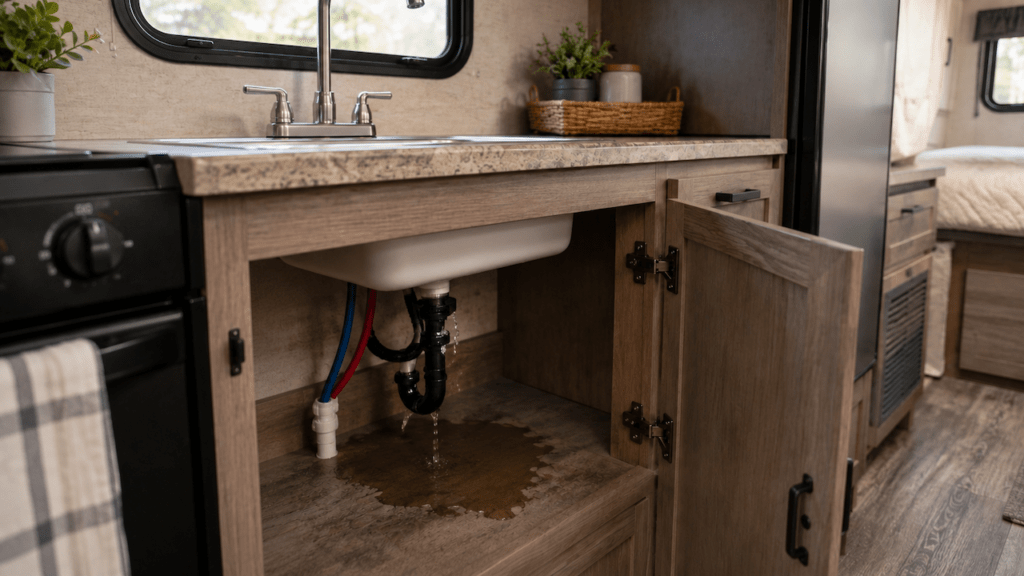
- A leaking drain basket or sink strainer
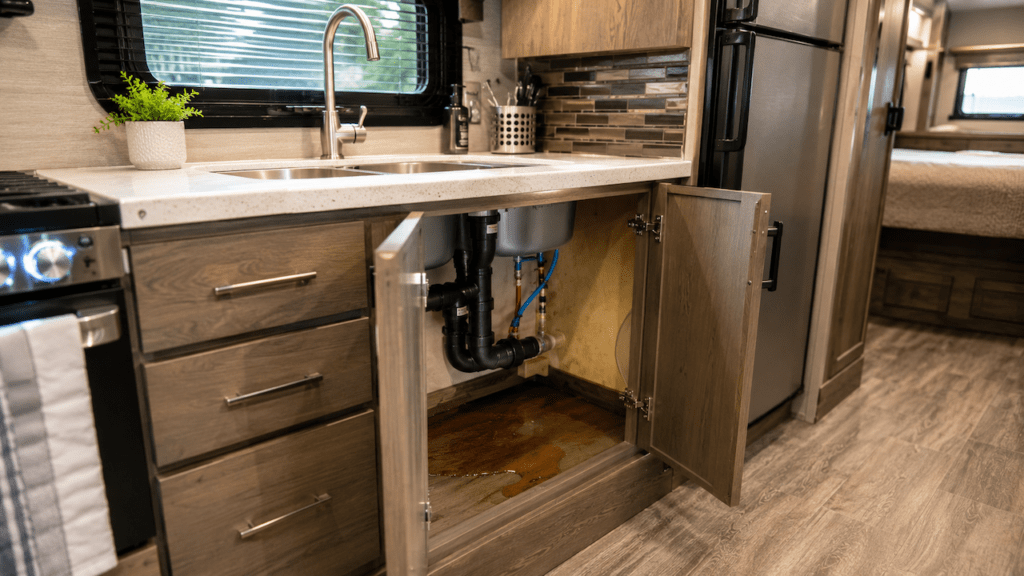
- Loose P-trap or drain slip-joint connections
- Water traveling along plumbing before dripping elsewhere
- An exposed sink cutout that was never properly sealed
- A countertop seam located close to the sink
- Sink movement caused by RV vibration during travel
This is why simply resealing the visible sink edge sometimes fails. You might stop one possible water path while an unnoticed plumbing leak keeps feeding moisture into the countertop.
How Do I Find Where the Water Is Coming From?
A controlled test is much better than guessing. Start with everything completely dry, then introduce water to one area at a time.
Dry Everything Before Testing
Wipe the countertop, sink rim, faucet base, drain fittings, supply connections, cabinet floor, and plumbing underneath.
Use paper towels if necessary.
Starting dry makes very small leaks easier to spot. You can also place dry paper towels beneath suspicious fittings because even one drop usually leaves a clear mark.
If the cabinet is already damp, let it dry enough that you can tell old moisture from a new leak.
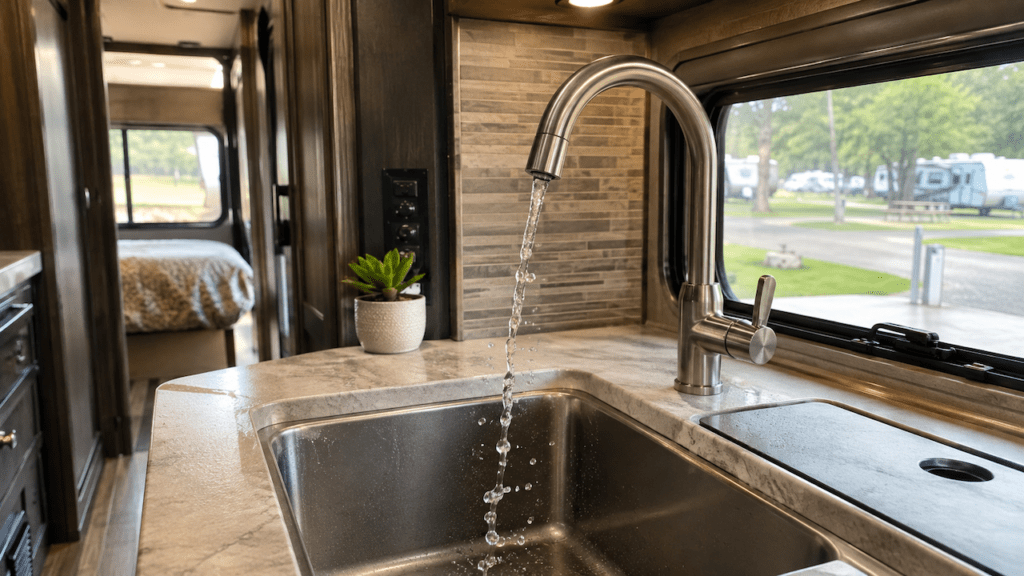
Test the Faucet Without Filling the Sink
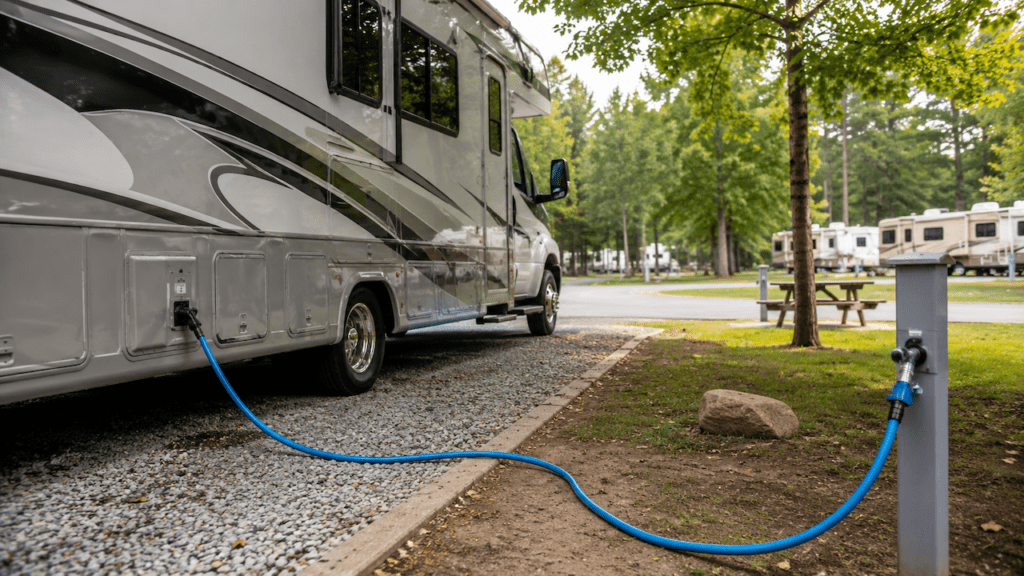
Turn on your RV water pump or city-water supply.
Run cold water first, then hot water.
While the faucet is running, inspect:
- Faucet base
- Hot-water connection
- Cold-water connection
- Flexible supply hoses
- Pull-out sprayer hose
- Sprayer hose connection
Run a dry finger or paper towel around each fitting.
A very slow supply-line leak can travel down a hose or mounting stud before reaching the countertop. That sometimes makes the sink seal look guilty when it is actually plumbing.
Test the Sink Rim for Water Entry
Dry the area beneath the sink again.
Now wet only the junction where the sink meets the countertop. Do not fill the sink yet.
Use a small amount of water and work around the perimeter.
Inspect underneath immediately.
If water appears along the sink edge while the faucet and drain remain dry, the sink seal is probably allowing water through.
Also look closely for small gaps. Even a narrow break in the seal can repeatedly wet exposed particleboard.
Fill the Sink and Test the Drain
Next, fill the sink partway.
Watch underneath while the water is sitting in the basin. This helps test the drain basket or strainer seal.
Then pull the stopper and let the sink drain quickly.
Check:
- Sink drain basket
- Tailpiece
- P-trap
- Slip joints
- Drain hose connections
Some drain leaks only appear when a large volume of water moves through the plumbing.
If everything stays dry, your swelling is more likely related to the sink perimeter, faucet, or past water exposure.
Check Whether the Sink Moves
Push gently around the sink edge.
The sink should not shift noticeably.
If an undermount sink drops slightly, flexes, or separates from the countertop when you press it, inspect the mounting clips and brackets underneath.
Road vibration can loosen hardware over time. Once the sink starts moving, its waterproof seal can separate.
Also inspect the countertop where the clips attach. If mounting screws are pulling through soft or swollen material, you may be dealing with structural damage rather than just a failed seal.
Is the Countertop Still Repairable?
The appearance alone does not tell you whether replacement is necessary. What matters most is whether the substrate underneath remains firm enough to support the sink and hold a repair.
| What You Find | Likely Condition | Best Next Step |
| Slight laminate lifting but firm core | Early moisture damage or adhesive failure | Dry completely, repair, and reseal |
| Small raised area that still feels hard | Localized swelling | Stop leak, dry, then assess repair |
| Countertop stays raised after drying | Permanent substrate expansion | Repair cosmetically if still strong |
| Particleboard feels soft or fuzzy | Advanced moisture damage | Remove or replace damaged material |
| Core crumbles when touched | Serious substrate failure | Replace countertop section |
| Sink clips or screws no longer hold | Structural damage around cutout | Countertop replacement is usually safer |
| Swelling spreads away from sink | Ongoing or widespread moisture exposure | Find leak before repairing anything |
| Laminate has cracked over swollen material | Core expansion has become severe | Inspect substrate and consider replacement |
A countertop can look rough yet still remain structurally usable.
On the other hand, a small-looking swollen spot can hide badly weakened particleboard underneath. Press gently around the affected area and inspect it from inside the cabinet whenever possible.
Will a Swollen RV Countertop Go Back Down After It Dries?
Sometimes a lifted surface can flatten, but truly swollen particleboard usually does not return completely to its original shape.
That distinction matters.
If only the laminate adhesive released because of moisture, drying the area and bonding the laminate again may produce a good repair.
But if the particleboard or MDF beneath it physically expanded, drying removes the moisture without necessarily reversing the added thickness.
Imagine a compressed wood fiber core soaking up water like a dense sponge. Once the fibers expand and the internal structure changes, they may stay thicker even after drying.
So if your countertop remains slightly raised but feels hard and stable, you may still be able to seal and use it.
If it remains badly distorted, soft, or crumbling, trying to force it flat usually gives poor results.
How to Fix Minor Swelling Around an RV Sink
Minor damage can sometimes be stabilized if the countertop remains solid. The key is fixing the problem in the correct order instead of hiding it under fresh sealant.
1. Stop the Leak First
Turn off your water pump.
If connected to campground water, shut off the city-water supply as well.
Identify whether the water is coming from:
- The sink perimeter
- Faucet base
- Supply plumbing
- Drain plumbing
- Splashing
Do not repair the countertop until you know why it became wet.
Otherwise, the new repair may fail exactly like the old one.
2. Remove Failed Sealant
Old silicone can separate from the sink or countertop while still looking mostly intact.
Remove loose, cracked, or peeling sealant.
Clean the joint carefully without damaging the laminate.
Do not simply place a new bead over dirty or failing silicone. New sealant needs a clean, dry surface to bond properly.
3. Remove the Sink If the Cutout Is Damaged
You do not need to remove the sink for every small caulk problem.
However, removal becomes useful when:
- Swelling extends underneath the sink rim
- You cannot dry the damaged material properly
- The raw cutout edge is exposed
- Sink mounting hardware has loosened
- You need to remove deteriorated particleboard
- The seal has failed around much of the sink
Removing the sink also lets you see the true condition of the countertop edge.
Damage is often worse beneath the rim than it looks from above.
4. Dry the Countertop Core Completely
Give the damaged material plenty of airflow.
A small fan aimed toward the exposed area can help. A dehumidifier may also help when humidity is high.
Avoid trying to cook the material dry with extreme heat.
Too much concentrated heat can damage laminate, adhesives, sealants, or surrounding finishes.
The drying period depends on how deeply the water penetrated. A slightly damp edge may dry fairly quickly, while heavily saturated particleboard can take considerably longer.
The important part is not the number of hours.
The important part is making sure you are no longer sealing moisture inside.
5. Remove Loose or Crumbling Material
Once everything is dry, inspect the substrate.
If small pieces are loose or powdery, remove only the material that has already lost its strength.
Do not aggressively dig into otherwise solid countertop material.
Also remember that sanding down severely swollen particleboard may improve its appearance without restoring its original strength.
That is especially important near undermount sink hardware.
If clips or screws depend on that damaged area for support, replacement may be safer than patching.
6. Seal Exposed Sink-Cutout Edges
This is a step I would not skip.
Raw particleboard or MDF around a sink opening is extremely vulnerable once water reaches it.
If the sink is removed, inspect the entire cutout.
Any exposed wood-based edge should be protected using a moisture-resistant product compatible with the countertop material and sink installation.
Pay extra attention to:
- Faucet holes
- Corners of the sink cutout
- Previously drilled holes
- Areas where laminate has separated
- Mounting screw holes
The goal is to prevent the core from acting like a sponge the next time a little water gets past the sink.
7. Reset and Reseal the Sink Correctly
Once the area is completely dry and structurally sound, reinstall the sink according to its mounting design.
Apply a continuous waterproof seal around the required contact area.
But do not think of silicone as a replacement for proper mounting hardware.
Clips, brackets, supports, or the sink’s specified mounting system should keep the sink secure. Sealant primarily keeps water from passing through the joint.
This is especially important with undermount sinks because sink movement can repeatedly break the waterproof bond.
8. Water-Test the Repair
Do not assume the job is finished because the new seal looks neat.
Test it.
Run the faucet.
Check underneath.
Wet the sink perimeter.
Check underneath again.
Fill the basin.
Check the drain.
Then release the water and watch the P-trap and fittings.
Dry paper towels placed beneath connections make tiny leaks easier to detect.
If everything stays dry through these separate tests, you have much more confidence that the real problem has been solved.
When Should I Replace the RV Countertop Instead?
There is a point where continuing to patch swollen particleboard becomes more work than replacing the damaged countertop. The decision should depend on strength and damage extent, not only appearance.
Replacement is usually the better option when:
- The substrate feels soft when pressed.
- Particleboard crumbles when touched.
- The swelling extends far beyond the sink edge.
- The sink mounting hardware cannot hold securely.
- Large sections of laminate have separated.
- The countertop is badly warped.
- Water damage reaches most of the sink cutout.
- Previous repairs continue failing.
- The material stays structurally weak after drying.
- The sink is beginning to sag or move.
Pay special attention to undermount sinks.
The surrounding countertop helps support the installation. If the material holding the mounting hardware has deteriorated, this becomes more than a cosmetic problem.
A countertop that cannot securely support the sink should be repaired structurally or replaced.
Can I Just Put New Silicone Around the Sink?
You can reseal the sink if the countertop underneath is still firm and the existing seal is the actual source of the leak.
But silicone does not repair damaged particleboard.
If the substrate is already swollen, soft, or separating, adding a thick new bead may stop some additional water while leaving the underlying damage untouched.
That can create a false sense that the problem is fixed.
Before resealing, ask yourself three questions:
Is the material underneath dry?
Is it still firm?
Did I actually identify the leak?
If the answer to all three is yes, resealing may be all you need.
If not, deal with the damaged substrate first.
Are Undermount RV Sinks More Likely to Cause This Problem?
Undermount sinks can be more sensitive to seal failure when installed in a wood-based laminate countertop, but the design itself is not automatically defective.
With an undermount sink, the countertop cutout sits directly beside the wet basin opening.
If the bond or seal separates, water can reach that cut edge quickly.
RV travel also adds another factor.
Road vibration, cabinet movement, sink weight, and repeated bumps can stress the sink mounting system over time.
If the sink moves even slightly, the seal can begin separating.
A properly installed undermount sink can work well. The important factors are correct support, compatible materials, protected cutout edges, and a reliable waterproof seal.
Should I Convert My RV Sink to a Top-Mount Sink?
Converting to a top-mount sink can make sense if you are already repairing serious damage around the existing opening.
A top-mount sink has a rim that sits over the countertop. That rim can cover the cutout and makes the exposed edge easier to protect.
A slightly larger top-mount sink may also allow you to remove part of a damaged countertop opening while enlarging the cutout.
But do not treat the new sink as a cover for rotten material.
You still need to remove badly damaged substrate and make sure the surrounding countertop is strong enough to support the new sink.
You should also protect the new cutout edge before installation.
The best sink style depends on your existing countertop, available space, plumbing position, sink dimensions, and how much material has been damaged.
Common Repair Mistakes That Let the Damage Return
Most repeat problems happen because the visible swelling gets treated while the moisture path remains. Avoid these shortcuts if you want the repair to last.
- Applying silicone while the substrate is still damp
- Caulking without identifying the real leak
- Assuming every leak comes from the sink rim
- Ignoring a slow faucet or supply-line drip
- Leaving raw particleboard exposed after removing the sink
- Reinstalling loose sink hardware without correcting the support
- Trying to clamp badly swollen particleboard back to normal thickness
- Covering crumbling material with filler
- Reattaching laminate over wet substrate
- Using excessive heat to speed drying
- Testing only the faucet and ignoring the drain
- Assuming no visible drip means no moisture is entering
- Ignoring countertop damage hidden underneath the sink rim
If you have already resealed the sink once and the swelling keeps getting worse, stop repeating the same repair.
Something else is probably still leaking.
How to Prevent Your RV Countertop From Swelling Again
You do not need to obsess over the sink after repairing it. A few simple checks can catch water intrusion long before the countertop starts expanding again.
- Wipe standing water from around the sink after use.
- Check sink sealant for gaps or separation.
- Inspect the faucet base for movement.
- Look under the sink occasionally for small drips.
- Check hot and cold supply fittings.
- Inspect the drain basket and P-trap.
- Check sink mounts after rough trips.
- Address loose laminate early.
- Protect raw countertop edges during modifications.
- Seal newly drilled faucet or accessory holes.
- Do not ignore persistent cabinet dampness.
- Investigate musty smells around the sink area.
I would also look beneath the sink whenever you prepare the RV for a new camping season.
A thirty-second inspection can reveal a drip before it ruins the countertop.
Final Words
Swelling around an RV sink is usually a moisture warning, not simply a cosmetic problem.
The easiest way to approach it is in this order: find the water source, stop it, inspect the substrate, dry everything completely, repair or replace the damaged material, reseal the sink, and test the system again.
If the countertop is still firm, catching the problem early may save you from replacing it. If it has become soft, crumbly, or unable to support the sink, replacement is usually the more dependable repair.
Most importantly, do not let new silicone hide an unresolved leak. Fixing where the water comes from is what keeps the problem from coming back.
Related FAQs
Can a Swollen RV Countertop Be Flattened Again?
A slightly lifted laminate surface may sometimes be bonded flat again, but particleboard or MDF that has physically expanded from moisture often stays thicker after drying. If the substrate remains hard, you may still be able to repair and reseal it even if a small raised area remains.
How Long Should a Wet RV Countertop Dry Before Resealing?
There is no single drying time that works for every countertop. A lightly damp edge may dry quickly, while saturated particleboard can take much longer. Use airflow and wait until the material is fully dry before applying sealant, adhesive, or repair products.
What Caulk Should I Use Around an RV Kitchen Sink?
Use a waterproof sealant that is compatible with your sink and countertop materials. Kitchen and bath silicone is commonly used, but you should also follow the sink or countertop manufacturer’s recommendations because some materials require specific sealants or adhesives.
Why Is My RV Countertop Bubbling Instead of Swelling?
Bubbling often means the laminate or decorative surface has separated from the substrate beneath it. Moisture may weaken the adhesive or cause the wood-based core to expand, which pushes the laminate upward and creates bubbles.
Can a Faucet Leak Cause Countertop Swelling?
Yes. Water can leak around the faucet base, mounting holes, supply fittings, or sprayer connections. It may travel along the underside of the countertop before dripping, so the swelling can appear some distance from the actual faucet leak.
Can a Drain Leak Damage the Countertop Around the Sink?
Yes. A leaking drain basket, tailpiece, or plumbing connection can wet the countertop from underneath. Water may also travel along the underside of the sink before reaching exposed particleboard around the cutout.
Is Swollen Particleboard Still Strong?
Slightly swollen particleboard may remain firm enough for limited repair, but badly swollen material loses strength. If it feels soft, flakes apart, or cannot hold sink mounting hardware securely, it should not be relied on as structural support.
Does an RV Countertop Need Replacing After Water Damage?
Not always. Localized damage may be repairable when the countertop remains firm and the moisture source has been stopped. Replacement becomes the better option when the core is soft, crumbling, badly warped, or no longer able to support the sink.
Can I Reseal an RV Sink Without Removing It?
Yes, if the existing seal is accessible, the countertop is dry, and the substrate remains solid. However, removing the sink may be necessary when swelling extends underneath the rim or you need to inspect, dry, or seal the exposed countertop cutout.
Why Does My RV Sink Keep Separating From the Countertop?
A sink may keep separating because of loose mounting hardware, weak water-damaged substrate, improper installation, insufficient support, or repeated RV vibration. Resealing alone will not last if the sink itself continues moving.

Gregory Allen covers outdoor RV camping, essential gear, and travel preparation. His reviews are based on real conditions, not spec sheets alone. He helps RVers choose equipment that works reliably in everyday outdoor use.