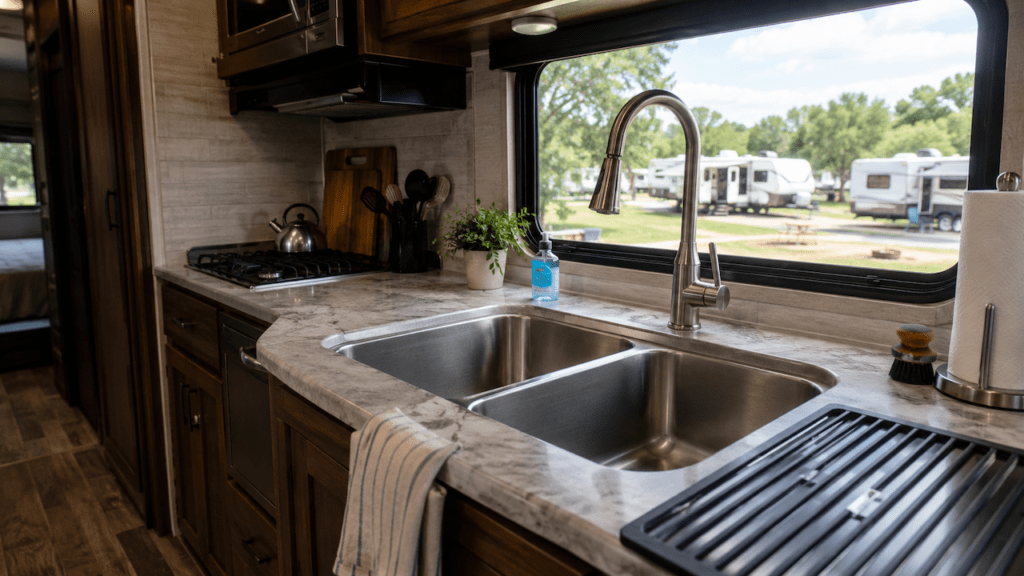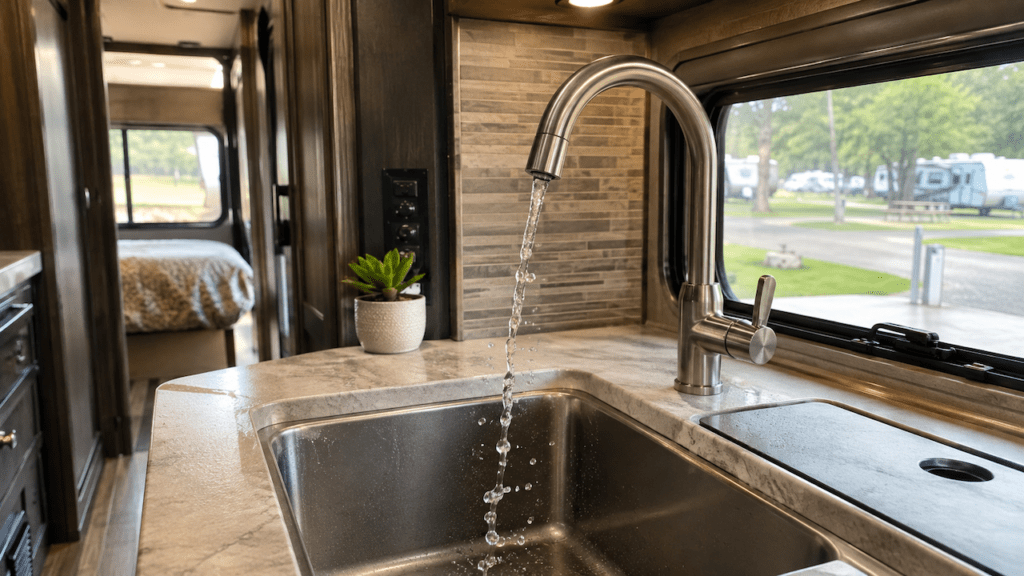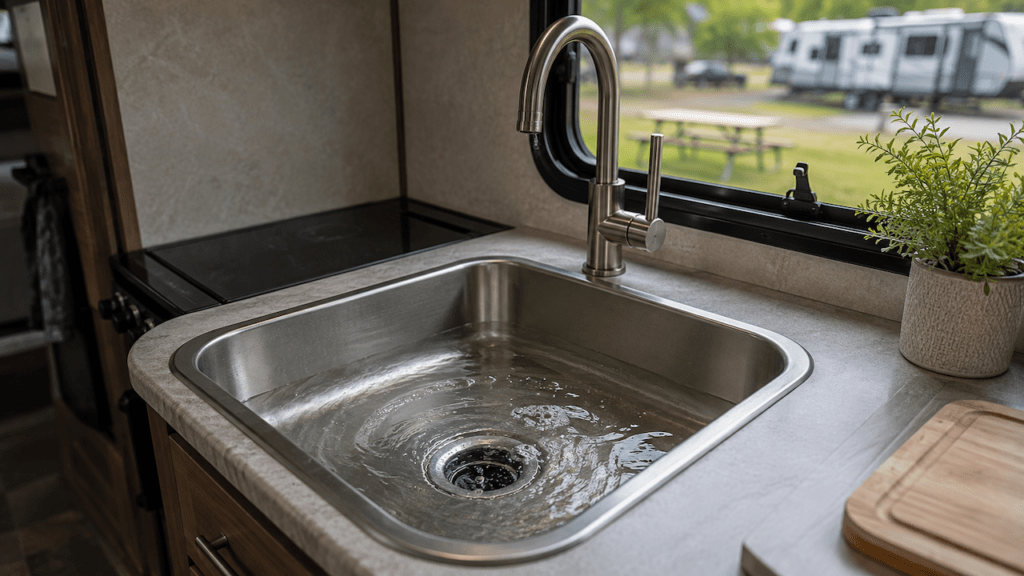
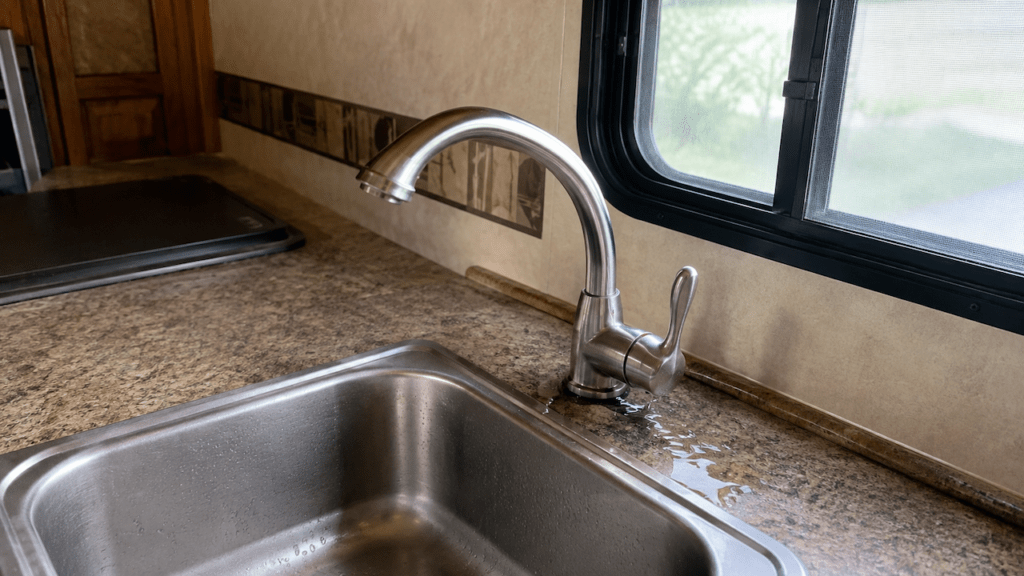
An RV faucet usually leaks around the base because of worn O-rings, a failing cartridge, loose plumbing connections, or water traveling down from another part of the faucet. Road vibration, freezing temperatures, mineral buildup, and high campground water pressure can make these problems appear sooner.
The tricky part is finding where the water actually starts. I’ll show you how to identify the leak, match it to the likely failed part, and decide whether repairing or replacing the faucet makes more sense.
Key Takeaways
- A puddle around the faucet base does not always mean the base seal failed.
- Water leaking where the spout rotates usually points toward worn O-rings.
- Water beginning near the handle often indicates a cartridge or valve seal problem.
- A loose faucet can damage seals and connections, but tightening alone may not stop the leak.
- Supply fittings beneath the sink can leak and send water toward the faucet base.
- High campground water pressure can expose already weakened seals and fittings.
- Cracked or freeze-damaged RV faucets are usually better replaced than repeatedly repaired.
- Always shut off city water and the RV pump before taking the faucet apart.
First, Find Where the Water Is Actually Coming From
Water has a habit of traveling along faucet bodies, hoses, and countertops. That means the wettest area may not be where the leak started. Find the first wet spot before replacing anything.
Water Appears Where the Spout Enters the Faucet Body
This is one of the clearest signs of worn spout O-rings.
Many RV kitchen faucets have a swivel spout. Small rubber O-rings seal the connection where that spout enters the faucet body.
Those seals slowly flatten, dry, crack, or wear down.
You may notice the leak becomes worse when rotating the spout. Sometimes the faucet stays dry while facing forward but leaks when turned sideways.
If moving the spout changes the leak, I would inspect those O-rings first.
Water Starts Around the Faucet Handle
If you see moisture underneath the handle, the cartridge or valve seals may be failing.
Water can then travel down the faucet body. Eventually, it collects around the countertop and looks like a base leak.
Dry the faucet completely and wrap a paper towel around the handle area.
Run the faucet again.
If that towel becomes wet before the countertop does, the problem is probably inside the handle or cartridge assembly.
Water Appears Between the Faucet and Countertop
This symptom needs a little more investigation.
You may have an internal faucet leak that is escaping near the bottom. However, water from normal sink use can also slip underneath a damaged deck gasket.
Try drying everything thoroughly.
Then run the faucet without splashing water around the sink.
If the base stays dry, splash a small amount of water around it.
Water appearing underneath afterward suggests the deck seal needs attention.
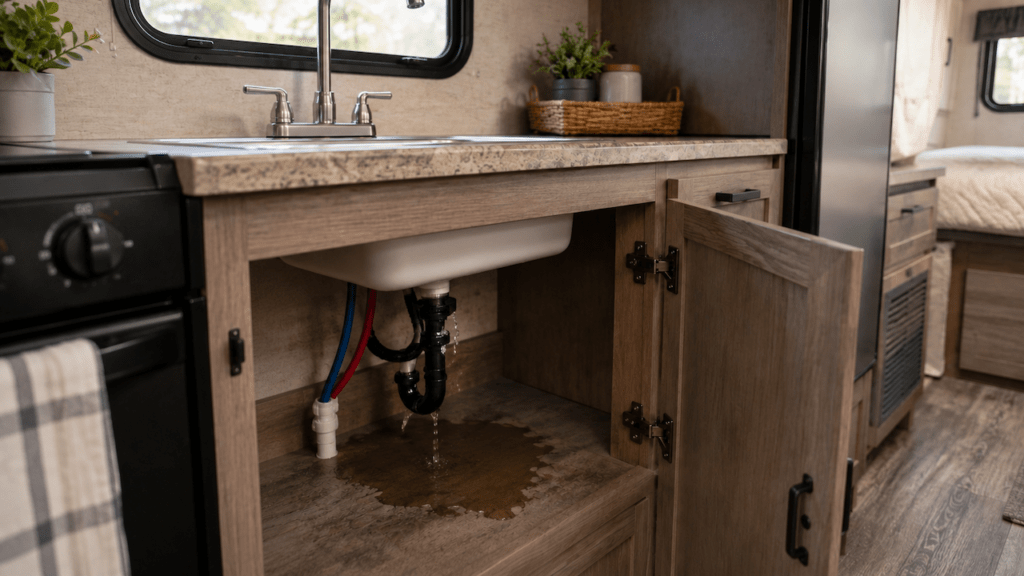
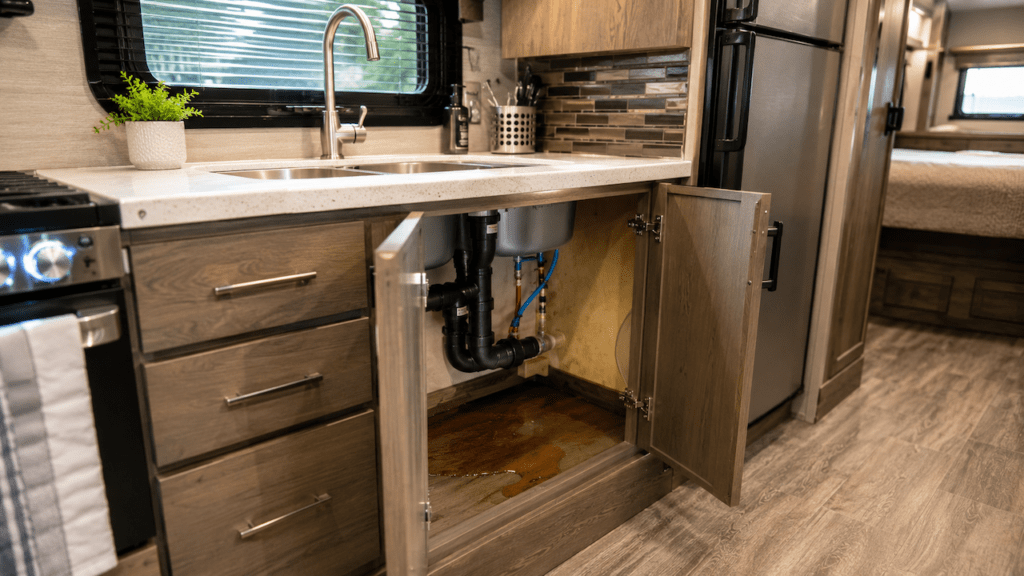
Water Comes From Under the Sink
Open the cabinet and look upward while the faucet is running.
Check both hot and cold supply connections.
Also inspect any pull-down sprayer hose connections.
A slow supply-line leak can run along the faucet shank before dripping somewhere else. That can easily make the leak look like it started at the faucet base.
RV Faucet Leak Symptoms and Most Likely Causes
The easiest way to narrow down the problem is to match the symptom with the component most likely responsible.
| What You Notice | Most Likely Cause | What to Check First | Typical Fix |
| Leak where the swivel spout enters | Worn O-ring | Rotate the spout slowly | Replace O-rings |
| Water begins below the handle | Cartridge or valve seal | Dry handle and retest | Replace cartridge |
| Faucet rocks on the countertop | Loose mounting hardware | Inspect mounting nut | Tighten carefully |
| Water appears below the counter | Supply fitting or washer | Check connections | Tighten or replace seal |
| Leak appears after using sprayer | Hose or sprayer connection | Inspect pull-down hose | Repair connection |
| Leak becomes worse on city water | Excessive pressure or weak seal | Check regulator | Regulate pressure and repair seal |
| Leak began after winter storage | Freeze damage | Inspect faucet body | Replace damaged faucet |
| Water enters under base after splashing | Failed deck gasket | Test countertop seal | Replace gasket |
| Leak continues with faucet turned off | Supply-side leak | Inspect pressurized connections | Repair fitting or hose |
Why Does My RV Faucet Leak Around the Base?
Several failures can create the same puddle around an RV faucet. The timing and exact location of the first water usually tell you which component deserves attention.
Worn or Damaged Spout O-Rings
Worn O-rings are especially common when the leak comes from the rotating spout joint.
Every time you turn the faucet from one side of the sink to another, those rubber seals move against the faucet body.
Eventually, they wear down.
Heat can harden them. Cold weather can make them brittle. Mineral deposits can also create rough surfaces that damage the rubber.
You may see a thin ring of water forming around the spout.
That is usually much easier to repair than replacing the entire faucet.
Damaged or Misaligned Faucet Cartridge
The cartridge controls water flow and mixing inside many modern faucets.
When its seals wear out, water can escape inside the faucet body.
Sometimes that water appears around the handle. Other times it travels downward and exits near the base.
A damaged cartridge can also cause:
- dripping after the faucet is turned off
- stiff or loose handle movement
- inconsistent hot and cold mixing
- leaking beneath the handle
- moisture appearing inside the faucet body
If your O-rings look fine but the faucet still leaks internally, the cartridge becomes a stronger suspect.
Water Leaking From the Handle
Do not assume every puddle around the base begins there.
A small handle leak may run down the back of the faucet where you cannot easily see it.
This is particularly common with taller kitchen faucets.
Dry the entire faucet.
Wrap separate paper towels around the handle, spout joint, and faucet base.
Run the faucet for about one minute.
The first towel becoming wet usually gives you the answer.
Loose Faucet Mounting Hardware
RV faucets experience far more vibration than faucets inside stationary homes.
Every highway seam, pothole, gravel road, and campground entrance shakes the plumbing.
Eventually, the nut securing the faucet underneath the countertop can loosen.
You may notice the whole faucet moves when you touch it.
A loose mounting nut does not normally create a pressurized leak by itself. However, repeated movement can disturb the base gasket and stress supply connections.
Tighten the mounting hardware if the faucet rocks.
Then retest carefully because another damaged seal may still be leaking.
Damaged Faucet Base or Deck Gasket
Most faucets have a rubber, foam, or molded gasket between the faucet and countertop.
Its main job is keeping water sitting on the countertop from getting underneath.
Over time, that gasket can flatten or shift.
You may have a deck-gasket problem when:
- the faucet itself stays dry
- water appears only after sink splashing
- moisture enters around the mounting hole
- the gasket is visibly cracked
- the faucet has been loose for some time
Replacing the gasket can solve this problem.
However, a new gasket will not repair water leaking from inside the faucet.
Leaking Supply-Line Washer or Connection
Hot and cold water lines connect beneath your RV faucet.
These connections often use rubber sealing washers.
The washer can become flattened, twisted, cracked, or displaced.
Road vibration can also loosen the connection.
Run one temperature at a time while watching underneath.
Start with cold water.
Then test hot water separately.
If only one side leaks, you have already narrowed the repair considerably.
Pull-Down Hose or Sprayer Connection Leak
Pull-down kitchen faucets introduce another possible leak path.
The hose runs through the faucet body underneath the sink.
Water escaping from the sprayer connection or hose can travel down into the cabinet.
Sometimes it looks like the base itself is leaking.
Inspect the hose while somebody operates the sprayer.
Look closely at:
- the connection beneath the spray head
- quick-connect fittings
- hose O-rings
- worn spots along the hose
- areas rubbing against cabinet hardware
A damaged pull-down hose should normally be replaced rather than patched.
Freeze Damage to the Faucet Body
Freezing water expands.
If water remains trapped inside your faucet during winter storage, that expansion can damage plastic bodies, cartridges, fittings, or internal seals.
Sometimes the crack is extremely small.
You might not see anything until the plumbing system becomes pressurized again.
Suspect freeze damage when the faucet worked properly before winter but began leaking immediately afterward.
Carefully inspect plastic sections with a flashlight.
A cracked faucet body usually means replacement is the reliable solution.
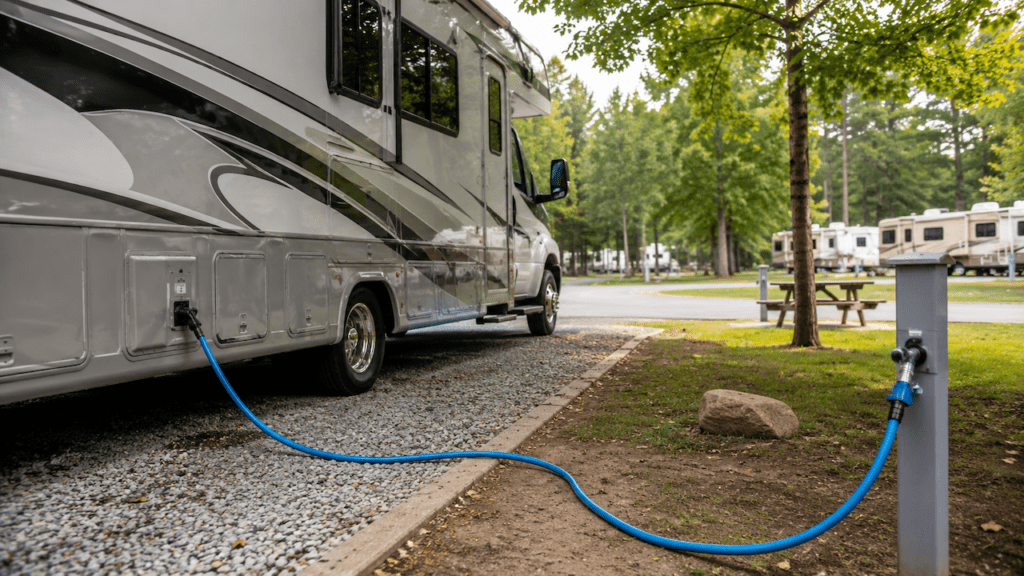
High Campground Water Pressure
Campground water pressure is not always consistent.
Some hookups can provide much more pressure than your RV plumbing needs.
That extra pressure can expose weakened O-rings, cartridges, fittings, and supply washers.
I prefer keeping RV water pressure around the commonly recommended 40-55 PSI range unless the RV manufacturer specifies differently.
Use an adjustable regulator with a gauge when possible.
Keep in mind that reducing pressure will not repair a damaged seal. It simply prevents excessive pressure from making the problem worse.
Cracked or Aging Factory RV Faucet
Many RVs come with lightweight faucets designed to save weight and manufacturing cost.
That does not automatically make them bad.
However, plastic components eventually suffer from heat, cold, vibration, UV exposure, and repeated use.
A faucet that has become brittle may develop cracks around threaded sections or mounting points.
Once the actual body cracks, replacing individual seals usually will not solve the problem.
Does a Clogged Aerator Cause an RV Faucet to Leak at the Base?
A dirty aerator can restrict flow, but it is not my first suspect when water genuinely leaks from the faucet base.
Mineral buildup inside the aerator may create weak flow, uneven spray patterns, or strange water direction.
Cleaning it is still worthwhile.
Unscrew the aerator and inspect the screen.
Soak mineral-covered parts in vinegar, rinse them, and reinstall everything.
Then test the faucet again.
If water still appears around the spout joint, handle, or base, keep looking at the O-rings, cartridge, hoses, and plumbing connections.
How Can I Tell Which Part of My RV Faucet Is Leaking?
You can usually narrow down the problem without removing the faucet. The key is getting everything completely dry before testing each part separately.
- Turn off the faucet and dry the entire sink area.
- Dry everything underneath the sink as well.
- Place paper towels around likely leak locations.
- Turn on your RV pump or city-water connection.
- Leave the faucet closed for about one minute.
- Check whether anything becomes wet while the faucet remains off.
- Run cold water by itself.
- Run hot water separately.
- Rotate the spout while water flows.
- Operate the pull-down sprayer if equipped.
- Check all supply and hose connections underneath.
- Find the first location becoming wet.
Here is how I would interpret the results:
- Leaks while the faucet is off: Inspect supply connections or the valve assembly.
- Leaks only while running: Inspect spout seals, cartridge, hoses, and connections.
- Leaks while rotating the spout: Inspect the spout O-rings.
- Leaks beneath the handle: Inspect the cartridge and handle seals.
- Leaks after countertop splashing: Inspect the deck gasket.
- Leaks worse on city water: Check pressure and repair the weakened component.
How to Fix an RV Faucet Leaking Around the Base
Once you know where the leak begins, repair that specific area. Avoid pulling the entire faucet apart before you have a likely cause.
Before You Start
- Disconnect the city-water hose.
- Turn off the RV water pump.
- Open the faucet and relieve trapped pressure.
- Place towels inside the sink cabinet.
- Take photos of plumbing connections.
- Identify the faucet brand and model when possible.
- Keep small clips, screws, and washers organized.
Replace the Spout O-Rings
If water appears around the swivel joint, the O-rings are usually a good place to start.
Remove the spout according to your faucet design.
Some faucets use a retaining collar. Others have a small set screw or threaded connection.
Once removed, inspect the rubber O-rings.
Replace any that look:
- flattened
- cracked
- stretched
- hardened
- torn
Clean mineral deposits from the sealing surface.
Apply a small amount of faucet-safe silicone grease to the replacement O-rings.
Do not use petroleum grease because it can damage certain rubber materials.
Reinstall the spout carefully.
Make sure the O-rings do not twist or roll out of position.
Turn the water back on and test while rotating the spout.
Replace or Reseat the Cartridge
Cartridge access varies considerably between faucets.
Usually, you remove the handle first.
There may be a decorative cap covering a screw.
After removing the handle, you may find a retaining nut or clip holding the cartridge.
Before pulling it out, note its position.
Installing a cartridge incorrectly can create new leaks.
Inspect it for:
- damaged rubber seals
- cracks
- mineral deposits
- broken plastic
- distorted sealing surfaces
If replacement cartridges are readily available, replacing the cartridge is often easier than rebuilding it.
Tighten the Faucet Mount
If the faucet moves on the countertop, look beneath the sink.
Find the large nut, bracket, or mounting plate securing it.
Have someone hold the faucet straight above while you tighten it underneath.
Do not overtighten plastic hardware.
You want the faucet secure enough that it no longer rocks.
Cranking down excessively can crack the mounting nut or damage a lightweight RV countertop.
After tightening, run the faucet again and check every connection.
Replace the Base Gasket
Replace the deck gasket when surface water is getting underneath the faucet.
You will normally need to loosen or remove the faucet.
Clean the countertop around the mounting holes.
Remove old gasket material and dirt.
Install the replacement gasket in the correct position.
Then remount the faucet evenly.
Do not rely on silicone sealant to hide an internal plumbing leak.
Sealant is useful only when the actual problem involves water entering around the countertop opening.
Repair a Leaking Supply Connection
If the leak starts underneath the sink, inspect the sealing washer first.
Disconnect the water supply after relieving pressure.
Check whether the washer is:
- flattened
- split
- twisted
- missing
- hardened
Replace damaged washers with the correct size.
Reconnect the fitting squarely.
Avoid cross-threading plastic connections.
Also avoid automatically wrapping every RV fitting in plumber’s tape.
Many faucet swivel fittings seal with a rubber washer, not the threads themselves.
Repair the Pull-Down Hose Connection
Run the sprayer while watching the hose.
If the connection beneath the spray head leaks, inspect its O-ring.
Check any quick-connect fitting beneath the faucet.
Look for worn areas where the hose rubs against:
- cabinet walls
- plumbing
- sink brackets
- sharp hardware
A split hose should generally be replaced.
Trying to tape a pressurized flexible hose is rarely a reliable long-term repair.
Should I Use Plumber’s Tape on RV Faucet Connections?
Plumber’s tape should only be used where the fitting design requires the threads themselves to create the seal.
Not every RV faucet connection works that way.
Many swivel connections use a rubber washer.
The washer creates the seal when the fitting is tightened.
Wrapping those threads in excessive PTFE tape may not solve anything.
It can also make the connection harder to seat correctly.
Inspect the fitting design before adding tape.
How Tight Should I Tighten an RV Faucet or Supply Connection?
There is no universal tightening specification for every RV faucet.
Plastic hardware needs particular care.
A fitting can feel slightly loose and tempt you to keep tightening it.
Then the plastic nut suddenly cracks.
For mounting hardware, tighten until the faucet sits firmly without rocking.
For gasket-sealed plumbing fittings, tighten enough to compress the seal properly.
If the manufacturer provides torque instructions, follow those instead.
Can High Water Pressure Make an RV Faucet Leak?
Yes, high campground pressure can make a weak faucet seal start leaking.
However, pressure usually exposes an existing problem.
It does not magically create a new hole in an otherwise healthy faucet.
Weak components may include:
- O-rings
- cartridges
- plastic fittings
- supply washers
- sprayer hoses
A pressure regulator helps protect the entire RV plumbing system.
I recommend checking the actual pressure with a gauge rather than guessing.
If lowering the pressure stops the leak, still inspect the affected component.
A healthy seal should not depend on unusually low pressure to remain dry.
Should I Repair or Replace My Leaking RV Faucet?
Small seal problems are often worth repairing. Cracked faucet bodies and repeated failures usually make replacement more practical.
| Faucet Condition | Repair Usually Makes Sense | Replacement Usually Makes Sense |
| One worn O-ring | Yes | No |
| Replaceable cartridge failed | Yes | Sometimes |
| Loose mounting hardware | Yes | No |
| Damaged deck gasket | Yes | No |
| Leaking supply washer | Yes | No |
| Cracked plastic faucet body | Rarely | Yes |
| Freeze-damaged faucet | Sometimes | Usually |
| Multiple recurring leaks | Maybe | Often |
| Replacement parts unavailable | Difficult | Yes |
| Faucet badly corroded or brittle | Maybe | Usually |
Do not replace an otherwise good faucet because of one inexpensive O-ring.
On the other hand, spending time rebuilding a cracked plastic fixture rarely makes sense.
Consider the faucet’s overall condition, age, parts availability, and installation difficulty.
Can I Replace an RV Faucet With a Residential Faucet?
Yes, many RV owners can replace their original faucet with a standard residential model.
The plumbing itself is usually not the biggest obstacle.
Physical fit matters more.
Before buying anything, check:
- number of sink mounting holes
- hole spacing
- faucet mounting diameter
- countertop thickness
- available cabinet clearance
- water supply connection type
- pull-down hose clearance
- backsplash clearance
- overall faucet height
A tall residential faucet can look great but become frustrating if it hits a window or cabinet.
You may also need plumbing adapters depending on your existing supply connections.
Measure everything before ordering.
What Happens If I Ignore a Small Faucet Base Leak?
Small RV leaks rarely improve by themselves.
They usually become more expensive when ignored.
Possible damage includes:
- swollen particleboard countertops
- damaged cabinet floors
- peeling laminate
- persistent dampness
- musty odors
- mold or mildew conditions
- weakened mounting surfaces
- worsening plumbing connections
- larger leaks during travel
Be especially careful when connected continuously to city water.
A city-water connection can continue feeding a leak until somebody notices it.
Repair small leaks early whenever possible.
How to Prevent RV Faucet Base Leaks
A few simple checks can reduce the chance of another leak later.
- Use a water-pressure regulator at campground hookups.
- Inspect the cabinet beneath the sink regularly.
- Check faucet movement after rough travel.
- Tighten loose mounting hardware before it worsens.
- Winterize faucets thoroughly before freezing weather.
- Clean mineral deposits from faucet components.
- Avoid forcing a stiff swivel spout.
- Repair dripping seals before they become larger leaks.
- Check pull-down hoses for rubbing and wear.
- Inspect supply-line washers during plumbing maintenance.
Final Words
If your RV faucet leaks around the base, start by finding the first wet spot. Water around the swivel joint usually points toward O-rings. Moisture beneath the handle often suggests a cartridge. Water underneath the cabinet sends you toward supply connections or sprayer hoses.
Do not replace the entire faucet before doing this simple diagnosis. Many base leaks come from inexpensive seals that take little effort to replace. However, cracked, freeze-damaged, or repeatedly failing faucets are usually better replaced.
Most importantly, shut off the water before working underneath the sink. RV plumbing repairs are much easier when you are fixing a small leak instead of cleaning up a flooded cabinet.
Related FAQs
Why Does My RV Faucet Leak Only When the Water Is On?
A leak that appears only while water flows usually points toward a spout O-ring, cartridge, sprayer hose, or pressurized connection. Dry everything first and watch for the first wet spot.
Why Does My RV Faucet Leak When I Turn the Spout?
A leak that becomes worse while rotating the spout often indicates worn, flattened, or dry O-rings where the spout enters the faucet body.
Why Is My RV Faucet Leaking Under the Sink?
Check the hot and cold supply fittings, sealing washers, pull-down hose, and quick-connect fittings. Water can also travel down the faucet body before dripping underneath.
Can Road Vibration Loosen an RV Faucet?
Yes. Normal highway vibration can gradually loosen faucet mounting hardware and plumbing connections. A loose faucet can also place extra stress on nearby seals and fittings.
Can High Campground Water Pressure Damage an RV Faucet?
Yes. Excessive campground pressure can stress cartridges, O-rings, hoses, and plastic fittings. Using a pressure regulator helps protect your RV plumbing system.
Do I Need to Replace the Whole Faucet for a Bad O-Ring?
Usually not. If the faucet body remains in good condition, replacing the damaged O-ring is normally much cheaper and easier than replacing the whole faucet.
Can I Use a Household Kitchen Faucet in My RV?
Often yes. Check mounting holes, countertop thickness, plumbing connections, cabinet clearance, and faucet height before choosing a residential replacement.
Why Does My RV Faucet Keep Leaking After I Tighten It?
Tightening the mounting nut only fixes a loose faucet. It cannot repair a worn O-ring, damaged cartridge, cracked body, leaking supply washer, or faulty hose connection.
Can Freezing Cause an RV Faucet to Leak Around the Base?
Yes. Water trapped inside the faucet can freeze and expand, damaging cartridges, seals, plastic bodies, or fittings. Leaks often become noticeable after winter storage.
Should I Put Silicone Around the Base of My RV Faucet?
Only use silicone when surface water is getting beneath the faucet through the countertop opening. Silicone will not repair an internal pressurized faucet leak.

Gregory Allen covers outdoor RV camping, essential gear, and travel preparation. His reviews are based on real conditions, not spec sheets alone. He helps RVers choose equipment that works reliably in everyday outdoor use.