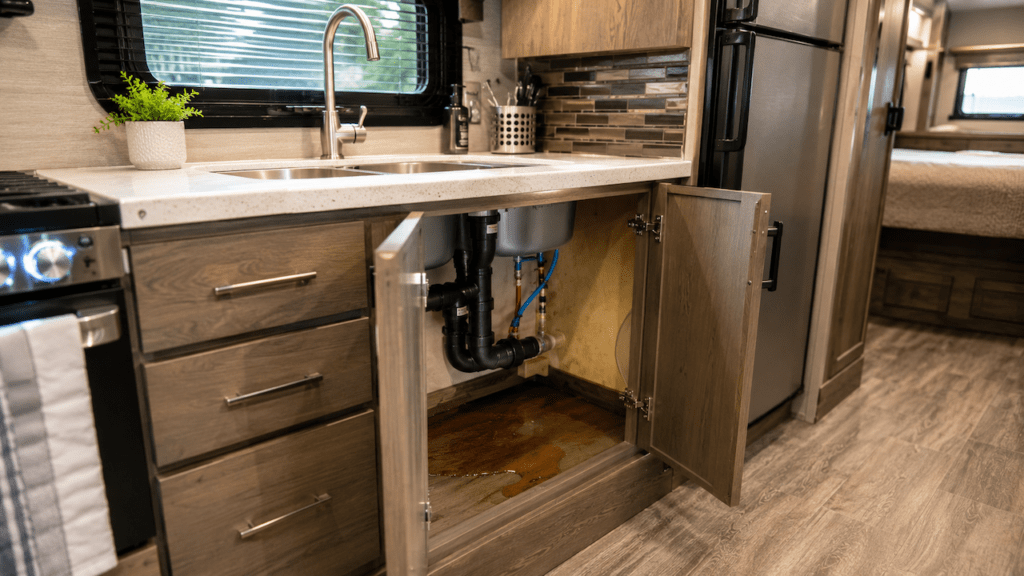
You can find a hidden water leak in an RV kitchen by first drying the area, pressurizing the fresh-water system, testing the sink drain separately, and checking faucet and PEX connections. If the source still stays hidden, trace moisture through cabinets, flooring, appliance lines, and nearby access panels with paper towels and a moisture meter.
I’ll walk you through this in a logical order. The goal is to identify what type of leak you have first, then narrow down exactly where the water is coming from without tearing apart your RV kitchen unnecessarily.
Key Takeaways
- Start by drying everything so new moisture is easy to spot.
- Test pressurized water lines separately from the sink drain.
- A cycling RV water pump can indicate pressure loss somewhere.
- Check hot and cold faucet connections before assuming a pipe cracked.
- Test the P-trap, strainer, and drain fittings independently.
- Water around the sink rim can imitate an under-sink plumbing leak.
- Hidden water may travel several feet before becoming visible.
- A moisture meter can help map damp flooring and wall panels.
- Inspect refrigerator or ice-maker lines if your RV has them.
- Kitchen-slide plumbing needs extra attention because the lines move.
First, Figure Out What Type of RV Kitchen Leak You Have
Before removing panels or tightening fittings, determine when the water actually appears. That one detail can cut your troubleshooting time dramatically.
| What You Notice | Most Likely Problem | First Test to Perform |
| Water pump cycles with every faucet closed | Pressurized plumbing leak or pressure loss | Pressurize the system and leave fixtures off |
| Cabinet stays dry until the sink drains | Drain fitting, P-trap, or strainer leak | Pour water into the sink with supply water off |
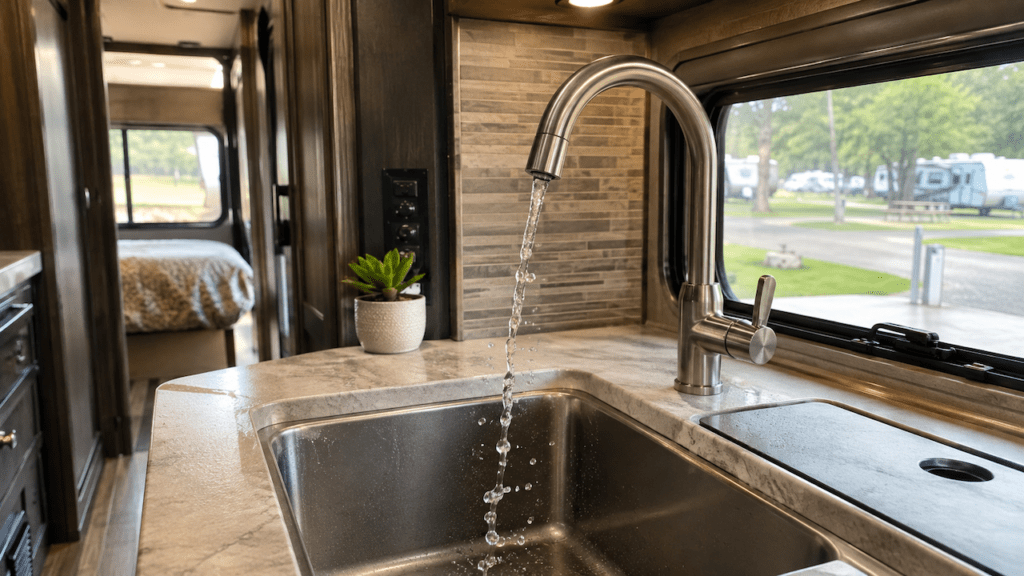
| Water appears while the faucet runs | Faucet, supply fitting, drain, or splash leak | Watch each connection while running water |
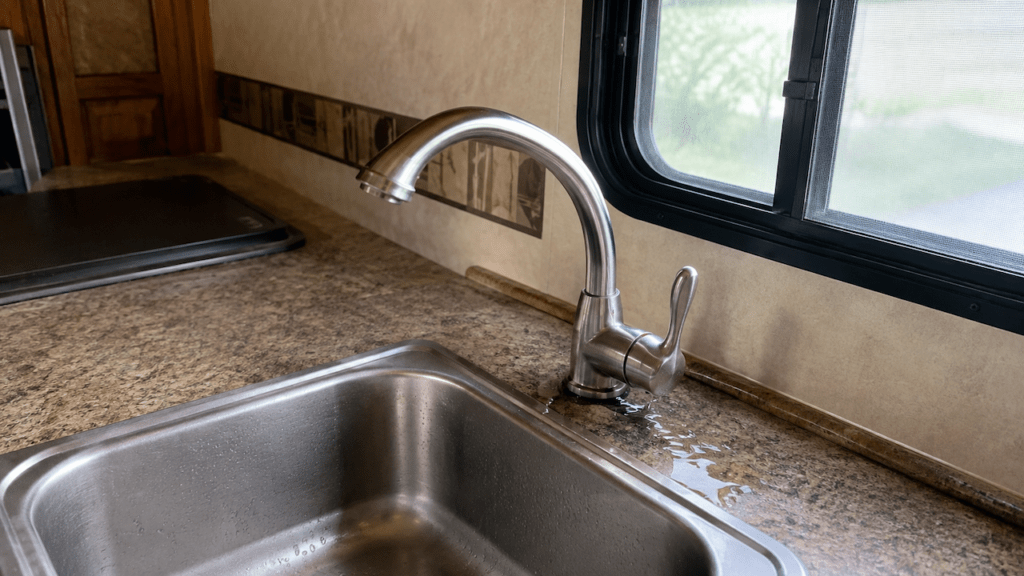
| Water appears around the faucet base | Faucet seal, mounting area, or splash | Dry the counter and test the faucet carefully |
| Floor is wet but cabinet looks dry | Hidden plumbing or traveling water | Follow plumbing and check floor moisture |
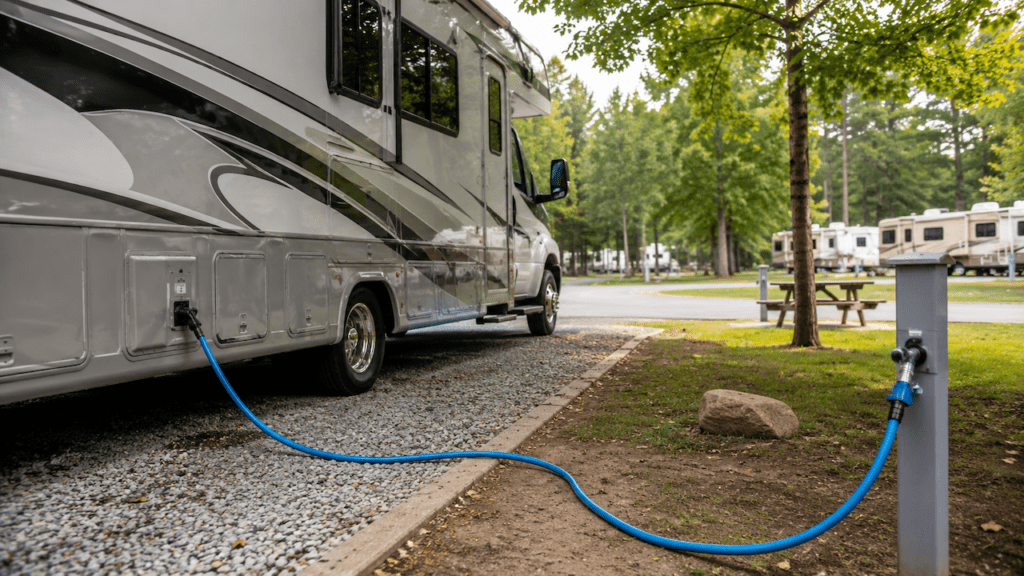
| Leak seems worse on city water | Pressure-sensitive fitting or connection | Compare city water with the onboard pump |
| Moisture appears after rain | Exterior water intrusion | Stop plumbing tests and inspect exterior seals |
| Water appears near the refrigerator | Refrigerator or ice-maker water line | Inspect and isolate the appliance water line |
| Leak is near a kitchen slide | Flexible plumbing or moving connection | Inspect plumbing where it enters the slide |
Think of this as separating the RV kitchen into different water paths. Once you know which path creates the moisture, finding the actual failure becomes much easier.
How to Find a Hidden Water Leak in an RV Kitchen Step by Step
I recommend working through these checks in order. Don’t start opening walls simply because the first inspection doesn’t reveal an obvious drip. Small RV leaks can be surprisingly good at hiding.
1. Dry the Entire Kitchen Cabinet Before Testing
Start with a completely dry workspace.
Remove cleaning supplies, trash cans, cookware, and anything stored underneath the sink. Wipe the cabinet floor, plumbing lines, fittings, wall surfaces, and surrounding flooring.
Use paper towels to get everything genuinely dry.
Then place fresh pieces of dry paper towel beneath suspicious connections.
Paper towels work particularly well because even a tiny amount of water creates an obvious dark patch. A slow leak that never produces a hanging droplet may still wet the paper.
Use a flashlight to inspect the back of the cabinet as well. Pay attention to plumbing that disappears through walls, cabinet floors, or access openings.
2. Test for a Pressurized Fresh-Water Leak
Next, determine whether the leak is coming from the pressurized side of your plumbing.
For the first test, disconnect city water.
Turn on the RV water pump and allow it to build pressure. The pump should eventually stop once the plumbing reaches its shutoff pressure.
Now leave every faucet closed.
Don’t flush the toilet or use any other water fixture during the test.
Listen to the pump.
If it stays quiet, that’s encouraging.
If it periodically runs for a second or two even though nobody is using water, the plumbing system is losing pressure somewhere.
That makes a fresh-water leak more likely.
However, don’t immediately assume the leak is beneath your kitchen sink. A leaking fixture elsewhere in the RV or a pump check-valve problem can also cause pressure loss.
Use the pump cycling as a clue, not proof of the exact leak location.
3. Check the Faucet and Supply Connections
If the pressurized system appears suspicious, the kitchen faucet connections are one of the first places I’d inspect.
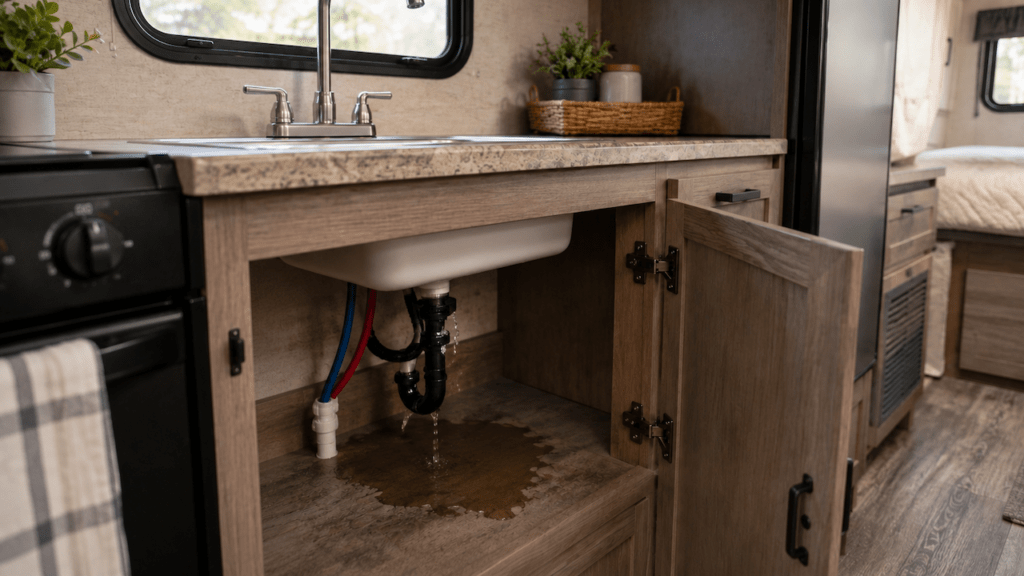
Look underneath the faucet and identify both water lines.
Check:
- Cold-water supply connection
- Hot-water supply connection
- Faucet mounting connections
- PEX fittings
- Flexible faucet hoses
- Shutoff valves, if equipped
- Pull-down or pull-out sprayer hose
- Sprayer hose connection beneath the faucet
Don’t rely only on your eyes.
Run a completely dry finger around each fitting or wrap a small piece of tissue around it.
A fitting can seep so slowly that water runs along the outside of the tubing instead of forming an obvious drip.
Follow the tubing several inches away from each fitting as well.
Sometimes the connection is leaking higher up, while the water finally drops somewhere much farther down.
4. Test the Sink Drain Separately
This step is extremely useful because it separates a supply leak from a drain leak.
Turn off the RV water pump.
Disconnect city water if it’s connected.
You don’t need pressurized plumbing for this test.
Put dry paper towels beneath:
- Sink strainer
- Tailpiece
- P-trap
- Slip-joint nuts
- Drain hose or pipe connections
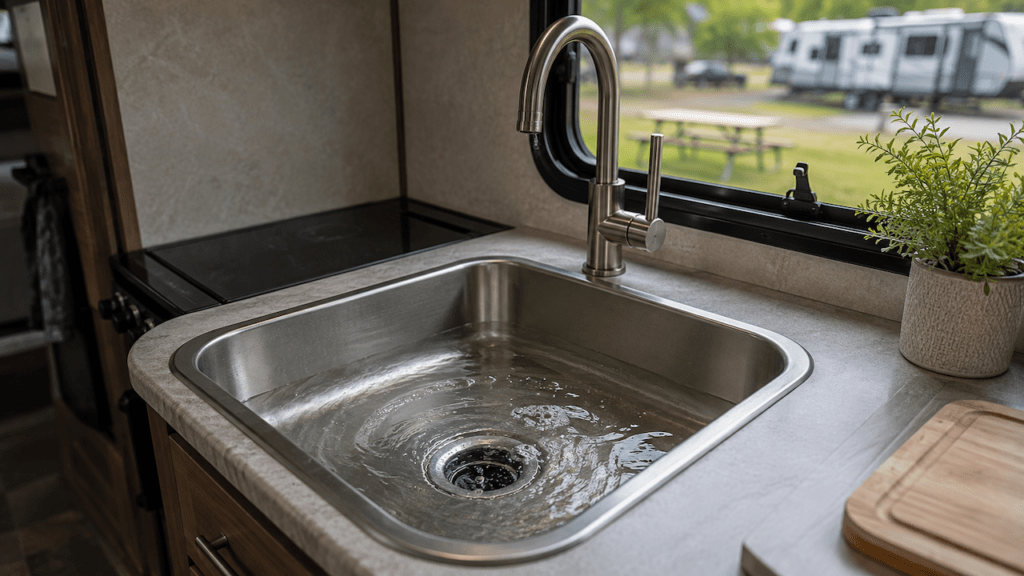
Now pour water directly into the sink.
Watch underneath while the water drains.
If the cabinet remained dry during the pressure test but becomes wet now, you’ve narrowed the problem significantly.
The likely source is somewhere in the drain system rather than the pressurized water lines.
Look closely around the sink strainer first.
Then follow the drain downward through every connection.
A loose slip nut or damaged washer can release only a few drops each time the sink drains. Over several days, that can still soak cabinetry.
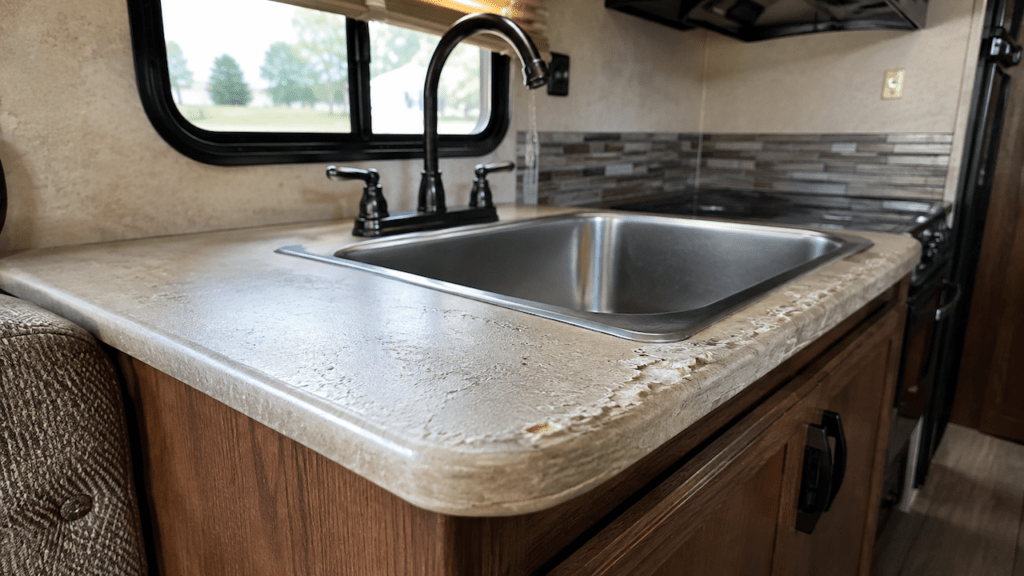
5. Test the Sink Rim and Faucet Base
Not every puddle underneath an RV kitchen sink comes from plumbing.
Water can enter from above.
A failed sink seal can allow dishwater or countertop spills to seep between the sink and countertop. It then appears underneath the cabinet and looks like a plumbing leak.
Dry everything underneath again.
Now apply a small amount of water around one section of the sink perimeter.
Wait and check underneath.
Continue around the sink gradually.
Don’t soak the entire countertop at once. Testing one area at a time makes it easier to identify where water gets through.
Do the same around the faucet mounting base.
If moisture appears only when water touches the countertop or sink edge, you probably have a sealing problem rather than a leaking supply line.
6. Remove Easy Access Panels Before Removing Walls
RV manufacturers frequently hide plumbing behind removable pieces.
Before cutting or dismantling permanent wall panels, look for easier access.
Check behind:
- Drawers
- False cabinet backs
- False cabinet floors
- Toe-kick panels
- Removable shelves
- Refrigerator access panels
- Adjacent cabinets
- Plumbing access covers
Sometimes a drawer can be removed in seconds and reveal the fitting you’ve been trying to locate.
A flashlight or inspection mirror can also help you see behind plumbing without disassembling anything.
If your phone fits safely into the opening, taking a photo or video with the flash turned on can reveal moisture that isn’t visible from your normal viewing angle.
7. Follow the Water Backward, Not Just the Puddle
This is where many hidden leaks become confusing.
The wettest place isn’t always the source.
Water can travel along:
- PEX tubing
- Flexible hoses
- Wiring
- Cabinet edges
- Structural framing
- Floor penetrations
- Drain pipes
Suppose you find water on the cabinet floor near the front.
Don’t assume something directly above that puddle is leaking.
Trace the moisture backward.
Feel along the plumbing and cabinet surfaces toward the highest or earliest wet point.
You’re essentially following this path:
Puddle → damp surface → wet plumbing → fitting → leak source
The farther you can trace the water upstream, the less guessing you’ll have to do.
Where Hidden RV Kitchen Water Leaks Usually Start
Most hidden kitchen leaks come from a relatively small number of locations. I’d inspect these areas before assuming you have a major concealed plumbing failure.
- Hot-water faucet connection
- Cold-water faucet connection
- PEX fittings beneath the sink
- PEX-to-flexible-hose connections
- Faucet body
- Pull-out sprayer hose
- Sprayer hose connection
- Sink strainer gasket
- Drain tailpiece
- P-trap
- Drain slip-joint washers
- Flexible drain connections
- Sink perimeter seal
- Faucet base seal
- Under-sink water-filter housing
- Water-filter fittings
- Refrigerator water line
- Ice-maker line
- Dishwasher supply or drain line, if equipped
- Kitchen island plumbing
- Plumbing inside a kitchen slide
- Connections beneath false cabinet floors
The fittings usually deserve your attention before the tubing itself. RV movement and vibration can loosen connections over time, while freezing conditions can damage both fittings and water lines.
Can a Cycling RV Water Pump Help You Find the Leak?
Yes, but it helps you identify a pressure problem, not necessarily the exact leak.
Your RV water pump normally runs until it pressurizes the plumbing system. Once sufficient pressure is reached, the pump shuts off.
If every fixture is closed and the pump periodically starts again, pressure is dropping somewhere.
A small leaking faucet fitting can cause that.
So can a dripping toilet valve, outdoor shower, water heater connection, or another plumbing fitting elsewhere in the RV.
There is another possibility.
Some pumps can lose pressure internally if water moves backward through the pump because of a check-valve problem.
So if your pump cycles but every accessible fitting remains completely dry, don’t immediately start tearing apart the kitchen.
First verify that an actual external plumbing leak exists.
How Do You Find a Leak Behind an RV Kitchen Cabinet or Wall?
If you’ve confirmed moisture but can’t see the source, start expanding your inspection gradually. Hidden plumbing is often accessible from another cabinet, drawer opening, floor penetration, or exterior compartment.
Check Behind Drawers and False Cabinet Panels
Remove nearby drawers and look behind them.
Many RV kitchens use cabinetry to conceal water lines without permanently sealing them inside walls.
A false cabinet panel may be held in place with screws or lightweight fasteners.
Inspect the area before removing anything permanently attached.
Look for:
- Water stains
- Darkened wood
- Damp insulation
- Mineral deposits
- Swollen panel edges
- Rusted screws or staples
Old water marks can also show you where previous moisture traveled.
Trace the Hot and Cold PEX Lines
Follow both faucet supply lines away from the sink.
Don’t stop once they disappear behind the cabinet.
Determine where they go next.
They may pass:
- Through the floor
- Into an adjacent cabinet
- Behind appliances
- Through a kitchen island
- Into a slide-out
Pay close attention wherever tubing joins another fitting.
A connection hidden six inches behind a panel may be leaking while the visible tubing beneath your sink stays completely dry.
Inspect Where Plumbing Passes Through the Floor
Floor penetrations deserve a careful inspection.
If water reaches a PEX line, it can follow that line downward through the opening.
That may create wet flooring underneath while leaving very little moisture visible inside the cabinet.
Shine a flashlight into the opening.
Feel around the edge for dampness.
If you’re able to safely inspect underneath the RV, check the same approximate location from below.
Look Beneath the RV Directly Below the Kitchen
Some leaks become easier to locate from underneath.
Look beneath the kitchen area for:
- Damp underbelly material
- Water droplets
- Wet insulation
- Stains
- Sagging underbelly sections
- Moisture around plumbing penetrations
A wet underbelly doesn’t automatically tell you where the leak started, but it helps establish the direction the water is traveling.
If the enclosed underbelly is holding significant water, stop pressurizing the system until the leak is located.
How to Use a Moisture Meter to Find a Hidden RV Kitchen Leak
A moisture meter becomes helpful when you know water has been present but can’t determine how far it traveled.
Start by taking readings from an area you know is dry.
Then move toward the suspected leak area in small increments.
Check:
- Cabinet floor
- Cabinet sidewalls
- Wall paneling
- Flooring around the sink
- Flooring beside the cabinets
- Adjacent storage areas
You’re looking for a pattern.
For example, readings might gradually increase as you move toward the back corner of the cabinet.
That helps you narrow the area where moisture is entering.
Don’t treat one high reading as absolute proof that a pipe behind that exact spot is leaking.
Different RV materials can affect moisture-meter readings.
Use the meter to map the wet area, then confirm the source with plumbing tests and direct inspection.
It’s especially useful when moisture has moved beneath vinyl flooring where you can’t see it.
Pay Extra Attention to Plumbing in an RV Kitchen Slide
If your RV kitchen is located in a slide-out, include the slide plumbing in your inspection.
A stationary kitchen can use relatively simple fixed plumbing.
A slide kitchen is different.
Water and drain lines may need enough flexibility to move when the slide extends and retracts.
Inspect anywhere the plumbing bends or passes from the main RV body into the slide.
Look for:
- Chafed tubing
- Rub marks
- Kinked hoses
- Pinched plumbing
- Loose fittings
- Excessive tension
- Cracked flexible drain sections
- Water lines rubbing against openings
Slowly operate the slide only if the area is safe and dry enough to do so.
Watch how the hoses and plumbing move.
A line may look perfectly normal with the slide extended but become pinched while retracting.
What If the RV Kitchen Floor Is Wet but Nothing Under the Sink Is Leaking?
A wet kitchen floor with a completely dry sink cabinet usually means you need to widen the search. Water may be entering from adjacent plumbing, traveling along a hidden surface, or coming from something other than the sink.
Check Adjacent Cabinets
Remove items from the cabinets next to the sink.
Feel the cabinet floor and lower wall surfaces.
A fitting may be leaking in the neighboring cabinet while water travels underneath the cabinetry before appearing near the kitchen.
Check the Refrigerator Water Line
If your refrigerator has an ice maker or water dispenser, inspect its supply line.
Look behind the refrigerator through the proper access area.
Check connections for dampness or mineral deposits.
A refrigerator line can create a kitchen-floor leak even when every component beneath the sink is dry.
Check for Water Traveling Along a Pipe
Follow nearby supply and drain lines.
Feel underneath them.
Water can cling to the bottom of a horizontal pipe and travel before dripping.
The location where water falls onto the floor may therefore be well away from the actual fitting.
Check Whether the Moisture Appears After Rain
If your plumbing tests don’t create any new moisture, consider exterior water.
Watch what happens after rainfall or washing the RV.
A roof, window, exterior seam, vent, or sidewall leak may travel downward and finally appear around the kitchen.
If the moisture only appears after rain, continuing to tighten kitchen plumbing probably won’t solve anything.
City Water vs. Water Pump: Does the Leak Change?
Testing both water sources can tell you a lot. You don’t necessarily need to leave them connected for long; you’re simply comparing how the plumbing behaves.
- Leak happens on both city water and the pump: Focus on pressurized plumbing downstream of both sources.
- Leak happens mainly with the water pump: Inspect the pump-side system and confirm the pump itself isn’t losing pressure internally.
- Leak becomes worse on city water: Higher campground pressure may be exposing a weak fitting or connection.
- Leak happens only when the sink drains: Focus on the strainer, tailpiece, trap, and drain system.
- Neither pressurized-water test causes moisture: Test the sink rim, faucet base, appliance lines, condensation, and exterior water intrusion.
If city-water pressure seems unusually high, use a proper RV water-pressure regulator before continuing. Excessive pressure can turn a marginal fitting into an active leak.
Don’t Confuse These Problems With a Hidden Plumbing Leak
Not every damp kitchen cabinet means a PEX fitting has failed.
Before opening walls, rule out these possibilities:
- Water splashed around the sink
- Failed sink-to-counter seal
- Water entering around the faucet base
- Refrigerator condensation
- Refrigerator drain water
- Air-conditioner moisture traveling from another area
- Rain intrusion
- Window leakage
- Roof leakage
- Water traveling from an adjacent fixture
- Condensation inside a cold cabinet
- Pump pressure loss caused by internal backflow
The timing of the moisture usually helps separate these problems.
If it appears only after washing dishes, test the sink area.
If it appears overnight with the pump pressurized, investigate supply plumbing.
And, if it appears after heavy rain, investigate exterior intrusion.
What Should You Do After You Find the Leak?
Once you’ve identified the source, stop the water before making repairs. Then make sure the surrounding structure is actually dry before closing everything back up.
- Disconnect city water.
- Turn off the RV water pump.
- Open a faucet to relieve plumbing pressure.
- Repair or replace the failed fitting, hose, gasket, or seal.
- Dry the cabinet and flooring thoroughly.
- Inspect surrounding wood for swelling or softness.
- Check beneath flooring if substantial water entered the area.
- Retest the repaired system.
- Leave access panels open while confirming the area remains dry.
- Check the repair again after your next travel day.
If water has reached nearby electrical wiring or equipment, disconnect the appropriate electrical power and have the area inspected before continuing to use it.
When a Hidden Kitchen Leak Needs an RV Technician
You can handle many loose connections and drain leaks yourself, but some situations justify professional help.
- The pump keeps cycling and you can’t locate the pressure loss.
- The leak is buried inside a wall.
- The enclosed underbelly is filling with water.
- The kitchen slide plumbing is difficult to access.
- Flooring has become soft or spongy.
- Cabinet wood is badly swollen.
- Wall panels show delamination or deterioration.
- Water has reached electrical equipment.
- You find substantial mold growth.
- The leak requires major plumbing rerouting.
- You would need to cut structural panels to reach the plumbing.
The sooner you deal with these signs, the better. The plumbing repair itself may be inexpensive compared with replacing a damaged RV subfloor.
How to Catch the Next RV Kitchen Leak Earlier
A few quick checks can catch small leaks before they become expensive repairs.
- Feel beneath faucet connections occasionally.
- Inspect plumbing after de-winterizing.
- Check the cabinet after long travel days.
- Listen for unexplained water-pump cycling.
- Inspect refrigerator water lines if equipped.
- Check plumbing in kitchen slides regularly.
- Keep the area beneath the sink uncluttered enough for inspection.
- Consider placing a small water-leak sensor beneath vulnerable fittings.
- Investigate musty odors instead of covering them up.
- Don’t ignore a soft or unusually flexible section of flooring.
You don’t need to obsessively inspect the kitchen every day. A quick look every so often can reveal a slow seep before it spreads beneath the floor.
Final Words
Finding a hidden water leak in an RV kitchen becomes much easier when you stop looking everywhere at once.
Start by determining what makes the water appear.
Pressurize the fresh-water system first. Then test the drain separately. After that, check the sink rim, faucet base, appliance lines, hidden access areas, and surrounding flooring.
If you remember one troubleshooting order, make it this:
Pressure test → drain test → sink-seal test → appliance check → hidden-access inspection → moisture tracing.
That process usually gets you much closer to the real source without unnecessarily pulling your RV kitchen apart.
Related FAQs
Can an RV Water Pump Cycle Without a Visible Water Leak?
Yes. A cycling pump usually means the freshwater system is losing pressure, but the problem may be a tiny hidden leak elsewhere or internal backflow through the pump. Inspect the plumbing before assuming the kitchen is definitely leaking.
How Do I Know if My RV Sink Leak Is From the Drain or Water Line?
Pressurize the plumbing without using the sink first. If moisture appears, suspect the supply side. If everything stays dry until you pour water down the sink, focus on the strainer, tailpiece, P-trap, and drain connections.
Why Is My RV Kitchen Floor Wet but Nothing Under the Sink Is Leaking?
Water may be coming from hidden PEX plumbing, an adjacent cabinet, a refrigerator water line, a kitchen slide, or exterior rain intrusion. Water can also travel along pipes and flooring before becoming visible.
Can a Moisture Meter Find a Hidden Leak in an RV?
A moisture meter can help locate unusually damp walls, cabinets, or flooring, but it doesn’t identify the exact leaking fitting. Use it to map the moisture pattern, then confirm the source through plumbing and drain tests.
Can an RV Kitchen Sink Leak Only When Connected to City Water?
Yes. Campground water pressure can expose a weak fitting that doesn’t leak noticeably at lower pump pressure. Compare the system on city water and the onboard pump, and use an RV water-pressure regulator when connected to campground water.
Where Do RV Kitchen Water Lines Usually Run?
RV kitchen water lines commonly run beneath cabinets, through floors, behind appliances, or into adjacent storage spaces. Kitchen-slide layouts may also use flexible plumbing that moves when the slide extends and retracts.
Can a Kitchen Slide Cause an RV Water Leak?
Yes. Plumbing in a kitchen slide can rub, kink, stretch, or loosen as the slide moves. Inspect flexible hoses, PEX transitions, drain sections, and anywhere the plumbing passes between the slide and the main RV body.
Should I Remove My RV Underbelly to Find a Water Leak?
Not immediately. Start with accessible plumbing, cabinets, drains, and moisture tracing first. Opening the underbelly makes more sense when evidence shows water has traveled below the floor or the hidden plumbing cannot be reached another way.

Gregory Allen covers outdoor RV camping, essential gear, and travel preparation. His reviews are based on real conditions, not spec sheets alone. He helps RVers choose equipment that works reliably in everyday outdoor use.