RV kitchen cabinets usually become damp or musty because of condensation, trapped humidity, poor airflow, or a small plumbing leak. Cabinets against exterior walls are especially vulnerable because warm interior air can condense on colder wall surfaces behind them.
The important part is finding the moisture source before treating the smell. I’ll show you how to separate condensation from plumbing leaks, dry the cabinet correctly, and prevent the problem from returning.
Key Takeaways
- Damp cabinet backs often point to condensation on a cold exterior wall.
- Moisture concentrated under the sink usually deserves a plumbing inspection first.
- Water appearing only while draining often points toward the P-trap.
- Moisture showing up after rain can indicate exterior water intrusion.
- Poor cabinet airflow can make condensation much worse.
- A musty smell suggests moisture, but it does not confirm mold.
- Dry wet cabinet materials quickly before swelling or mold develops.
- Moisture absorbers help, but they cannot fix an active water leak.
Why Do RV Kitchen Cabinets Get Damp and Musty?
RV cabinets sit inside small, enclosed spaces where moisture can collect easily. The actual source may be humidity, plumbing, rainwater, or stored items.
Condensation on a Cold Exterior Wall
This is one of the most common causes I would check first.
Many RV kitchen cabinets are mounted directly against exterior walls. Those walls can become much colder than the air inside your RV.
Warm indoor air naturally contains moisture. When that humid air reaches the cold cabinet back, moisture can condense into tiny water droplets.
You may notice:
- A slightly wet cabinet back wall
- Dampness across a wide surface
- Moisture during cold nights
- Mustiness inside several nearby cabinets
- No obvious plumbing drip
The problem can become worse during cold-weather camping. Your RV interior may be warm while outside temperatures remain low.
That temperature difference creates perfect conditions for condensation.
This also explains why your countertop can remain dry. The problem may be hidden several inches behind it.
Poor Air Circulation Inside Closed Cabinets
Poor airflow usually does not create moisture by itself. However, it can stop existing moisture from drying.
Closed cabinet doors trap cooler, stagnant air inside. Overpacked cabinets make the problem even worse.
Food containers, paper towels, dishes, and shelf liners may block airflow. Moisture then stays against the cabinet walls much longer.
Cabinets mounted against exterior walls need some air movement. Without it, condensation can repeatedly form overnight.
Leaving the cabinet slightly open can make a noticeable difference.
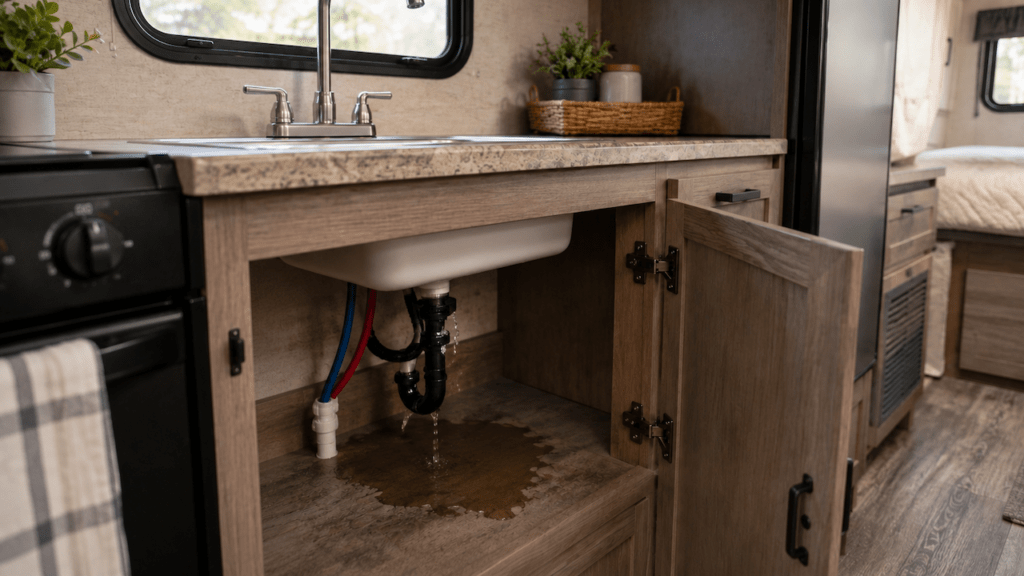
A Slow Freshwater Plumbing Leak
A tiny plumbing leak can keep an RV cabinet damp for weeks.
The leak may be too small to create a puddle. Instead, water slowly wets the cabinet floor or nearby wall.
Look closely around:
- Faucet supply connections
- PEX fittings
- Flexible faucet hoses
- Water-line adapters
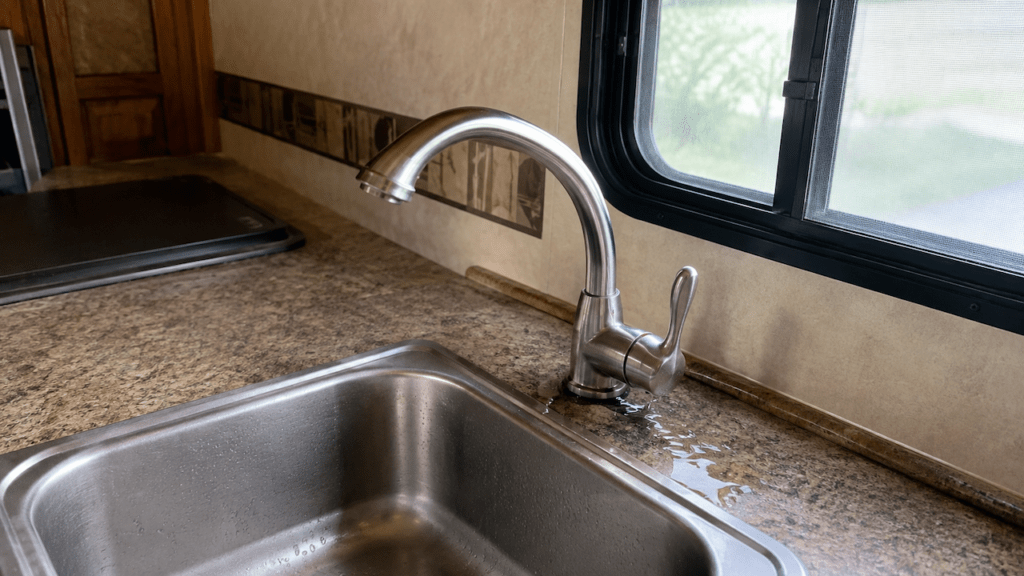
- Faucet mounting connections
- Shutoff valves, if your RV has them
Run your finger around each connection carefully.
A dry paper towel also works well for finding tiny leaks. Press it around the fitting and watch for a wet spot.
If you use your freshwater tank and pump, listen carefully too. A pump that occasionally cycles with every faucet closed may indicate pressure loss somewhere.
That does not automatically prove the kitchen is leaking. However, it is another reason to inspect the plumbing carefully.
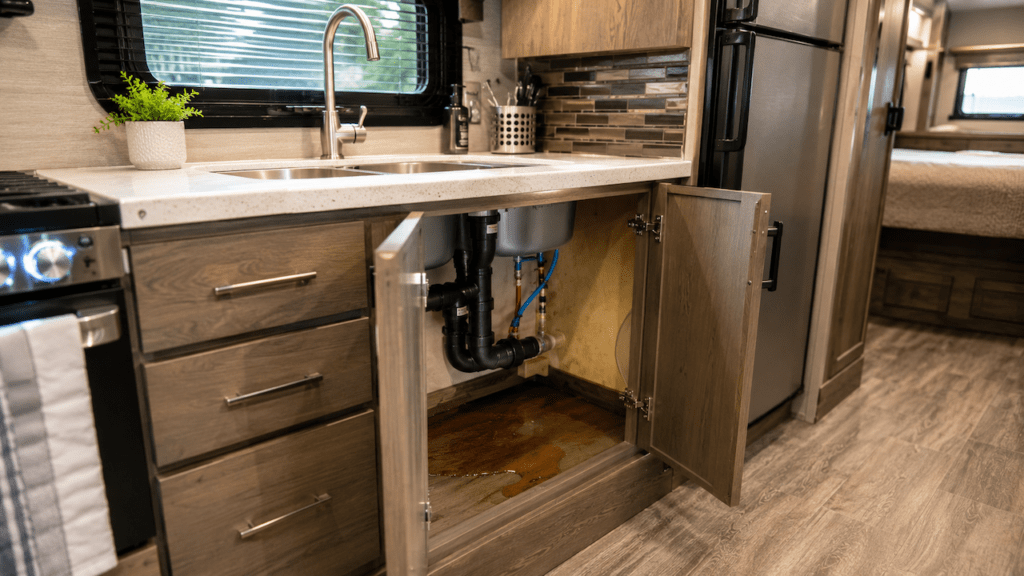
A Drain or P-Trap Leak
Drain leaks behave differently from pressurized water-line leaks.
A supply leak may drip whenever the water system is pressurized. A drain leak usually appears only after using the sink.
Common leak points include:
- P-trap connections
- Slip-joint nuts
- Sink drain seals
- Drainpipe connections
- Loose fittings behind cabinet panels
Dry everything underneath the sink completely first.
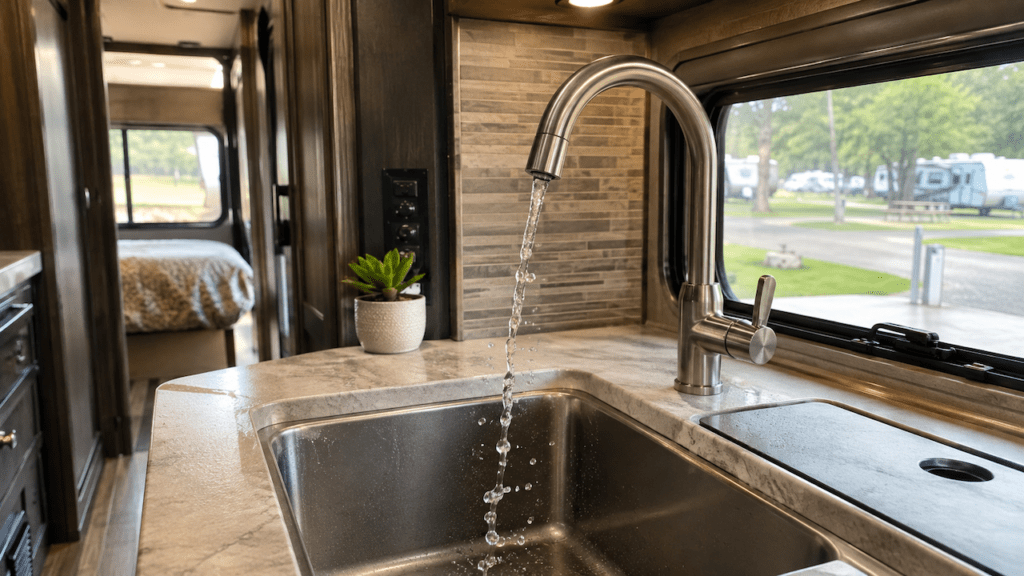
Then run water into the sink for several seconds. Watch the fittings while water flows through the drain.
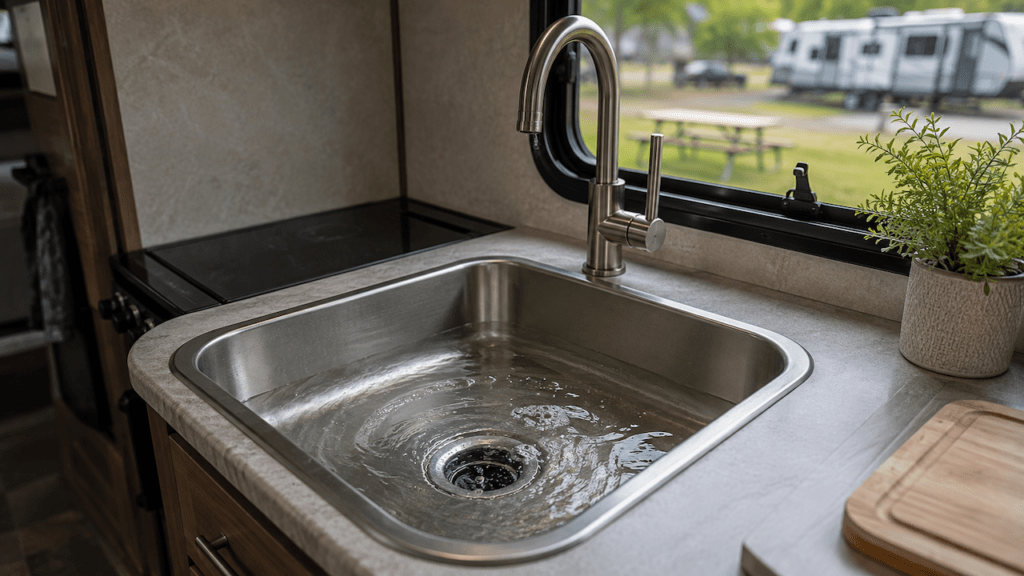
If everything stays dry, partially fill the sink. Then release the water all at once.
That puts more water through the drain quickly. Small leaks often become easier to spot.
Condensation on Cold Water Lines
Your water lines themselves can sometimes become damp.
Cold freshwater moving through tubing may cool the pipe surface. Warm, humid cabinet air can then condense on it.
This often looks different from a fitting leak.
A leaking fitting usually gets wet around one specific connection. Pipe condensation can leave a longer section of tubing evenly damp.
Dry the tubing and fitting completely.
Then watch where moisture appears first. That usually tells you whether you have sweating or an actual leak.
Rain Entering Through the RV Exterior
Do not assume every damp kitchen cabinet has a plumbing problem.
Rainwater can enter somewhere above the cabinet. It may then travel through the wall before becoming visible.
Possible entry points include:
- Nearby windows
- Exterior wall seams
- Roof-to-wall joints
- Slide-out seals
- Roof penetrations
- Exterior appliance openings
- Damaged sealant
This can make diagnosis frustrating.
The wet cabinet may be several feet away from the actual leak.
Pay close attention to timing. If the cabinet becomes damp after rain, exterior water intrusion moves much higher on the list.
Also inspect for discoloration above the cabinet. Brown staining, soft paneling, or bubbling surfaces deserve attention.
Cooking and Everyday Interior Humidity
Cooking can add a surprising amount of moisture inside an RV.
Boiling water releases steam directly into the living area. Washing dishes also raises humidity around the kitchen.
Other moisture sources include:
- Showers
- Wet towels
- Damp clothing
- Breathing
- Indoor drying
- Humid outdoor weather
Your cabinet may simply be where that moisture collects.
This is especially common when the cabinet backs onto a cold exterior wall.
Use your kitchen exhaust fan while cooking when it vents outside. Opening a roof vent can also help remove humid air.
Wet Items, Spills, or Moisture Trapped During Storage
Sometimes the cause is much simpler.
A wet dishcloth, leaking bottle, or damp paper product can create mustiness. Closed cabinets can hold that moisture for days.
Long-term RV storage can make the problem worse.
A small amount of moisture may remain trapped for weeks. That can leave a strong smell even without an active leak.
Remove everything before assuming the RV itself is leaking.
Check cardboard, shelf liners, cleaning cloths, and stored food containers carefully.
Is It Condensation or a Water Leak?
You can usually narrow down the cause by watching where and when moisture appears. Use this table before taking anything apart.
| What You Notice | Most Likely Cause | Best First Check |
| Several cabinets feel slightly damp | High humidity or condensation | Check indoor humidity |
| Cabinet back wall is wet | Exterior-wall condensation | Check wall temperature and airflow |
| Water appears with system pressurized | Supply-line leak | Inspect faucet and water fittings |
| Water appears while sink drains | Drain or P-trap leak | Test drain connections |
| Cabinet gets wet after rain | Exterior water intrusion | Inspect nearby exterior seals |
| Water line is evenly damp | Pipe condensation | Dry tubing and monitor |
| One cabinet smells musty after storage | Trapped moisture | Empty and ventilate cabinet |
| Cabinet floor is swollen | Long-term moisture exposure | Find source before repairing material |
Remember that two causes can happen together.
You might have high humidity and a small plumbing leak. Fixing only one problem could leave the cabinet damp.
How Do I Find Where the Cabinet Moisture Is Coming From?
The easiest way to diagnose this problem is to start completely dry. Then test one possible moisture source at a time.
Empty and Dry the Cabinet First
Remove everything from the cabinet before troubleshooting.
Take out:
- Dishes
- Food
- Shelf liners
- Cleaning products
- Towels
- Paper items
Wipe every visible surface dry.
Use a flashlight to inspect corners, plumbing holes, and the cabinet back. Look underneath removable panels if they are meant to be accessed.
Starting dry matters because old moisture can confuse your diagnosis.
Check the Highest and Lowest Wet Areas
Water usually leaves clues about its direction.
Moisture only across the cabinet floor can suggest plumbing. A damp back wall may point toward condensation.
Water stains running downward may suggest rain intrusion.
However, water can travel through walls and along plumbing lines. Never assume the first wet spot is the original source.
Look above the damaged area too.
Test the Pressurized Water System
Start with the sink completely off.
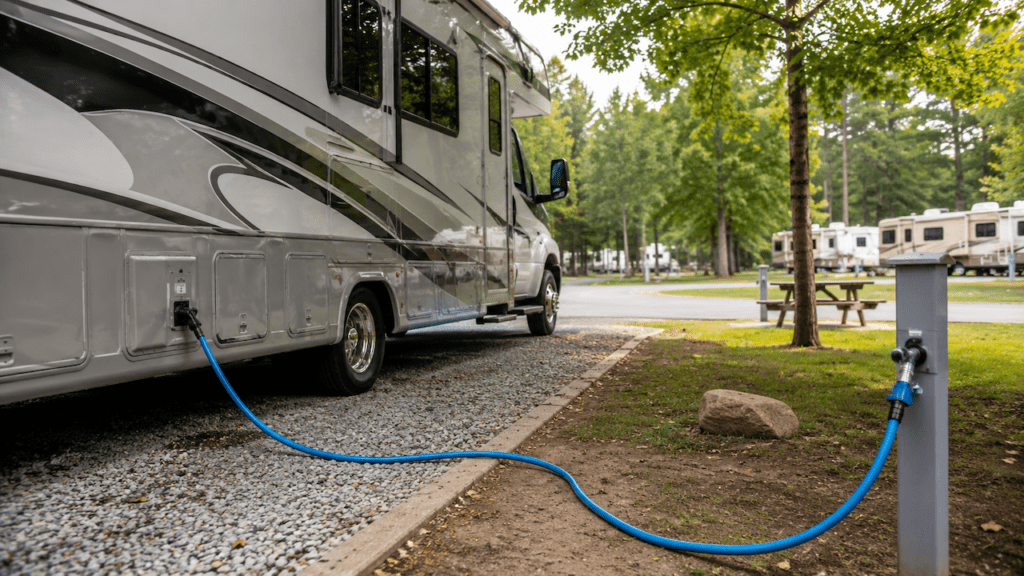
Turn on the RV water pump or connect to regulated city water. Let the plumbing remain pressurized for several minutes.
Place dry paper towels under each fitting.
Check for:
- Small droplets
- Wet fitting threads
- Moist faucet connections
- Water collecting underneath hoses
Next, operate the faucet while watching the same areas.
Some leaks only show themselves while water is flowing.
Test the Sink Drain Separately
Now test the drain.
Dry the entire P-trap and drainpipe again. Run the sink and watch the connections carefully.
Then partially fill the basin.
Release the water and inspect every drain joint immediately.
If moisture appears only during this test, your problem is probably on the drain side.
Check What Happens After Rain
If plumbing checks out, watch the cabinet after rainfall.
Dry it completely beforehand.
After rain, inspect:
- The cabinet back
- Upper corners
- Wall seams
- Nearby window frames
- Slide-out areas
- Flooring underneath
Water appearing after rain strongly suggests exterior intrusion.
The visible leak may still be far from the actual entry point.
Check Humidity With a Hygrometer
A small digital hygrometer can remove much of the guesswork.
Try to keep indoor relative humidity around 30% to 50% when practical.
If your RV repeatedly stays above 50%, condensation becomes more likely. Cold weather makes the problem even easier to trigger.
Check the reading:
- In the morning
- While cooking
- After showering
- During rainy weather
- Overnight in cold conditions
This helps you connect cabinet dampness with humidity changes.
Use a Moisture Meter When the Source Is Hidden
A moisture meter can help when walls look dry but feel suspicious.
Compare the affected cabinet with nearby dry material.
Higher readings can help locate moisture behind:
- Cabinet backs
- Wall panels
- Flooring
- Trim
A moisture meter cannot tell you what caused the water. It only helps identify where moisture remains.
How Do You Fix Damp RV Kitchen Cabinets?
The right repair depends completely on the moisture source. Drying the cabinet without fixing that source usually gives temporary results.
Fix Plumbing Leaks Before Drying the Cabinet
Repair the leak before focusing on odor removal.
Depending on the problem, you may need to:
- Tighten a loose connection
- Replace a damaged seal
- Replace a cracked fitting
- Repair a leaking faucet
- Replace damaged tubing
Avoid repeatedly tightening plastic fittings with excessive force. That can crack fittings and create a worse leak.
If plumbing is hidden behind permanent panels, consider an RV technician. Opening structural cabinetry unnecessarily can create additional damage.
Stop Exterior Water Intrusion
Exterior leaks need their entry point repaired.
Do not simply seal the wet cabinet from inside. That traps water inside the structure.
Inspect nearby exterior areas carefully.
Pay attention to deteriorated sealant, damaged seals, and visible gaps.
Use a sealant appropriate for that specific RV surface. One universal sealant does not suit every roof, wall, window, or trim application.
After repairing the leak, monitor the area during future rain.
Reduce Condensation
If condensation is the main cause, lower interior humidity.
Start with simple changes:
- Run the range hood while cooking
- Open roof vents when weather allows
- Run the bathroom fan after showers
- Use the air conditioner in humid weather
- Use a dehumidifier when necessary
- Avoid drying wet clothing indoors
A hygrometer helps you judge whether these steps work.
You are not trying to make the RV extremely dry. You are simply preventing moisture from repeatedly reaching cold surfaces.
Improve Airflow Inside the Cabinet
Air movement helps cabinet surfaces stay closer to room temperature.
Try leaving problem cabinet doors open overnight.
Also avoid packing belongings tightly against the back wall.
Leave a small air gap behind:
- Food containers
- Pots
- Plates
- Paper products
A small fan can help when drying an already damp cabinet.
For a recurring condensation problem, better long-term ventilation may help. Avoid cutting ventilation holes without checking for wiring and plumbing first.
Use Moisture Absorbers as Backup, Not the Main Fix
Moisture absorbers can be useful inside small enclosed cabinets.
They work especially well during storage.
However, they are not a repair.
A moisture absorber cannot stop:
- A leaking faucet line
- A dripping P-trap
- Rain entering the wall
- Severe whole-RV humidity
Use them after you control the actual moisture source.
How Do I Dry a Damp RV Cabinet Properly?
Drying matters because wet RV cabinet materials can swell quickly. Particleboard and thin wood composites are especially vulnerable.
Use this approach:
- Stop the leak or condensation source first.
- Remove everything stored inside the cabinet.
- Throw away soaked cardboard and badly wet paper.
- Remove damp shelf liners.
- Wipe away visible water immediately.
- Leave cabinet doors fully open.
- Run a small fan toward the opening.
- Use a dehumidifier if humidity remains high.
- Check hidden areas underneath accessible panels.
- Dry surrounding flooring if moisture reached underneath.
- Keep the cabinet empty until everything feels fully dry.
Try to dry wet materials within 24 to 48 hours whenever possible.
The longer materials stay damp, the greater the chance of swelling, odor, and mold growth.
Do not rush to reinstall shelf liners.
They can trap moisture underneath and make the cabinet look dry while the wood remains damp.
Does a Musty RV Cabinet Mean There Is Mold?
No. A musty smell means you should investigate moisture, but it does not automatically prove mold is present.
Cabinet materials can smell musty after being damp. Wet cardboard, old shelf liner, trapped humidity, and stale air can produce similar odors.
However, persistent mustiness deserves attention.
Look for:
- Black spotting
- Green staining
- White fuzzy growth
- Surface discoloration
- Swollen wood
- Peeling finishes
Mold may also grow behind the cabinet where you cannot see it.
If the smell returns soon after drying and cleaning, hidden moisture is probably still present.
Focus on finding the water source before buying odor sprays.
Masking the smell does not solve the underlying problem.
How Should I Clean a Musty or Moldy RV Cabinet?
Always correct the moisture problem before cleaning. Otherwise, the mustiness or mold can simply return.
If There Is Musty Odor but No Visible Mold
Start with basic cleaning.
Empty the cabinet completely.
Wash hard surfaces using a mild cleaner that is safe for the cabinet finish. Avoid soaking unfinished wood or particleboard.
Wipe the area dry afterward.
Then leave the cabinet open until no moisture remains.
You can place an odor absorber inside after everything dries.
Avoid spraying heavy fragrances into the cabinet. They often hide the smell without removing its source.
If There Is a Small Amount of Visible Mold
Small areas of surface mold may sometimes be manageable at home.
Wear appropriate gloves and avoid disturbing dry mold unnecessarily.
Clean hard surfaces with a suitable cleaner, following product directions. Then dry the area completely.
The important step remains moisture control.
If the surface gets wet again, mold can return.
Avoid assuming bleach is necessary for every mold problem. RV cabinets often contain porous or finished materials that can react poorly to harsh cleaners.
If Mold Has Reached Porous Cabinet Material
Porous materials are more difficult.
Particleboard and unfinished wood composites can absorb moisture deeply.
If the material is:
- Swollen
- Crumbling
- Soft
- Delaminating
- Permanently distorted
Cleaning alone may not restore it.
You may need to replace the damaged section after fixing the moisture source.
Also inspect the wall and floor behind it. Damage rarely stops exactly at the visible cabinet edge.
When Is a Damp Cabinet More Than a Minor Moisture Problem?
Occasional surface condensation can often be controlled fairly easily. Structural changes suggest the problem has been happening much longer.
Watch for these warning signs:
- The cabinet floor feels soft.
- Particleboard edges have swollen.
- Veneer is separating.
- The wall behind the cabinet feels soft.
- Flooring underneath feels spongy.
- Water staining continues upward.
- Moisture returns immediately after drying.
- The cabinet becomes wet after every rainstorm.
- Mold covers a large area.
- Electrical wiring or outlets became wet.
- Insulation behind the cabinet may be saturated.
Do not keep drying the same cabinet repeatedly without investigating further.
Recurring moisture means the cause has not been solved.
Hidden water damage can become much more expensive than the original leak.
How Can I Keep RV Kitchen Cabinets From Getting Damp Again?
Prevention becomes much easier once you understand where the moisture came from. Most recurring problems involve humidity, poor airflow, or neglected leaks.
Use these habits:
- Keep a small hygrometer inside your RV.
- Try to maintain moderate indoor humidity.
- Vent steam whenever you cook.
- Run roof vents after showering.
- Leave problem cabinets slightly open in cold weather.
- Avoid packing items tightly against outside walls.
- Never store wet dish towels inside cabinets.
- Check plumbing connections under the sink regularly.
- Inspect cabinet floors after long travel days.
- Check cabinets after heavy rain.
- Maintain nearby window and exterior seals.
- Use a dehumidifier during persistently humid weather.
- Use moisture absorbers during storage.
- Inspect the RV periodically while it sits unused.
I would also check previously damp cabinets regularly.
Once you know which cabinet is vulnerable, a ten-second inspection can catch the next problem before real damage starts.
Final Words
Damp or musty RV kitchen cabinets are usually telling you that moisture is getting in or moisture cannot get out. The fastest repair starts by identifying which one is happening.
If the moisture is near plumbing, test the water and drain systems. If it appears after rain, investigate exterior seals. And, if several cold-wall cabinets become damp overnight, humidity and condensation are much more likely.
Fix the source first, then dry and clean the cabinet.
That approach protects the cabinet material and prevents the musty smell from becoming a recurring part of your RV.
Related FAQs
Why Are Only the Cabinets Against My RV’s Outside Wall Damp?
Those cabinets are often colder because they sit against exterior walls. Warm, humid RV air can condense on the colder cabinet backs, especially during cool nights or winter camping.
Why Is My RV Cabinet Wet Under the Sink but I Cannot Find a Leak?
A tiny faucet fitting, supply-line connection, drain joint, or cold water line may be creating moisture. Dry everything first, then test the pressurized plumbing and drain separately.
Why Do My RV Cabinets Smell Musty After Storage?
Closed RV cabinets can trap humidity and stale air for weeks. Even a small amount of leftover moisture can create mustiness, especially when doors remain shut during storage.
Can RV Water Lines Sweat Inside a Cabinet?
Yes. Cold water lines can collect condensation when surrounding cabinet air is warm and humid. If the entire tube is damp instead of one fitting, condensation becomes more likely.
Should I Put DampRid in My RV Kitchen Cabinets?
You can use moisture absorbers inside small cabinets, especially during storage. However, they should support humidity control rather than replace repairs for leaks or exterior water intrusion.
What Humidity Should I Keep Inside My RV?
Around 30% to 50% relative humidity is a practical target. If humidity remains above 50% for long periods, condensation and mustiness become more likely.
Will a Musty Cabinet Smell Go Away Once It Dries?
Sometimes it will. Persistent odor can mean moisture remains hidden, porous materials absorbed odors, or mold developed behind the cabinet. Continue investigating if the smell quickly returns.
Can I Use Bleach on Mold Inside an RV Cabinet?
Bleach is not automatically the best choice for RV cabinetry. Many cabinet materials are porous or finished, so use a cleaner appropriate for the material and focus first on stopping moisture.
When Should I Call an RV Technician for Damp Cabinets?
Call a technician when moisture keeps returning, plumbing is inaccessible, rainwater is entering the structure, walls or floors feel soft, or significant hidden damage appears likely.

Gregory Allen covers outdoor RV camping, essential gear, and travel preparation. His reviews are based on real conditions, not spec sheets alone. He helps RVers choose equipment that works reliably in everyday outdoor use.