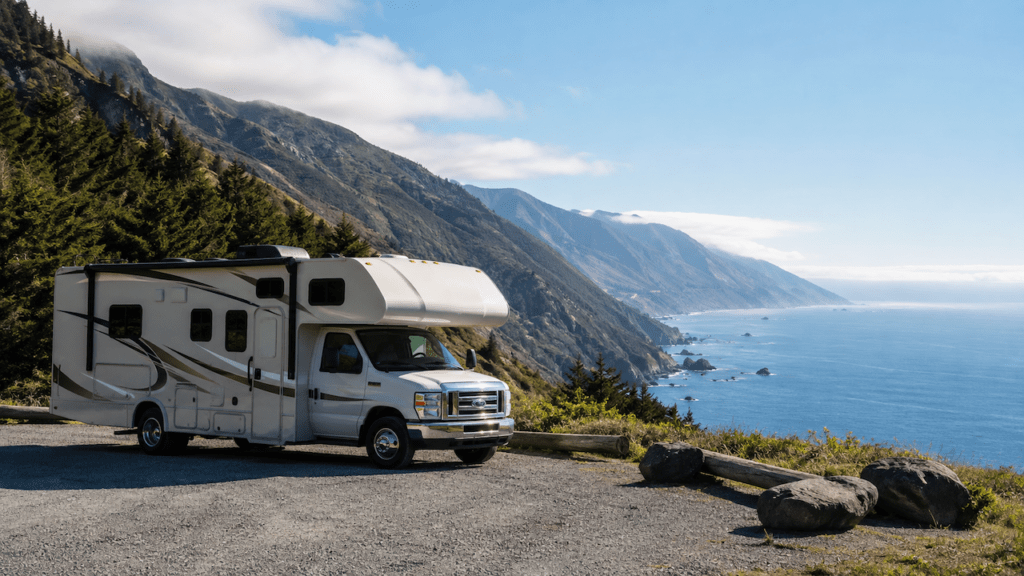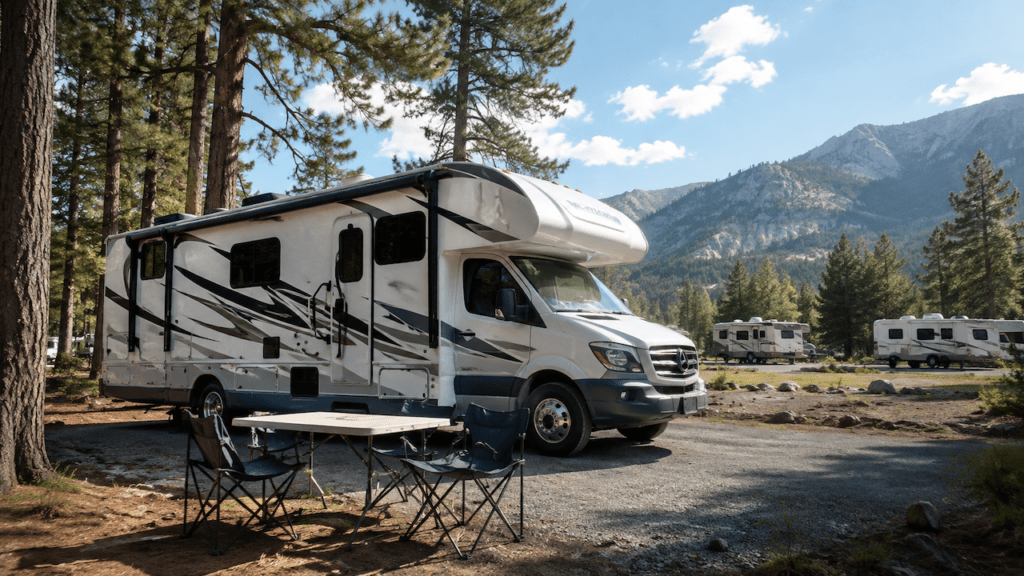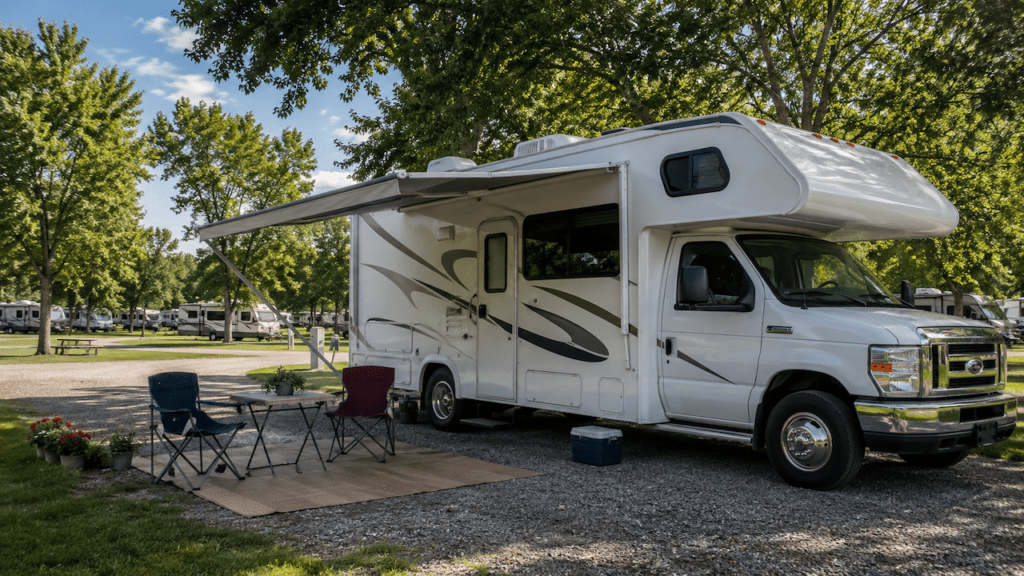
RV roof sealant should generally be inspected every 90 days, or about every three months. You should also check it after severe storms, long trips, falling branches, or other roof impacts. Always follow your RV manufacturer’s maintenance schedule if it recommends a different interval.
In this guide, I’ll show you what to inspect, where sealant usually fails, and when a simple inspection should turn into a repair.
Key Takeaways
- Inspect RV roof sealant about every 90 days.
- Follow your RV manufacturer’s maintenance schedule first.
- Check the roof again after storms, hail, or long trips.
- Inspect vents, skylights, seams, roof edges, and attachments.
- Look for cracks, gaps, shrinkage, lifting, and separation.
- Dirty or discolored sealant does not always mean failure.
- Inspection and resealing are two different maintenance jobs.
- Never wait for an interior leak before checking the roof.
RV Roof Sealant Inspection Schedule at a Glance
You do not need to guess when your roof needs attention. A simple inspection schedule makes the job much easier to remember.
| Situation | When to Inspect | What to Check |
| Normal RV ownership | About every 90 days | Sealant, seams, joints, and roof attachments |
| Spring and fall | Each season | Do a more detailed roof and seal inspection |
| Before or after storage | Each storage period | Weather damage, debris, cracks, and separation |
| After a long road trip | As soon as practical | Movement, lifted sealant, loose hardware, and damage |
| After hail or severe storms | Immediately | Roof membrane, vents, skylights, seams, and sealant |
| After hitting branches | Immediately | Tears, punctures, damaged fixtures, and sealant gaps |
| Previous roof repair | More frequently | Check whether the repaired area is opening again |
I recommend treating 90 days as your basic reminder point unless your owner’s manual says otherwise. Some RV manufacturers specifically call for roof seal inspections every three months.
That does not mean you should ignore the roof between those inspections. If something happens that could damage it, check it sooner.
Why Should RV Roof Sealant Be Checked Every 90 Days?
RV roof sealant works in a much tougher environment than house caulk. Your RV moves, twists, vibrates, heats up, cools down, and sits under direct sunlight.
Every highway trip puts a little movement through the roof structure. Vents, skylights, antennas, and roof edges all experience that movement too.
Temperature changes create another problem. Roof materials expand during hot afternoons and contract when temperatures drop. The sealant has to flex along with them.
UV exposure can slowly make some sealants dry or brittle. Eventually, a small crack can form along an edge or around a screw.
The difficult part is that water damage often starts before you notice anything indoors. Water can travel through plywood, insulation, or wall framing before creating a visible stain.
That is why I would rather find a tiny sealant crack during an inspection than discover a soft ceiling several months later.
What Does an RV Roof Sealant Inspection Actually Include?
A proper roof sealant inspection is more than standing on a ladder and looking across the roof. You need to see the sealant closely enough to spot small changes before they become leaks.
Start With a Clean, Visible Surface
You do not necessarily need to deep-clean the entire roof every time. However, remove enough dirt and debris to see the sealant clearly.
Leaves, pollen, dust, tree sap, and black grime can hide small cracks. They can also make perfectly healthy sealant look worse than it really is.
Use cleaning products that are safe for your particular roof material. EPDM, TPO, PVC, fiberglass, and aluminum roofs can have different cleaning requirements.
Let the surface dry before making your final judgment. Wet sealant can sometimes hide small openings or make discoloration harder to evaluate.
Look Closely at the Existing Sealant
Slow down around every sealed joint. I recommend checking for:
- Hairline cracks
- Deep splits
- Small holes or voids
- Sealant shrinking away from a flange
- Edges lifting from the roof
- Separation between sealant and hardware
- Missing sections of sealant
- Exposed screw heads
- Brittle or crumbling areas
- Failed patches from previous repairs
Pay particular attention to the outer edge of each sealant bead. That is often where separation starts.
Check the Roof Material Around the Sealant
Do not focus so closely on the sealant that you miss damage beside it.
Look around each sealed area for tears, punctures, bubbles, loose roof material, or suspicious soft sections.
A perfectly sealed vent will not help much if the membrane beside it has been damaged by a branch.
If you find a soft roof section, widespread bubbling, or serious membrane damage, the problem may be larger than a simple sealant repair.
Where Should You Inspect RV Roof Sealant?
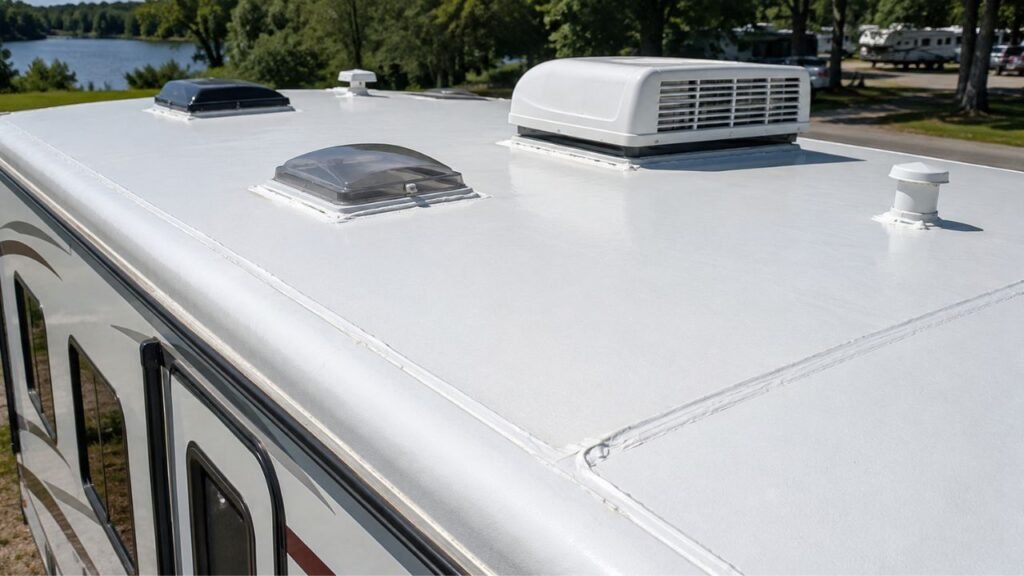
Most sealant failures happen around joints, fasteners, edges, and roof penetrations. These areas deserve most of your inspection time.
Roof Vents and Vent Fans
Inspect the entire vent flange, not just the front edge.
Look closely around mounting screws and corners. Small cracks can develop where the flange and roof move slightly differently.
If you have a vent cover installed above the vent, check underneath or around anything the cover may hide.
Skylights
Skylights have long perimeter seams that stay exposed to sunlight.
Check the corners carefully because movement can concentrate there. Look for sealant pulling away from either the skylight flange or roof surface.
Older skylight sealant may look dirty without actually leaking. Clean questionable areas before deciding that replacement is necessary.
Plumbing and Refrigerator Vents
Small roof penetrations are easy to overlook.
Inspect the sealant around vent bases and fasteners. Check for gaps where wires, pipes, or vent components pass through the roof.
Even a tiny opening can allow water to follow a pipe into the RV.
Air Conditioner and Other Roof Equipment
Be careful about assuming every roof accessory should have lap sealant around its entire base.
Many RV air conditioners use a compression gasket between the unit and roof. Adding sealant where it does not belong can create maintenance problems later.
Inspect any exposed sealant, mounting areas, and the surrounding roof. Follow the installation design used on your particular RV.
Front and Rear Roof Cap Seams
I would give these areas extra attention.
Front and rear cap seams connect major sections of the RV body. They are exposed to vibration, wind pressure, sunlight, and temperature changes.
Inspect the entire seam from one side of the RV to the other.
Do not stop after checking only the center section. Problems can develop near the roof edges where the cap meets sidewall trim.
Roof-to-Sidewall Edges and Trim
The roof perimeter is another important water-entry point.
Check sealant along trim rails, edge moldings, and roof-to-sidewall transitions. Look closely for gaps behind the edge of the sealant.
A small opening here can allow rain to travel behind trim instead of dripping directly into the RV.
Antennas, Solar Equipment, and Satellite Hardware
Modern RV roofs often have several accessories added after the factory.
Inspect antenna bases, solar panel brackets, satellite mounts, cable entry glands, and any added hardware.
Look around every screw and cable penetration.
If you recently installed solar equipment, check it during the next few inspections. Fresh installations can sometimes reveal movement once the RV has traveled.
Ladder and Other Roof Attachments
If your RV has ladder brackets or other roof-mounted hardware, inspect every attachment point.
Fasteners can move slightly from vibration. That movement can eventually create a small gap around the surrounding sealant.
Do not ignore a loose screw simply because the sealant still looks good.
Previous Repairs
I always spend extra time checking areas that have already failed once.
Look for new cracks around the edge of the repair. Check whether new sealant is separating from the older material underneath.
A repair that looked perfect six months ago can still develop problems after temperature changes and highway travel.
Taking photos after each repair makes future comparisons much easier.
What Does Bad RV Roof Sealant Look Like?
Failed RV roof sealant usually gives you visible warning signs before water starts dripping inside.
Watch for:
- Cracks running through the sealant
- Deep splits around roof hardware
- Small holes or pinholes
- Sealant pulling away from a vent flange
- Raised or peeling edges
- Shrinking around screw heads
- Brittle sections that crumble easily
- Missing pieces of sealant
- Gaps between old and new repairs
- Clearly exposed fasteners
However, dirty sealant is not automatically bad sealant.
Old lap sealant can become gray, stained, or ugly while remaining firmly bonded and watertight. Dirt alone is not a good reason to remove it.
Clean the questionable area first. Then inspect the actual sealant underneath.
I care much more about cracking, separation, and adhesion than whether the sealant still looks bright white.
Should You Reseal the RV Roof Every Time You Inspect It?
No. Inspecting your RV roof every 90 days does not mean applying new sealant every 90 days.
These are separate maintenance tasks.
The inspection schedule helps you catch problems early. Resealing becomes necessary when the existing sealant has failed, when your manufacturer requires preventative resealing, or when a repair has been performed.
A third maintenance job is roof coating. A coating covers a much larger roof surface and should not be confused with seam sealant.
You may therefore have three different schedules:
- Inspect roof seals every few months.
- Repair or refresh failed sealant when needed.
- Recoat the roof only when the roof system requires it.
Some RV manufacturers recommend preventative seal maintenance even when no leak is visible. That is another reason I would check your owner’s manual instead of following a universal replacement interval.
If your sealant is still flexible, firmly bonded, and free from cracks, it may not need replacement just because another year has passed.
How Often Should You Inspect Sealant on a New RV?
A new RV still needs regular roof inspections.
It is easy to assume factory sealant should remain untouched for several years. Unfortunately, a new RV experiences the same sunlight, temperature changes, vibration, and movement as an older one.
Sealant around a new vent can develop a gap. A roof accessory can loosen. A branch can scrape the membrane during the first camping trip.
Start following your manufacturer’s inspection schedule as soon as you own the RV.
I also recommend checking the roof after your first few longer trips. That gives you a chance to become familiar with how the factory seams and sealant normally look.
Take several clear photos during those early inspections. They create a useful baseline for future comparisons.
When Should You Inspect RV Roof Sealant More Often?
Every RV lives a different life. Some rigs need more frequent attention because their roofs experience much harsher conditions.
Inspect more often if:
- Your RV stays outdoors throughout the year.
- You camp regularly in intense sunlight.
- You live in an extremely hot climate.
- Temperatures frequently swing from hot to freezing.
- You travel full-time.
- You frequently drive rough roads.
- Your RV has recently experienced hail.
- Strong winds have blown branches onto the roof.
- A tree limb has scraped the roof.
- Heavy snow or ice accumulated on the roof.
- New roof equipment was recently installed.
- You recently repaired a roof seam.
- You notice moisture or musty odors indoors.
Covered or indoor storage can reduce UV and weather exposure. However, I would not use storage as an excuse to stop inspecting the roof.
Roof seals can still age while the RV sits unused.
Does RV Roof Type Change the Inspection Schedule?
Your roof material affects how you clean, repair, and reseal the roof. However, it usually does not eliminate the need for regular seal inspections.
EPDM Roofs
EPDM rubber roofs depend heavily on properly sealed penetrations and seams.
Use cleaners and sealants that are compatible with EPDM. Some chemicals can damage or weaken rubber roofing.
Pay attention to vent flanges, front and rear seams, and areas around accessories.
TPO and PVC Roofs
TPO and PVC roofs can look similar, but product compatibility still matters.
Before applying anything new, identify the actual membrane type. Check your owner’s manual or roof manufacturer’s documentation when possible.
Inspect sealed penetrations and edge seams just as you would on other roof systems.
Fiberglass Roofs
Fiberglass itself may be durable, but the openings through it still need protection.
Vents, skylights, antennas, edge trim, and roof caps depend on healthy sealant or gaskets.
Do not assume a fiberglass roof cannot leak simply because the main roof surface looks solid.
Aluminum Roofs
Aluminum roofs also rely on sealed seams and penetrations.
Metal expands and contracts with temperature changes. That movement can place stress on joints and sealant.
Check seams, fasteners, trim, and every roof accessory during your normal inspection.
What Should You Do If You Find Cracked or Separated Sealant?
Finding damaged sealant does not automatically mean you need a complete roof reseal. Small problems can often be corrected before they spread.
Start with these steps:
- Photograph the damaged section.
- Identify your roof membrane type.
- Determine what sealant is already present.
- Check your RV manufacturer’s repair instructions.
- Remove loose material when required.
- Clean the repair area properly.
- Allow the surface to dry fully.
- Apply a compatible RV roof sealant.
- Follow the specified curing instructions.
- Inspect the repaired area again later.
Avoid grabbing a random household caulk simply because it says waterproof on the label.
RV roof systems require compatible products. Using the wrong material can cause poor adhesion and make future repairs much harder.
Also avoid covering clearly loose sealant without preparation. New sealant cannot repair a weak bond underneath it.
When Does a Sealant Problem Need Professional Inspection?
Many small sealant repairs are manageable for experienced RV owners. Other problems deserve professional evaluation.
Consider getting professional help when you find:
- Soft roof decking
- Large membrane bubbles
- Widespread sealant failure
- Repeated leaks in the same area
- Water stains with no obvious entry point
- Damaged roof structure
- Large punctures
- Severe branch or hail damage
- Multiple failed previous repairs
- An unknown roof material
- A roof you cannot safely access
A soft roof is especially important.
Softness may indicate that moisture has already reached the roof decking. Adding more sealant on top will not repair damaged wood underneath.
At that point, identifying the extent of the water damage becomes more important than simply stopping the visible opening.
Can You Safely Walk on the RV Roof to Inspect Sealant?
Do not automatically assume every RV roof is designed for walking.
Some RVs have walkable roof structures. Others have weight restrictions or specific areas where you should avoid standing.
Check your owner’s manual before climbing onto the roof.
If roof access is allowed, work during dry conditions. RV roofs can become surprisingly slippery from dew, dust, or cleaning products.
Wear clean shoes with good grip. Move slowly and avoid placing unnecessary weight near skylights or other fragile components.
If you are uncomfortable working at roof height, inspect what you can from a properly positioned ladder and let an RV technician handle the rest.
A roof inspection is important, but it is never worth risking a fall.
How Can You Keep Track of RV Roof Sealant Inspections?
Roof maintenance becomes much easier when you stop relying on memory.
I recommend keeping a simple inspection record that includes:
- Inspection date
- Photos of major roof seams
- Photos around vents and skylights
- Areas that need monitoring
- Repair dates
- Sealant products used
- Service receipts
- Notes about storms or roof impacts
Try taking photos from roughly the same angle every time.
You will quickly notice whether a small crack is growing or an edge has started lifting.
A maintenance log can also help if you sell the RV later. It shows that the roof has received regular attention instead of being ignored until something leaked.
Final Words
For most RV owners, checking roof sealant every 90 days is a sensible maintenance schedule, especially when your manufacturer’s instructions call for three-month inspections.
You should also inspect the roof after severe storms, long trips, branch impacts, or anything else that may have stressed the roof.
The most important thing is consistency. You do not have to reseal everything whenever you climb onto the roof.
Look for actual signs of failure, including cracks, gaps, shrinking, and separation. Deal with those small problems early.
A ten-minute inspection today can prevent a tiny opening from becoming a much more expensive water-damage repair later.
Related FAQs
How Often Should I Check the Seals on My RV Roof?
Check RV roof seals about every 90 days unless your manufacturer specifies another interval. Inspect them sooner after hail, severe storms, long trips, or roof impacts.
How Long Does RV Roof Sealant Usually Last?
There is no single lifespan for RV roof sealant. Longevity depends on the product, application quality, sunlight, climate, storage, vibration, and roof movement.
Should I Inspect My RV Roof After Every Trip?
You do not necessarily need a full roof inspection after every short trip. However, checking it after long trips, rough roads, or contact with branches is a good idea.
Should I Inspect My RV Roof After Hail?
Yes. Inspect the roof as soon as it is safe after hail. Look for membrane damage, cracked sealant, damaged vents, skylights, and other roof accessories.
Should I Reseal My RV Roof Every Year?
Not every RV requires a complete annual reseal. Inspect regularly and follow your manufacturer’s maintenance requirements. Repair failed sealant whenever cracks, gaps, or separation appear.
Can I Put New RV Roof Sealant Over Old Sealant?
Sometimes new compatible sealant can be applied over firmly bonded existing material after proper preparation. Loose, brittle, contaminated, or poorly bonded sealant usually needs removal first.
Does Dirty RV Roof Sealant Mean It Needs Replacing?
No. Sealant can become dirty, gray, or stained while remaining watertight. Clean the area and look for cracking, separation, brittleness, or lifting before deciding to replace it.
Can an RV Roof Leak Even If the Sealant Looks Good?
Yes. Water may enter through damaged membranes, loose hardware, failed gaskets, hidden seams, or openings elsewhere on the RV. Visible sealant is only one part of the roof system.
Is RV Roof Sealant the Same as RV Roof Coating?
No. Roof sealant is normally used around seams, joints, fasteners, and penetrations. Roof coating covers a much larger portion of the roof surface.
Does Indoor RV Storage Reduce How Often I Need to Inspect the Roof?
Indoor storage can reduce UV and weather exposure, but it does not eliminate maintenance. Continue following your RV manufacturer’s recommended seal inspection schedule.

Gregory Allen covers outdoor RV camping, essential gear, and travel preparation. His reviews are based on real conditions, not spec sheets alone. He helps RVers choose equipment that works reliably in everyday outdoor use.