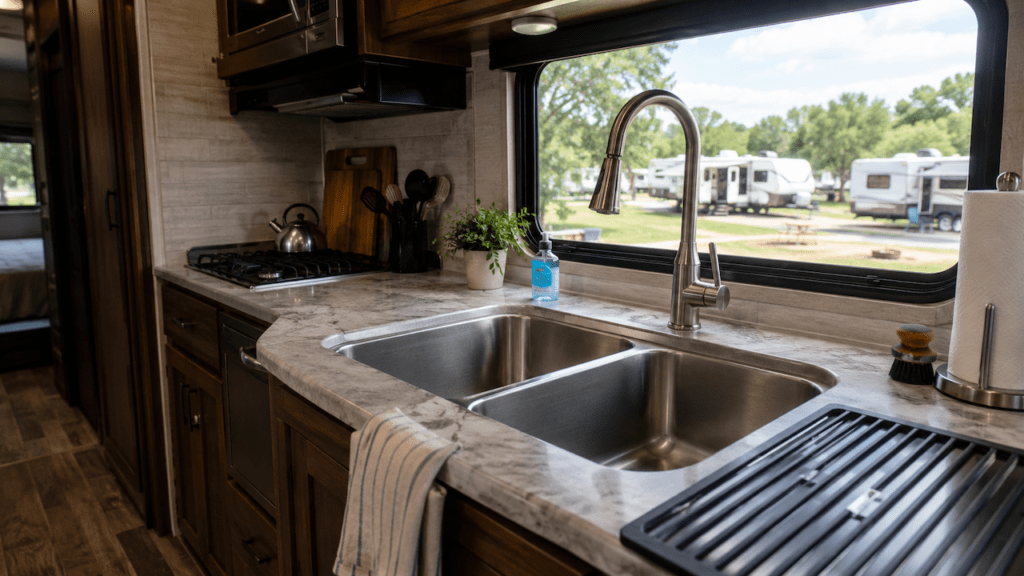
To check an RV for hidden water damage, inspect the walls, ceiling, floors, cabinets, roof openings, windows, slide-outs, and plumbing areas for stains, softness, swelling, musty odors, or delamination. Then use a pinless moisture meter to compare suspicious areas with known-dry sections of the same material.
I’ll walk you through the full inspection process below. You’ll learn where hidden damage usually starts, how to use a moisture meter correctly, how to trace the likely leak source, and when the damage needs professional attention.
Key Takeaways
- Soft floors, swollen panels, stains, and musty odors can indicate hidden moisture.
- Roof seams, windows, slide-outs, and exterior openings deserve close inspection.
- A pinless moisture meter can reveal moisture behind finished RV surfaces.
- Compare suspicious readings with nearby dry material instead of relying on one number.
- Water can travel inside walls before appearing far from the actual leak.
- Plumbing leaks and rain leaks often create different moisture patterns.
- Large soft areas, delamination, or wet structural materials need prompt attention.
What Are the First Signs of Hidden Water Damage in an RV?
Hidden RV water damage rarely begins with water dripping onto the floor. More often, it starts with small changes in the way a surface looks, smells, or feels.
Musty or Damp Odors
A persistent musty smell is one of the easiest warning signs to miss.
Your RV may smell stale after sitting closed for several weeks. That alone does not prove water damage. The bigger concern is an odor that remains after you open the windows and air the RV out.
Pay particular attention inside overhead cabinets, closets, under-bed storage areas, bathroom cabinets, and exterior storage compartments.
If one small area smells noticeably stronger, inspect the surrounding wall and floor closely.
Soft or Spongy Floors
Walk slowly through the RV and pay attention to how the floor feels.
A healthy floor should normally feel solid and consistent. A section that flexes, sinks slightly, or feels spongy may have moisture damage underneath.
Check especially near:
- Exterior walls
- Entry doors
- Slide-out edges
- Toilets
- Showers
- Kitchen sinks
- Water heaters
- Wet bays
A soft floor does not automatically mean the entire subfloor has rotted. However, it deserves immediate investigation.
Soft Walls or Ceiling Panels
Use gentle hand pressure around suspicious areas.
You are looking for paneling that feels softer, looser, or more flexible than surrounding material. Pay close attention near windows, roof vents, skylights, upper cabinets, and wall-to-ceiling corners.
Do not push hard enough to damage thin RV wall panels.
The goal is simply to compare one section with another.
Brown Stains or Discoloration
Yellow, brown, or dark stains often appear after water has entered an RV.
Look around:
- Roof vents
- Ceiling corners
- Skylights
- Window frames
- Upper cabinets
- Slide-out openings
- Wall seams
A dry stain may come from an older leak that was already repaired. You still need to check the area for moisture and softness.
Bubbling, Peeling, or Wrinkled Wall Coverings
RV wall panels can react to moisture long before they become visibly soft.
Look for wallpaper or vinyl coverings that appear:
- Wrinkled
- Bubbled
- Loose
- Peeling
- Swollen around the edges
Also check decorative trim and cabinet panels for swelling or separation.
These changes can happen slowly, so comparing both sides of the RV often helps.
Rusted Screws or Mineral Deposits
Hardware can quietly reveal a leak.
Look for rust around screws, staples, trim pieces, window frames, or cabinet fasteners.
Around plumbing connections, dried white or chalky deposits may indicate a fitting has leaked before.
One rusted screw does not prove widespread water damage. Several rusty fasteners in the same area deserve closer attention.
Exterior Fiberglass Bubbling or Delamination
Walk around the outside of the RV and look along the sidewalls from different angles.
Ripples, bulges, bubbles, or sections where the fiberglass skin appears separated may indicate delamination.
Moisture is one possible cause because it can weaken the bonding material behind the exterior skin.
However, delamination can have other causes too. Treat it as a warning sign that requires further inspection rather than automatic proof of an active leak.
What Tools Do You Need to Check an RV for Water Damage?
You do not need a professional inspection shop full of equipment. A few simple tools can make hidden moisture much easier to find.
Useful tools include:
- Pinless moisture meter: Helps compare moisture levels behind finished surfaces.
- Bright flashlight: Makes stains, rust, swelling, and damp corners easier to see.
- Paper towels: Helpful for detecting tiny plumbing drips.
- Phone camera: Lets you document suspicious areas and compare them later.
- Small inspection mirror: Useful behind plumbing fittings and tight cabinet spaces.
- Water pressure gauge: Helpful when checking a pressured plumbing system.
- Thermal camera: Optional for spotting temperature differences worth investigating.
Remember that a thermal camera does not directly detect water. It shows temperature differences that may lead you toward a damp area.
How Do You Use a Moisture Meter on an RV Correctly?
A moisture meter can be extremely helpful, but random readings can also create confusion. Use it systematically so the numbers actually tell you something useful.
Use the Correct Material Mode
Read the instructions for your moisture meter before scanning the RV.
Some meters have different modes for wood, drywall, masonry, or other materials.
RV walls may contain several materials layered together, including paneling, insulation, adhesive, wood framing, aluminum framing, or fiberglass.
The meter may react differently depending on what sits behind the surface.
That is one reason comparison readings are so important.
Establish a Known-Dry Baseline
Start with an area where you have no reason to suspect a leak.
Take several readings there.
Then check another dry-looking section made from similar material.
You now have a rough baseline for that part of your RV.
When you scan a suspicious wall or floor, compare it with that baseline instead of focusing only on the number displayed.
Scan in a Grid Instead of Checking One Spot
Do not take one reading and stop.
Move the meter across the surface in small steps.
For example, if you suspect a window leak, scan:
- Above the window
- Along both sides
- Directly below it
- Toward the floor
- Across the nearby wall
You may notice readings gradually increase toward one corner.
That pattern is often more useful than one isolated reading.
Focus on Changes, Not One Magic Percentage
Avoid using one universal percentage as proof that your RV has water damage.
Moisture meters can behave differently depending on the material, wall construction, surface thickness, and meter design.
A reading that looks high in one area may be normal somewhere else.
What matters most is the difference between comparable sections.
If most of one wall reads consistently low but one corner reads much higher, that corner deserves more attention.
Confirm High Readings With Other Evidence
Never rely on the moisture meter alone.
Check the suspicious area for:
- Staining
- Softness
- Swelling
- Peeling wall covering
- Rusted fasteners
- Musty smell
- Failed exterior sealant
- Nearby plumbing
When several clues point to the same area, hidden moisture becomes much more likely.
Where Should You Check an RV for Hidden Water Damage?
Water can enter almost anywhere the RV exterior has an opening, seam, attachment, or moving component. Plumbing creates another group of leak-prone areas inside the RV.
Roof Seams and Front and Rear Cap Seams
Start with the roof because many hidden leaks begin above the visible damage.
Inspect the seams where the roof meets:
- Front cap
- Rear cap
- Sidewalls
- Moldings
- Roof trim
Look for cracked, lifted, missing, or separated sealant.
Also watch for previous repair areas with heavy layers of old sealant.
A thick patch does not necessarily mean the problem was fixed correctly.
Roof Vents, Skylights, and Air Conditioner Openings
Every roof opening deserves attention.
Inspect the sealant around:
- Roof vents
- Skylights
- Plumbing vents
- Fans
- Air conditioner openings
Then go inside and inspect the ceiling directly below and around each opening.
Remember that water may travel along framing before it becomes visible.
The stain may not sit directly underneath the failed seal.
Antennas, Solar Mounts, Ladders, and Other Roof Penetrations
Small roof attachments are easy to overlook.
Inspect antenna mounts, satellite mounts, solar panel brackets, ladder attachments, cable entries, and other fasteners penetrating the roof.
Even a tiny opening around a screw can allow repeated moisture entry.
Upper Wall and Ceiling Corners
Open every overhead cabinet you can access.
Run your hand along the upper rear corners and wall-to-ceiling joints.
These areas are particularly helpful because they may reveal moisture coming through the roof-to-wall seam before it reaches the visible living space.
Use a flashlight because staining can be difficult to see inside dark cabinets.
Windows and Entry Doors
Inspect both the interior and exterior of every window.
Look closely at:
- Lower window corners
- Interior wall below the window
- Exterior frame sealant
- Window trim
- Wall coverings
- Nearby floor
Also check whether window drainage or weep openings are clogged.
Around entry doors, inspect the threshold, lower corners, surrounding wall, and flooring.
Slide-Out Roofs, Seals, Corners, and Floors
Slide-outs deserve extra attention because they have several moving seals and exterior joints.
Inspect the slide when extended if conditions allow.
Look at:
- Slide roof
- Upper wipe seals
- Side seals
- Lower corners
- Exterior trim
- Lower molding
- Interior floor corners
- Underside of the slide floor
Push gently on the floor near the outer corners.
Water entering around slide trim can sometimes reach the floor before obvious wall staining appears.
Class C Cab-Over Area
If you own a Class C motorhome, give the cab-over sleeping area special attention.
Remove or lift the mattress if possible.
Inspect:
- Front corners
- Sidewalls
- Floor under the mattress
- Window areas
- Ceiling joints
- Front exterior seams
Water intrusion in the cab-over area can remain hidden under bedding for a long time.
Exterior Storage Compartments
Open every storage compartment.
Inspect the floor, walls, corners, and door frame.
Look for:
- Swollen flooring
- Darkened wood
- Rusty screws
- Damp insulation
- Musty odors
- Water marks
- Damaged door seals
Shine your flashlight across the floor at a low angle.
Small waves or swelling become easier to see that way.
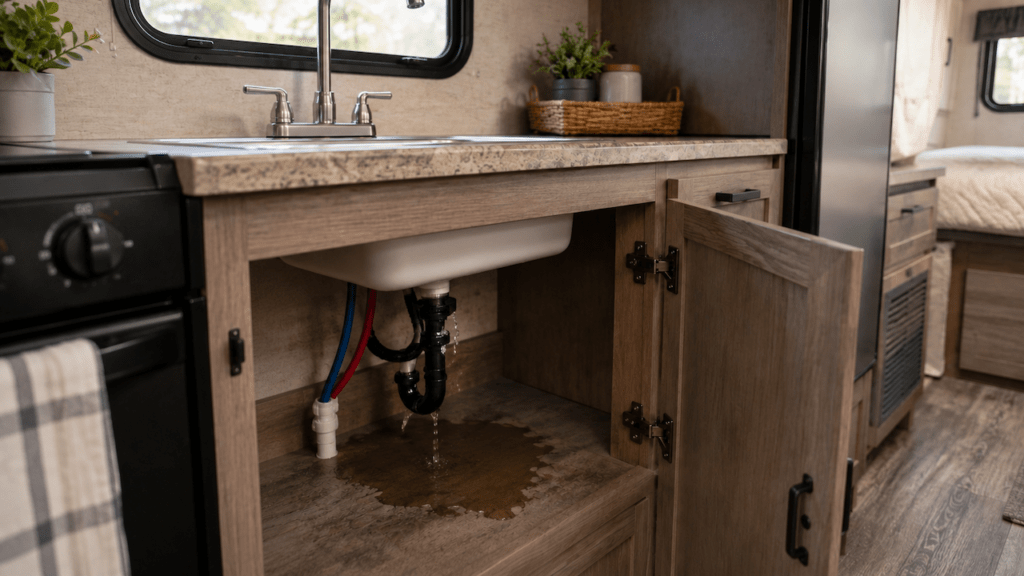
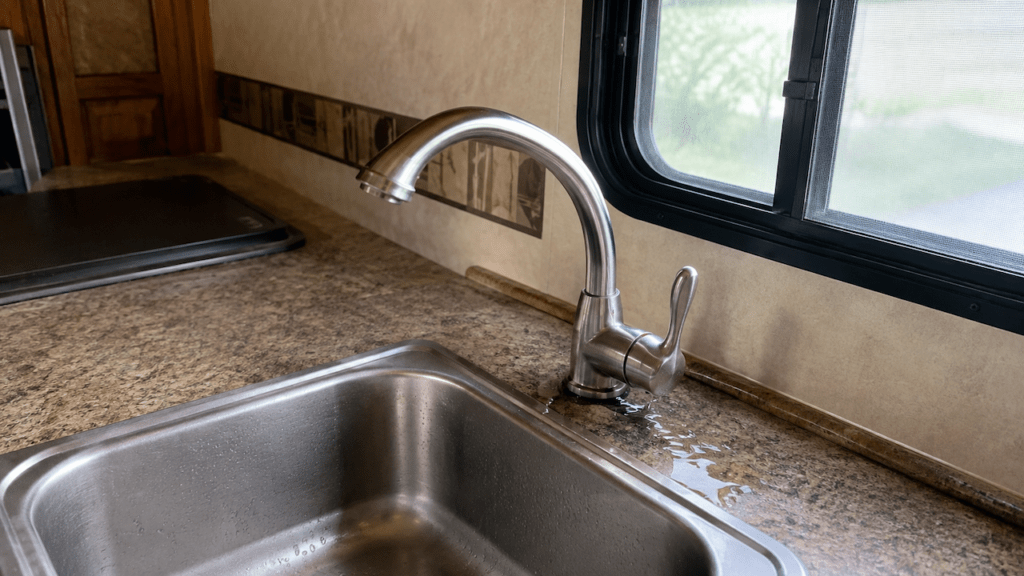
Kitchen and Bathroom Plumbing
Not all hidden water damage comes from rain.
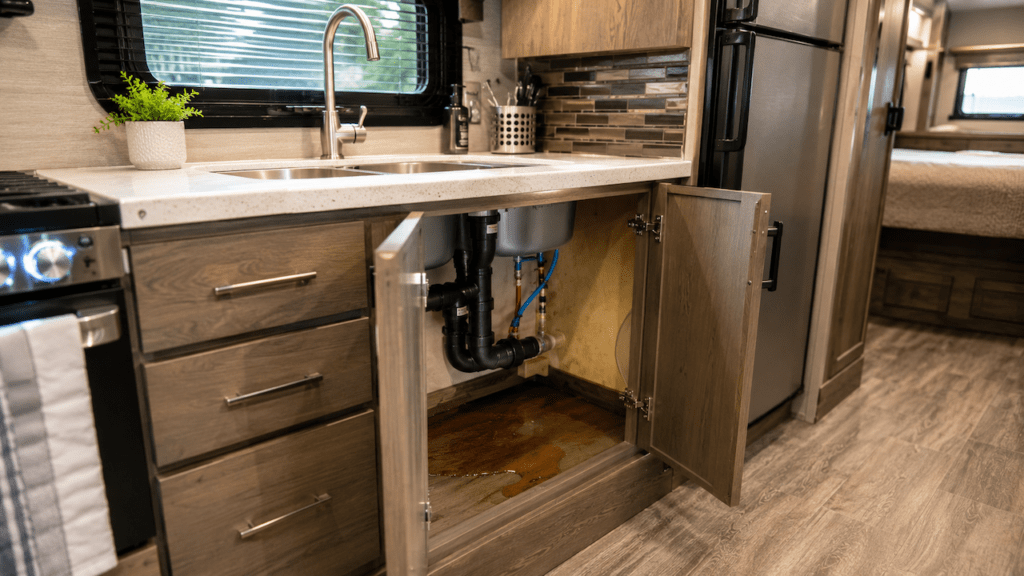
Check under every sink and around every plumbing fitting.
Inspect:
- Faucet connections
- P-traps
- Supply lines
- Shower fittings
- Shower pan
- Toilet supply line
- Water pump
- Water heater connections
Run water while watching these areas.
Touch a dry paper towel around fittings if you cannot tell whether a tiny drip is present.
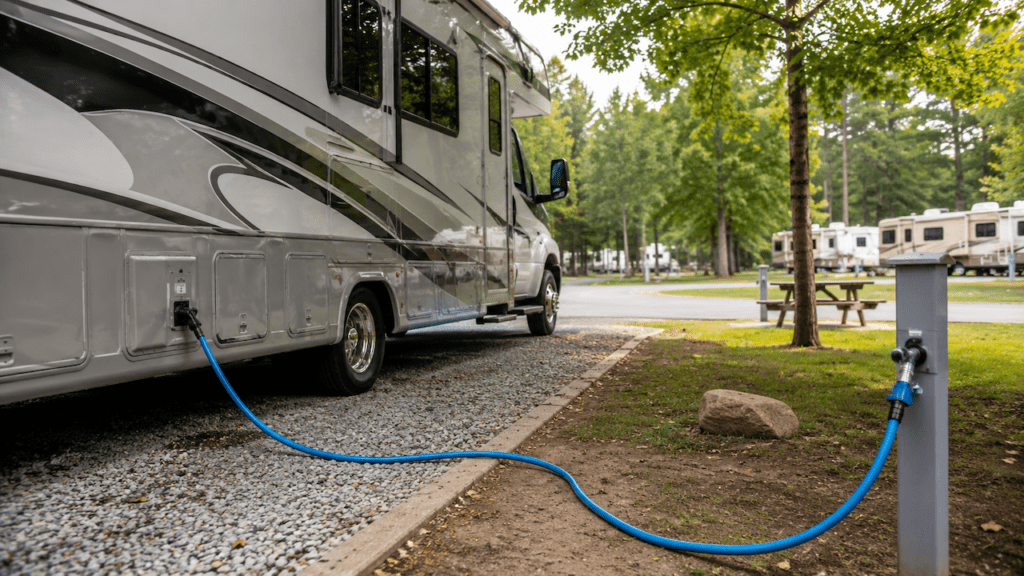
City Water Connection and Wet Bay
Inspect the exterior water connection and the interior wall behind it when accessible.
A fitting can leak inward without producing much water outside.
Wet bays also contain several hoses, valves, fittings, and plumbing connections packed into a small space.
Look for damp surfaces, mineral deposits, stains, corrosion, or swollen compartment flooring.
Refrigerator and Water Heater Exterior Openings
Exterior appliance cutouts can allow water into the wall if seals fail.
Inspect around the refrigerator vent and water heater opening.
Then locate the corresponding interior wall or cabinet.
Check that area for staining, softness, or elevated moisture readings.
Floor Perimeter and Underbelly
Many people walk only down the center aisle while inspecting a used RV.
That misses some of the most vulnerable flooring.
Walk near the exterior walls, especially around:
- Slides
- Doors
- Plumbing fixtures
- Rear corners
- Front corners
Underneath the RV, look for sagging underbelly material, staining, trapped water, or sections that appear recently opened.
A sagging belly panel may hold water from a plumbing leak above.
How Do You Perform a Complete RV Water Damage Inspection?
A repeatable inspection order makes hidden moisture easier to locate. Work from visible interior clues toward the most likely exterior or plumbing source.
Step 1: Smell the RV Before Airing It Out
If the RV has been closed, take a moment to notice the smell before opening everything.
A concentrated musty smell may lead you toward hidden moisture.
Check cabinets, closets, storage compartments, and under mattresses.
This can be particularly helpful when inspecting a used RV.
Step 2: Inspect the Interior From Ceiling to Floor
Start high and work downward.
Inspect the ceiling first.
Then move through:
- Upper cabinets
- Walls
- Windows
- Furniture bases
- Lower cabinets
- Floor
Working in one direction reduces the chance that you skip an area.
Step 3: Feel for Soft Spots
Compare suspicious surfaces with nearby areas.
Walk slowly across the floor.
Use gentle hand pressure on walls, ceilings, cabinet corners, and trim.
Do not aggressively push through lightweight panels.
You only need enough pressure to notice an unusual difference.
Step 4: Map Suspicious Areas With a Moisture Meter
Once you find a suspicious area, scan outward from it.
Take readings every few inches.
Write them down or photograph the meter display beside each location.
This can help you see whether the affected area is small or spreading across a larger section.
Step 5: Inspect the Exterior Directly Opposite and Above the Damage
After locating interior moisture, move outside.
Do not only inspect the area directly opposite the stain.
Check above it too.
Water often enters higher up and travels downward along framing, insulation, wiring, or wall materials.
Inspect nearby windows, roof seams, vents, trim, slide seals, and exterior fixtures.
Step 6: Inspect Plumbing With the Water System Pressurized
If you suspect a plumbing leak, pressurize the system.
Run the water pump or connect to a regulated city water source.
Then inspect plumbing fittings while water is flowing and again after all faucets are closed.
If your pump repeatedly cycles when nobody is using water, investigate further.
The cause may be a leak, pressure loss, check valve problem, or another plumbing issue.
Step 7: Document the Size of the Suspected Damage
Take pictures and notes.
Record:
- Moisture readings
- Soft areas
- Stains
- Damaged sealant
- Plumbing drips
- Exterior delamination
Good documentation helps you determine whether the condition changes over time.
It also helps an RV technician understand what you already found.
Is the Water Coming From Rain, Plumbing, or Condensation?
Finding moisture is only the first part of the job. You also need to figure out what is producing it before deciding how to fix the problem.
Signs of an Exterior Rain Leak
Rain leaks often appear around upper parts of the RV.
You may notice:
- Moisture after heavy rain
- Ceiling stains
- Damp upper cabinet corners
- Moisture around windows
- Wet slide-out corners
- Water near roof penetrations
The area may dry when the weather stays clear.
That pattern strongly suggests you should inspect exterior seams and seals.
Signs of an RV Plumbing Leak
Plumbing leaks can happen regardless of the weather.
Watch for:
- Water under sinks
- Dampness near the water heater
- Wet bathroom flooring
- Moisture around the toilet
- Wet bay leaks
- Pump cycling unexpectedly
- Mineral deposits around fittings
If moisture appears while the water system is pressurized, plumbing becomes a likely source.
Signs of Air Conditioner Condensate Problems
An RV air conditioner naturally creates condensation during humid weather.
Normally, that moisture should drain away correctly.
Problems may occur if drainage becomes restricted or if water gets past the A/C gasket.
Check for ceiling dampness near the air conditioner, especially during or shortly after operation.
Do not assume every wet ceiling near the A/C is a roof leak.
Signs the Moisture May Be Condensation
Condensation usually creates a broader moisture pattern instead of one obvious leak trail.
You may notice:
- Wet windows
- Damp wall surfaces
- Moisture during cold weather
- High indoor humidity
- Damp corners behind furniture
- Moisture around metal framing
Persistent condensation can still damage RV materials.
Ventilation and humidity control matter even when the exterior seals are fine.
Can You Use a Garden Hose to Find an RV Leak?
Yes, a controlled garden hose test can help locate some exterior leaks, but you should test one small area at a time.
Have one person stay inside while another lightly wets the suspected exterior area. Start low and gradually work upward so you can identify where the water begins entering.
Avoid spraying the entire roof and sidewall at once. If water appears inside afterward, you will have no idea which seam caused it.
Do not use excessive pressure directly against seals because you may force water into places normal rain would not reach. If the leak source remains unclear, professional leak testing may be the better option.
How Can You Tell How Serious the RV Water Damage Is?
The seriousness depends on whether the moisture is recent, how far it has spread, and whether structural materials have softened or separated.
| Finding | What It May Indicate | Recommended Response |
| Small dry stain with firm surrounding material | Previous or intermittent leak | Check moisture and nearby exterior seals |
| Higher meter readings but solid surface | Possible concealed moisture | Map the area and find the source |
| Swollen trim or peeling wall panel | Repeated moisture exposure | Investigate promptly |
| Soft floor near an exterior wall | Possible subfloor deterioration | Consider professional inspection |
| Soft ceiling or roof substrate | Possible structural damage | Avoid loading the area |
| Exterior wall delamination | Separation behind fiberglass | Determine extent before repairs |
| Sagging wet underbelly | Trapped water or saturated insulation | Locate source quickly |
| Widespread moisture and musty odor | Long-term intrusion possible | Get a detailed inspection |
Does a Soft Spot Mean the RV Has Structural Water Damage?
A soft spot is an important warning sign, but it does not automatically mean the entire RV structure has failed.
Sometimes the damage may be limited to a section of flooring, wall panel, or plywood substrate. In other cases, repeated moisture may have reached wooden framing or weakened adhesive bonds inside the structure.
The location matters too.
A soft decorative panel is different from a floor that sinks under your weight.
If the roof, floor, or major wall section feels significantly soft, stop treating it as a cosmetic problem. The hidden material should be evaluated before you continue using or repairing the RV.
Should You Buy a Used RV With Signs of Water Damage?
You can buy a used RV that has experienced a past leak, but you need to understand exactly what happened.
A documented leak that was repaired quickly is very different from an RV with soft flooring, active moisture, widespread delamination, repeated roof patches, or a strong musty smell.
Be cautious when you find:
- Active moisture readings
- Soft roof decking
- Soft floors
- Large delaminated wall sections
- Unexplained interior stains
- Multiple poorly repaired exterior seams
- Wet insulation
- Extensive mold-like growth
If you are considering an expensive used RV, an independent inspection is usually worth the cost when water damage is suspected.
Remember that a standard inspection may not include removing finished walls or flooring. Hidden damage can sometimes remain concealed until materials are opened.
When Should You Stop the DIY Inspection and Call an RV Technician?
You can identify many early warning signs yourself, but some conditions deserve professional evaluation.
Call an RV technician or inspector when:
- The roof feels soft.
- A floor section sinks or flexes heavily.
- Moisture readings cover a large area.
- Exterior delamination is spreading.
- Water has reached electrical components.
- The underbelly contains trapped water.
- Wet insulation is suspected.
- You cannot locate the leak source.
- Structural framing may be affected.
- Interior panels need removal to determine the extent.
- You are buying a costly used RV with suspicious moisture damage.
Water damage usually becomes more expensive when the source stays active.
Finding the entry point should come before cosmetic repairs.
How Often Should You Check an RV for Hidden Water Damage?
There is no single inspection interval that applies to every RV because manufacturers use different maintenance schedules. Your owner’s manual should always be the primary guide for roof, sealant, window, and exterior seam inspections.
I would also inspect the RV after situations that make water intrusion more likely.
Useful times to check include:
- At the beginning of camping season
- At the end of camping season
- After heavy rain
- After severe hail
- After brushing against tree branches
- After long-term storage
- After suspected freeze damage
- Before buying a used RV
- Whenever you notice a new stain, odor, or soft spot
A quick inspection only takes a few minutes once you know where to look.
That habit can catch small problems before the structure becomes involved.
How to Reduce the Chance of Hidden Water Damage
Finding damage early matters, but prevention is even better.
A few maintenance habits can greatly reduce your risk:
- Inspect roof seams and sealant regularly.
- Keep window drainage holes clear.
- Inspect slide-out seals and lower trim.
- Repair damaged exterior sealant promptly.
- Check plumbing fittings for slow leaks.
- Watch around water heater connections.
- Keep exterior compartment seals in good condition.
- Use sealants compatible with your RV materials.
- Do not cover unidentified leaks with random household caulk.
- Investigate stains instead of simply painting over them.
Whenever you reseal an area, clean and prepare the surface properly.
A thick layer of sealant over dirt or failing material may look repaired while still allowing water underneath.
Final Words
Checking an RV for hidden water damage is really a process of connecting clues. Start with what you can see, smell, and feel. Then use a moisture meter to map suspicious areas and trace them toward likely exterior openings or plumbing connections.
The most important thing is catching moisture before the structure becomes soft. A small failed seal can be manageable. The same leak left unnoticed for months can reach insulation, plywood, framing, and wall adhesives. Regular inspections give you the best chance of finding the problem while it is still relatively contained.
Related FAQs
How Can You Tell if RV Water Damage Is Old or Active?
Old water damage may leave dry stains or discoloration without elevated moisture readings. Active damage is more likely to show dampness, increasing meter readings, softness, recent staining, or moisture that appears after rain or when the plumbing system is pressurized.
Can a Moisture Meter Detect Water Behind RV Walls?
A pinless moisture meter can often detect moisture changes beneath thin wall and floor surfaces. It does not tell you exactly what is wet, so compare suspicious readings with known-dry areas and confirm them with physical signs.
What Does Hidden RV Water Damage Smell Like?
Hidden water damage often creates a persistent musty, earthy, or damp odor. The smell may be strongest inside cabinets, closets, storage bays, under mattresses, or near wet insulation.
Does RV Delamination Always Mean Water Damage?
No. Moisture is a common cause of RV delamination, but bonding failure, age, heat, or manufacturing issues can also cause separation. Delamination should always be inspected further to determine whether moisture is present.
Can an RV Have Water Damage Without Visible Stains?
Yes. Water can remain inside wall cavities, insulation, floors, or roof assemblies without leaving an obvious stain. Soft surfaces, musty smells, delamination, rusted hardware, or abnormal moisture readings may appear first.
How Do You Check an RV Floor for Water Damage?
Walk slowly across the floor and feel for soft, spongy, or unusually flexible areas. Pay particular attention near exterior walls, slide-outs, bathrooms, doors, plumbing fixtures, and water heater locations.
Can You Test an RV for Leaks With a Garden Hose?
Yes. Wet one small exterior section at a time while someone watches inside for moisture. Start low and work upward. Avoid soaking the entire RV at once because that makes the leak source difficult to identify.
How Much Water Damage Is Too Much When Buying a Used RV?
Widespread soft flooring, soft roof decking, extensive delamination, strong musty odors, wet structural materials, or active moisture across several areas should make you very cautious. A professional inspection is wise before buying.
Can Hidden RV Water Damage Be Repaired?
Yes, many cases can be repaired. The difficulty depends on how far moisture has spread and whether flooring, framing, insulation, wall panels, or exterior fiberglass have deteriorated.
How Often Should RV Roof Seals Be Checked?
Follow the inspection interval listed by your RV manufacturer because schedules vary by model. You should also inspect seals after severe weather, roof impacts, long storage periods, or whenever you notice new moisture inside.

Gregory Allen covers outdoor RV camping, essential gear, and travel preparation. His reviews are based on real conditions, not spec sheets alone. He helps RVers choose equipment that works reliably in everyday outdoor use.