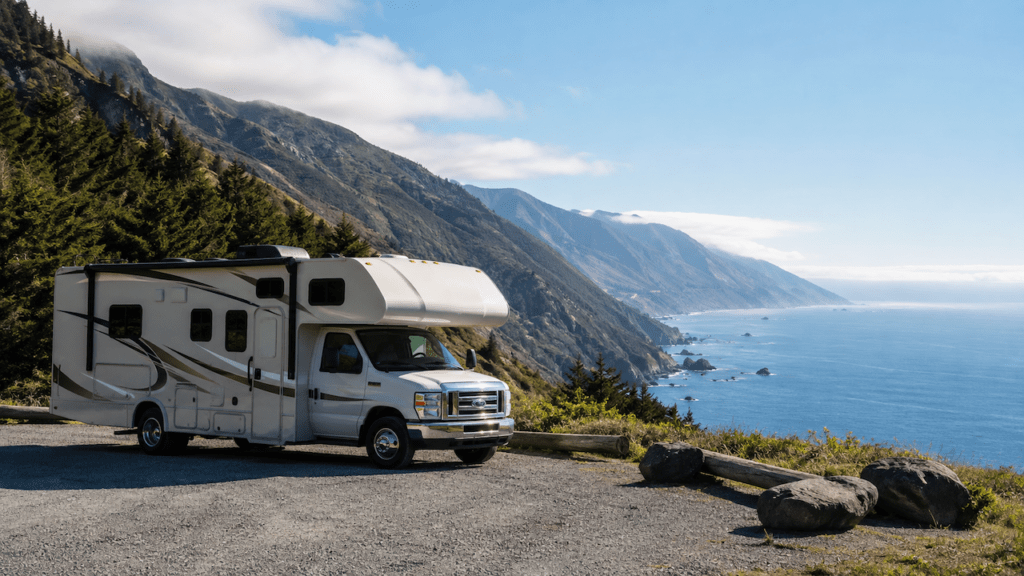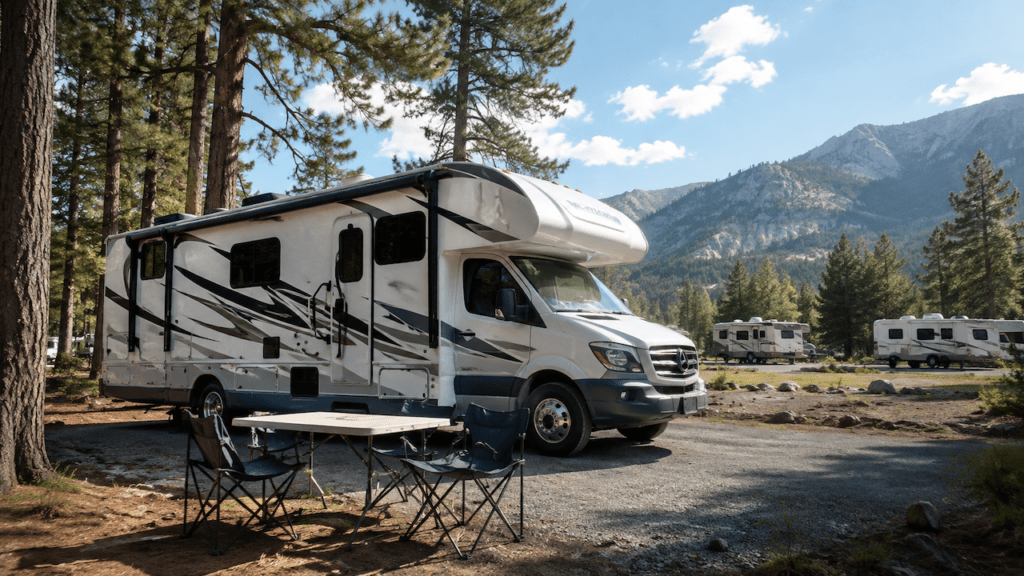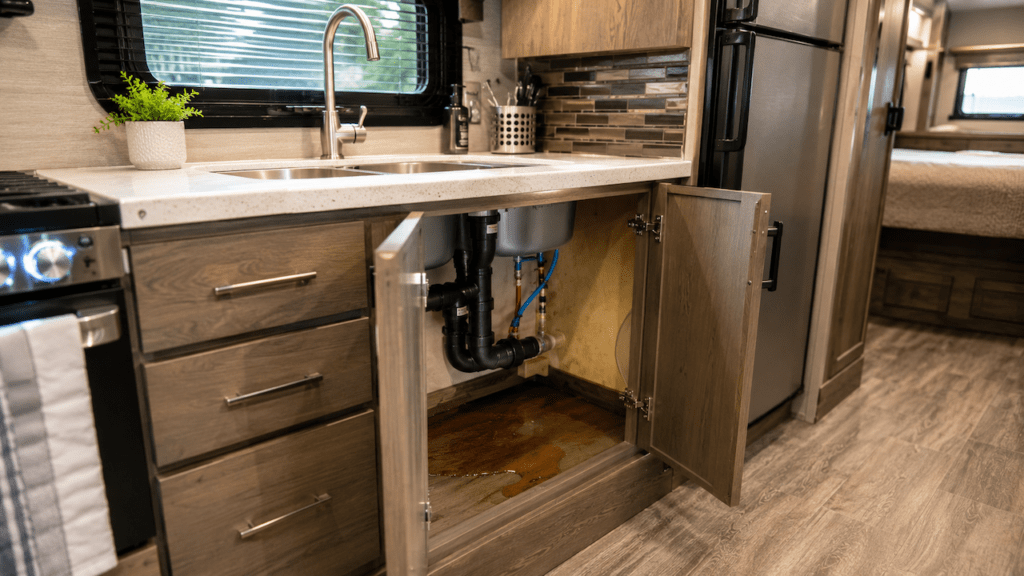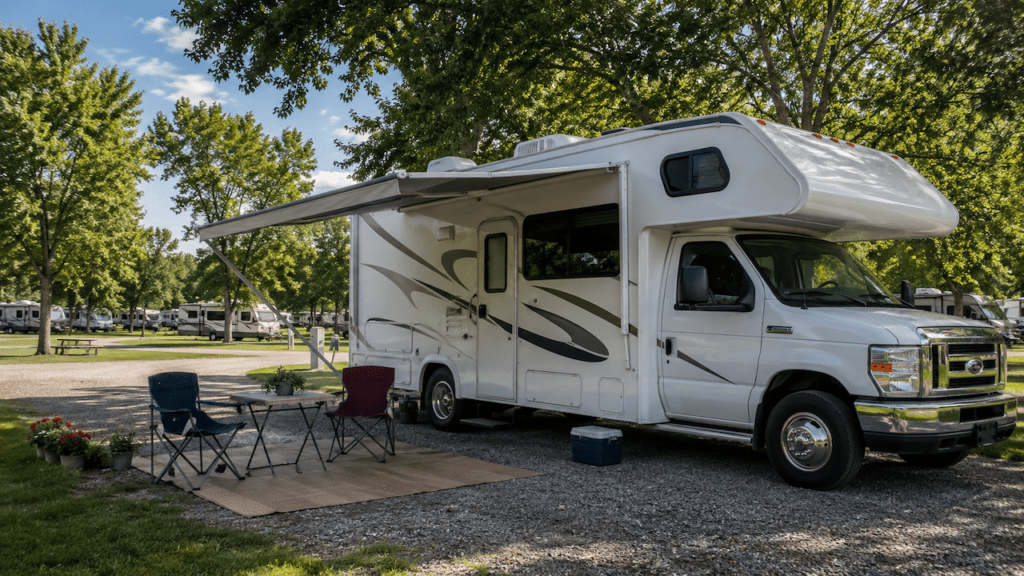
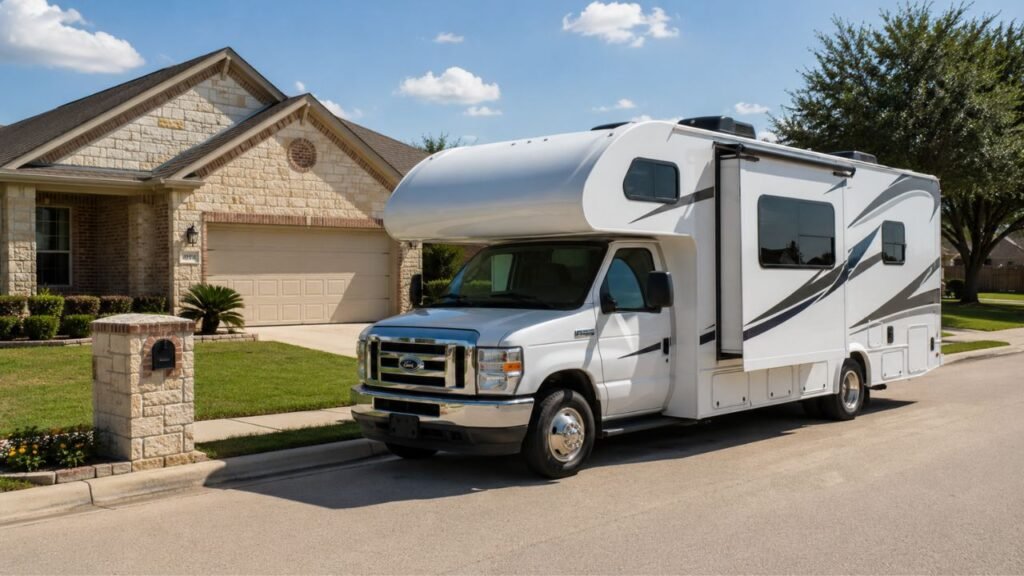
Before every RV trip, inspect the tires, wheels, brakes, lights, hitch or towing connection, batteries, propane system, exterior components, and travel-ready equipment. Motorhome owners should also check important chassis fluids and look underneath for fresh leaks. Finish with an interior check and one final walkaround before moving.
Below, I’ll walk you through a practical RV pre-trip inspection routine. I’ll also separate checks for motorhomes, travel trailers, and fifth wheels.
Key Takeaways
- Check RV tire pressure while the tires are completely cold.
- Inspect tires, wheels, brakes, and lights before every departure.
- Towable owners should inspect the hitch and breakaway system carefully.
- Motorhome owners should check chassis fluids and visible leaks.
- Retract slides, awnings, jacks, steps, and other exterior equipment.
- Secure cabinets, refrigerator doors, cargo, and loose interior items.
- Investigate serious safety problems before taking the RV onto public roads.
- Finish every departure with the same complete 360-degree walkaround.
RV Pre-Trip Inspection Checklist at a Glance
A pre-trip inspection becomes much easier with a consistent routine. This quick table shows the major areas I recommend checking first.
| Inspection Area | What to Check | Applies To | Stop and Investigate If |
| Tires | Cold pressure, tread, sidewalls, valve stems | All RVs | Bulge, major crack, exposed cord, severe pressure loss |
| Wheels | Lug nuts and visible wheel damage | All RVs | Hardware appears loose, missing, or damaged |
| Brakes | Brake operation and controller response | All RVs | Brakes feel weak, uneven, or unresponsive |
| Lights | Brake, turn, running, and clearance lights | All RVs | Required road lights do not work |
| Hitch | Coupler, kingpin, latch, locking hardware | Towables | Connection cannot be positively verified |
| Breakaway system | Switch, cable, and battery | Towables | System cannot activate trailer brakes |
| Fluids | Oil, coolant, brake fluid, visible leaks | Motorhomes | Major leak or critically low fluid |
| Propane | Cylinders, tank, hoses, regulator, odor | Equipped RVs | Propane odor or visible damage appears |
| Exterior | Slides, awning, jacks, steps, doors | All RVs | Anything remains extended or unsecured |
| Interior | Cabinets, cargo, refrigerator, doors | All RVs | Heavy objects can move while driving |
Start With the RV Tires and Wheels
Your tires carry the entire weight of the RV. They also experience long storage periods, heavy loads, and changing temperatures. That makes them one of the first things I would inspect.
Check Tire Pressure While the Tires Are Cold
Use a reliable tire pressure gauge before significant driving begins.
Check the recommended pressure listed for your specific RV or chassis. Do not judge pressure by looking at the tire.
RV tires can appear normal while being badly underinflated.
Check every tire individually, including inner dual tires on motorhomes. If you tow a trailer, check the tow vehicle too.
I also recommend checking the spare before leaving. A flat spare will not help during a roadside problem.
Look for Cracks, Bulges, Cuts, and Uneven Wear
Walk around slowly and inspect each tire sidewall.
Look for:
- Cracks in the rubber
- Sidewall bulges
- Deep cuts
- Exposed cords
- Nails or screws
- Missing chunks of tread
- Uneven tread wear
- Unusual flat spots
A noticeable bulge deserves immediate attention. It can indicate internal tire damage.
Uneven wear also tells you something may be wrong. Alignment, inflation, suspension, or loading can all cause irregular wear.
Inspect the Wheels and Lug Nuts
Look carefully around each wheel before departure.
Check for missing lug nuts, damaged studs, bent wheels, or obvious looseness. Rust trails around a stud can sometimes indicate movement.
Do not randomly tighten lug nuts as hard as possible.
Use the torque value and procedure specified by your RV, axle, or wheel manufacturer.
Inspect the Spare Tire Too
The spare gets forgotten because it usually stays covered.
Check its pressure and overall condition periodically and before longer trips. Make sure you can actually access it if needed.
Check the Brakes, Brake Controller, and Road Lights
Brakes and lights are basic road-safety systems, so I never treat them as optional. Confirm they work before entering normal traffic.
Test the Brakes Before Entering Traffic
For a motorhome, pay attention to how the brake pedal feels.
The pedal should not suddenly feel unusually soft, low, or inconsistent. Listen for grinding or other new sounds.
If you are towing, confirm the tow vehicle brakes feel normal too.
Trailer brakes should also respond correctly before highway speeds. If braking feels dramatically weaker than usual, investigate before continuing.
Test the Trailer Brake Controller
If your towable uses electric trailer brakes, verify the controller recognizes the trailer.
Test brake response at very low speed in a safe area.
Use the manual control according to the brake-controller manufacturer’s instructions. The trailer should respond predictably without locking the wheels.
Controller gain may need adjustment when trailer loading changes significantly.
Check the Breakaway Switch and Battery
A breakaway system can apply trailer brakes if the trailer separates.
Inspect the breakaway switch, cable, wiring, and battery before towing.
Make sure the cable is properly attached to the tow vehicle. It should not be wrapped around something that could separate with the hitch.
Check that the trailer battery has enough charge to operate the system.
Follow your RV manufacturer’s testing method when checking breakaway operation.
One important point is the battery disconnect. Do not automatically switch every trailer battery disconnect off before towing.
Some RVs depend on battery power for their breakaway brakes. Wiring arrangements differ between trailers, so follow your owner’s manual.
Test All Exterior Lights
Have someone help while you operate the controls.
Check:
- Headlights
- Taillights
- Brake lights
- Turn signals
- Hazard lights
- Running lights
- Clearance lights
- Marker lights
- Trailer lights
- Towed-vehicle lights
A light problem can also reveal a loose trailer plug or wiring fault.
Inspect the Hitch and Towing Connection
If you tow a travel trailer or fifth wheel, give the connection extra attention. A mistake here can become much more serious than a loose cabinet door.
Check the Coupler and Hitch Ball on a Travel Trailer
Confirm the coupler is fully seated over the hitch ball.
Make sure the coupler latch is locked and secured properly. Install the required safety pin or locking device.
Look at the ball mount, receiver, pin, and surrounding hardware.
You should not see cracked, badly bent, or obviously damaged components.
Make sure the tongue jack is fully raised before driving.
Check the Fifth-Wheel Hitch and Kingpin
For a fifth wheel, verify the kingpin is correctly seated.
Make sure the hitch jaws are closed around the kingpin correctly. Confirm the locking handle is fully secured.
Look underneath if your hitch design allows visual verification.
Watch for a high-hitch condition where the kingpin sits incorrectly above the jaws.
Follow the hitch manufacturer’s recommended verification or pull-test procedure.
Check Safety Chains and the Breakaway Cable
Travel trailers normally use safety chains as a secondary connection.
Attach them to approved tow-vehicle attachment points. Give them enough slack to turn without letting them drag.
Arrange crossed chains when required for your setup.
The breakaway cable also needs enough movement for turns. However, it should not be so loose that it drags.
Inspect the 7-Way Plug and Wiring
Push the electrical connector fully into its socket.
Check that the cable cannot drag along the road. Keep it away from the hitch parts that could pinch it during turns.
Look for exposed copper, crushed wiring, or damaged connectors.
After connecting everything, confirm trailer lights and brakes work.
Check Weight-Distribution and Sway-Control Equipment
If you use a weight-distribution hitch, inspect its visible components.
Make sure spring bars, brackets, pins, and retaining hardware are secured correctly.
Inspect separate sway-control equipment when equipped.
Always follow the hitch manufacturer’s setup procedure. Small design differences can change what “correctly installed” means.
Check Motorhome and Tow-Vehicle Fluids
This section mainly applies to motorhomes and tow vehicles. Fluid checks can reveal a developing mechanical problem before it becomes a roadside breakdown.
Check Engine Oil and Coolant
Check the engine oil according to your chassis manufacturer’s instructions.
Also verify the coolant level when conditions allow safe checking.
Never open a pressurized hot cooling system.
A suddenly low fluid level deserves investigation, especially when it was recently normal.
Check Brake, Transmission, and Power-Steering Fluids
Check accessible chassis fluids required by your vehicle manufacturer.
Depending on the vehicle, these may include:
- Brake fluid
- Transmission fluid
- Power-steering fluid
- Hydraulic fluid
Some modern transmissions are sealed and do not have dipsticks.
Do not force a fluid check that the manufacturer does not recommend for owners.
Look Under the RV for Fresh Leaks
Before leaving, look at the ground under the RV.
Fresh fluid can sometimes reveal a problem before the dashboard gives you a warning.
Watch for:
- Engine oil
- Coolant
- Transmission fluid
- Fuel
- Brake fluid
- Hydraulic fluid
- Unexplained water
Clear water under an air conditioner can simply be condensation.
However, colored, oily, strongly scented, or continuously dripping fluid deserves closer attention.
Check Fuel, DEF, and Washer Fluid Where Applicable
Make sure you have enough fuel for your planned route.
Diesel motorhomes or tow vehicles may also require diesel exhaust fluid.
Windshield washer fluid may sound minor, but good visibility matters. Top it up when necessary.
Inspect the Battery and 12-Volt System
Your 12-volt system supports many important RV functions. These can include lights, jacks, slides, steps, and trailer emergency brakes.
Check Battery Charge and Connections
Make sure the battery has adequate charge before leaving.
Check accessible terminals for obvious looseness or heavy corrosion.
The battery itself should be secured in its tray or compartment.
Motorhomes may have both chassis and house batteries. Each serves different systems, so confirm both are behaving normally.
Make Sure Travel-Critical 12-Volt Systems Have Power
Test the systems you depend on for departure.
These may include:
- Breakaway brakes
- Electric tongue jack
- Landing gear
- Slide mechanisms
- Powered entry steps
- Leveling systems
If something suddenly loses power, find the cause before relying on it.
Inspect the Propane System Before You Travel
A quick propane inspection can catch obvious damage or leakage. You are looking for visible problems and unusual odor, not performing a full pressure test.
Check the Propane Tank or Cylinders
Inspect the tank or cylinders from the outside.
Make sure cylinders are properly secured in their intended mounting position.
Look for:
- Physical damage
- Loose mounting hardware
- Damaged hoses
- Cracked flexible lines
- Regulator damage
- Bent valves
- Missing protective parts
Do not travel with a propane cylinder moving loosely in storage.
Look and Smell for Signs of a Propane Leak
Propane normally contains an odorant that makes leaks easier to detect.
If you smell propane, shut down the system when it is safe.
Do not continue using the propane system until the cause is identified.
Avoid testing suspected leaks with a flame.
A damaged fitting, hose, regulator, or tank should be inspected properly before reuse.
Should You Turn the Propane Off While Driving?
There is no useful one-size-fits-all answer for every RV.
Some RV appliances and manufacturers allow specific travel configurations. Other equipment may require propane appliances to remain off.
Certain tunnels, ferries, fueling locations, or facilities can impose propane restrictions.
Follow the instructions for your RV and appliances. If you suspect any propane problem, shut the system down until repaired.
Inspect Everything That Must Retract or Lock Before Travel
Many expensive RV departure mistakes involve something left extended. I recommend checking these items during every exterior walkaround.
- Slide-outs fully retracted
- Slide travel locks installed when required
- Awning fully stowed
- Leveling jacks completely retracted
- Stabilizer jacks raised
- Fifth-wheel landing gear raised
- Trailer tongue jack raised
- Entry steps retracted
- TV antenna lowered
- Satellite equipment secured
- Exterior kitchen closed
- Storage compartments latched
- Entry doors secured
- Windows secured
- Roof vents placed in their approved travel position
- Bike racks secured
- Exterior cargo secured
Do not rely entirely on an indicator light inside the RV.
Whenever possible, physically look at the equipment before driving away.
Check the Roof and Exterior for Anything Loose or Damaged
Walk around the RV and look upward from a safe position.
Check for loose trim, damaged seals, hanging wires, loose accessories, or anything unusual after storms or low branches.
Look underneath for a sagging underbelly or dangling component.
You do not need to climb onto the roof before every trip.
In fact, repeatedly climbing onto an RV roof can create unnecessary risk. Use ground-level inspection unless closer access is genuinely needed.
If you recently hit a branch or encountered severe weather, inspect the roof more carefully before traveling.
Disconnect and Inspect Campsite Hookups Before Leaving
Campground departures create their own set of easy-to-miss problems. Use a deliberate disconnect routine so nothing remains attached.
- Disconnect and store the shore-power cord.
- Remove and store the surge protector.
- Disconnect the freshwater hose.
- Remove the water-pressure regulator.
- Store external water filters.
- Disconnect and store the sewer hose.
- Close the sewer valves.
- Install the sewer outlet cap.
- Disconnect campground cable connections.
- Store portable solar panels.
- Collect leveling blocks.
- Store outdoor rugs and furniture.
- Remove wheel chocks at the correct departure stage.
Do not remove chocks too early on a towable.
Keep the trailer secured until the hitching process and other stability steps are complete.
Secure the Interior Before the RV Moves
The outside can be perfect while the interior remains unsafe. A few minutes inside can prevent broken doors, damaged cabinets, and flying objects.
Secure Cabinets, Drawers, and Loose Objects
Close every cabinet and drawer completely.
Use travel latches when your RV has them.
Store heavy objects low so they cannot fall during sudden braking.
Clear loose items from tables, counters, shelves, and window ledges.
Secure the Refrigerator and Kitchen
Confirm the refrigerator doors are latched for travel.
Arrange food so heavy containers cannot slam against the door.
Secure:
- Pots
- Pans
- Glassware
- Countertop appliances
- Cutting boards
- Stove covers
Do not automatically shut down every refrigerator.
Travel requirements vary between compressor, absorption, propane, and electric refrigerator systems.
Follow the instructions for your specific refrigerator.
Close Interior and Shower Doors
Latch the shower enclosure before moving.
Secure sliding doors, pocket doors, bathroom doors, and removable tables.
A lightweight interior door can still cause expensive damage if it swings freely while driving.
Make Sure Everyone Is Ready for Travel
In a motorhome, passengers should use designated travel seating and seat belts.
Secure pets appropriately so they cannot interfere with the driver.
Rules involving passengers inside towable RVs vary and can also depend on the manufacturer.
Follow applicable state law and your RV manufacturer’s instructions.
Check Your RV’s Weight and Cargo Security
You do not need to weigh your RV before every departure. However, loading can seriously affect handling, braking, and tire stress.
Make Sure You Have Not Overloaded the RV
Know the weight limits listed for your RV.
Important ratings include:
- GVWR
- GAWR
- Cargo carrying capacity
Remember that water adds substantial weight.
Food, tools, batteries, generators, bikes, and accessories also reduce available cargo capacity.
If you make major loading changes, weighing the RV is worth considering.
Secure Exterior Cargo and Accessories
Check every piece of exterior cargo.
This may include:
- Bicycles
- E-bikes
- Coolers
- Generators
- Kayaks
- Cargo carriers
- Spare tires
- Storage boxes
Check straps, pins, locks, and mounting points.
A load that feels secure while parked may move significantly at highway speeds.
Watch for Major Changes in Weight Distribution
Heavy cargo location affects how an RV handles.
A travel trailer with poor tongue-weight distribution may sway.
A fifth wheel with unusual loading can also change suspension and axle loading.
Try to keep heavy cargo low and properly distributed.
Test Your RV Safety Equipment
Your pre-trip check should also confirm basic emergency equipment remains accessible. You do not need to perform complete maintenance on every device.
- Test smoke alarms as recommended.
- Test carbon monoxide alarms as recommended.
- Check the propane detector.
- Confirm the fire extinguisher is accessible.
- Make sure emergency exits are not blocked.
- Keep a first-aid kit onboard.
- Carry reflective triangles or roadside markers.
- Keep working flashlights available.
- Confirm essential roadside tools are accessible.
Replace expired, discharged, or damaged safety equipment as needed.
What Should You Inspect on a Motorhome Before Every Trip?
Motorhomes combine a living space with a powered chassis. Along with normal RV checks, inspect the vehicle systems needed to drive safely.
| Motorhome-Specific Area | Quick Check |
| Engine fluids | Oil, coolant, and accessible chassis fluids |
| Engine area | Visible leaks, loose components, unusual damage |
| Chassis battery | Charge and secure connections |
| Fuel or DEF | Adequate level for the route |
| Mirrors | Clean and correctly positioned |
| Windshield | Clear visibility and obvious damage |
| Wipers | Proper movement and condition |
| Washer system | Working and filled |
| Entry steps | Fully retracted |
| Towed vehicle | Tow bar, brakes, cables, and lights |
If your motorhome has air brakes or other specialized equipment, follow its chassis-specific inspection procedure.
What Should You Inspect on a Travel Trailer or Fifth Wheel?
Towables add connection points that motorhomes do not have. Give the hitch and braking systems the same attention as the tires.
| Towable-Specific Area | Quick Check |
| Hitch connection | Correctly seated and locked |
| Safety chains | Properly attached where required |
| Breakaway system | Cable, switch, and battery ready |
| 7-way plug | Fully connected and protected |
| Trailer brakes | Responding correctly |
| Tongue or landing gear | Fully raised |
| Weight-distribution hitch | Correctly installed when equipped |
| Sway-control equipment | Secured correctly |
| Trailer battery | Sufficient charge for required systems |
| Trailer lights | Brake, turn, and running lights working |
A towable can look correctly connected from several feet away.
Get close enough to physically verify the important locking points.
What Problems Mean You Should Not Drive the RV?
Some problems are inconvenient. Others deserve attention before the RV enters traffic.
I would stop and investigate if you find:
- A bulged or severely damaged tire
- Exposed tire cords
- Severe unexplained pressure loss
- A damaged wheel
- Missing or visibly loose wheel hardware
- Trailer brakes that do not operate
- A failed breakaway system
- A hitch that cannot be securely locked
- Major engine or hydraulic fluid leakage
- A fuel leak
- Propane odor or obvious propane damage
- A serious steering problem
- Abnormal brake pedal behavior
- Required road lights not working
- A slide that cannot fully retract
- A jack that cannot retract
- An entry step stuck outward
- Loose exterior cargo
- Dangerous or excessive loading
You may not know the exact repair immediately.
That is fine. The important thing is recognizing when continuing could create a larger problem.
What Does Not Need a Full Inspection Before Every Trip?
A pre-trip inspection is different from scheduled maintenance.
You do not need to perform a complete roof reseal, wheel-bearing service, propane pressure test, water-system sanitization, or generator oil change every time you move.
Other tasks usually follow mileage, operating hours, seasonal schedules, or manufacturer intervals.
These can include:
- Wheel-bearing servicing
- Brake disassembly
- Complete roof seal inspection
- Propane pressure testing
- Generator maintenance
- Water-system sanitizing
- Air-conditioner maintenance
- Suspension servicing
- Battery capacity testing
- Appliance servicing
Your pre-trip routine should focus on things that can change quickly.
Look for anything affecting immediate road safety or travel readiness.
How Long Should an RV Pre-Trip Inspection Take?
A practiced pre-trip inspection often takes around 10 to 20 minutes.
Your first inspection after storage may take longer.
The same is true after repairs, tire replacement, severe weather, or major loading changes.
Do not rush just because you usually finish quickly.
Consistency matters more than beating a specific time.
Use the Same Walkaround Routine Every Time
The easiest way to miss something is checking your RV differently each trip. A repeatable routine helps turn the inspection into a habit.
Start at the Driver’s Side and Move in One Direction
Choose one starting point and stick with it.
For example, begin near the driver’s door and walk clockwise.
Follow the same path every time.
This makes it easier to notice when one inspection step gets skipped.
Touch Critical Items Instead of Only Looking at Them
Some things deserve physical verification.
You might physically check:
- Hitch locking pin
- Coupler latch
- Safety chains
- 7-way connector
- Storage door latch
- Awning arm
- Slide edge
- Entry step
This does not mean pulling hard on everything.
A simple touch often confirms what your eyes might overlook.
Do One Final 360-Degree Walkaround
After everyone is inside, walk around once more.
Look specifically for:
- People nearby
- Pets
- Wheel chocks
- Hoses
- Power cords
- Leveling blocks
- Jacks
- Steps
- Open doors
- Open compartments
- Awning position
- Slide position
- Loose cargo
- Obstacles around the RV
I like this final pass because it is separate from maintenance.
Its only purpose is confirming the RV can move safely right now.
Final Words
A good RV pre-trip inspection does not need to become complicated.
Focus first on the items that affect road safety. Tires, brakes, hitch connections, lights, and loose equipment deserve priority.
Then work through the remaining exterior and interior checks.
Once you use the same order every trip, the process becomes much easier.
The goal is simple: catch small problems while the RV is still parked. That is much better than finding them on the highway.
Related FAQs
Should You Inspect Your RV Before Every Trip?
Yes. A short pre-trip inspection can reveal tire damage, brake problems, loose equipment, hitch issues, leaks, or unsecured items before they cause trouble while driving.
What Is the Most Important RV Pre-Trip Check?
Tires, brakes, wheels, and towing connections deserve the highest priority because problems in these areas can quickly affect control, stopping ability, and road safety.
Should You Check RV Tire Pressure Before Every Trip?
Yes. Check each RV tire with an accurate gauge before departure, especially after storage or temperature changes, and use the pressure recommendations specified for your RV and tires.
Should RV Tire Pressure Be Checked Hot or Cold?
RV tire pressure should normally be checked when the tires are cold, meaning before significant driving has heated the tires and increased their internal pressure.
How Often Should RV Lug Nuts Be Checked?
Inspect wheel hardware visually before trips and follow the RV, axle, and wheel manufacturer’s torque-check schedule, especially after wheel removal or installation.
How Do You Test Trailer Brakes Before a Trip?
Connect the trailer, confirm the controller recognizes it, and test braking at very low speed in a safe area according to your brake-controller manufacturer’s instructions.
Should You Test the RV Breakaway Switch Before Towing?
Yes, test it according to your trailer manufacturer’s procedure and confirm the breakaway battery, switch, cable, and trailer brakes can operate correctly.
Should the RV Battery Disconnect Be On or Off While Towing?
It depends on your RV’s wiring. Some trailers need battery power for the breakaway braking system, so follow your owner’s manual instead of using a universal disconnect position.
Should Propane Be Turned Off While Driving an RV?
Follow your RV and appliance manufacturer instructions because travel configurations differ. Also obey propane restrictions at tunnels, ferries, fueling areas, and other regulated locations.
Do You Need to Check the RV Roof Before Every Trip?
A ground-level exterior check is usually enough before routine departures. Perform a closer roof inspection after storms, branch contact, visible damage, or according to your maintenance schedule.
How Long Does an RV Pre-Trip Inspection Take?
A routine inspection usually takes around 10 to 20 minutes once you develop a consistent process, although first trips after storage may need additional time.
What Should You Check After an RV Has Been Sitting for Months?
After long storage, go beyond the normal checklist and inspect batteries, tire condition, fluid levels, propane equipment, seals, plumbing, brakes, appliances, and signs of pests or leaks.

Gregory Allen covers outdoor RV camping, essential gear, and travel preparation. His reviews are based on real conditions, not spec sheets alone. He helps RVers choose equipment that works reliably in everyday outdoor use.