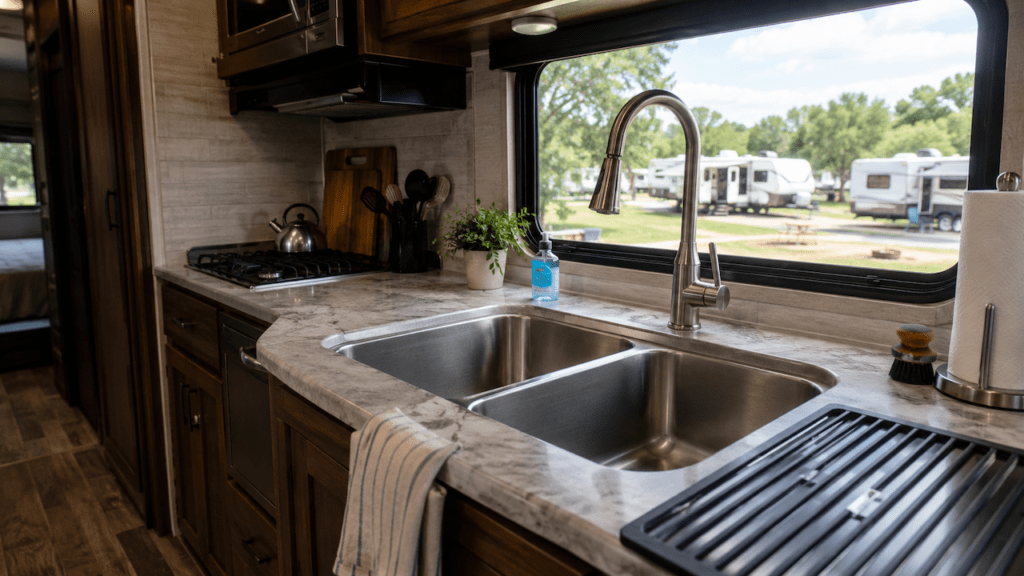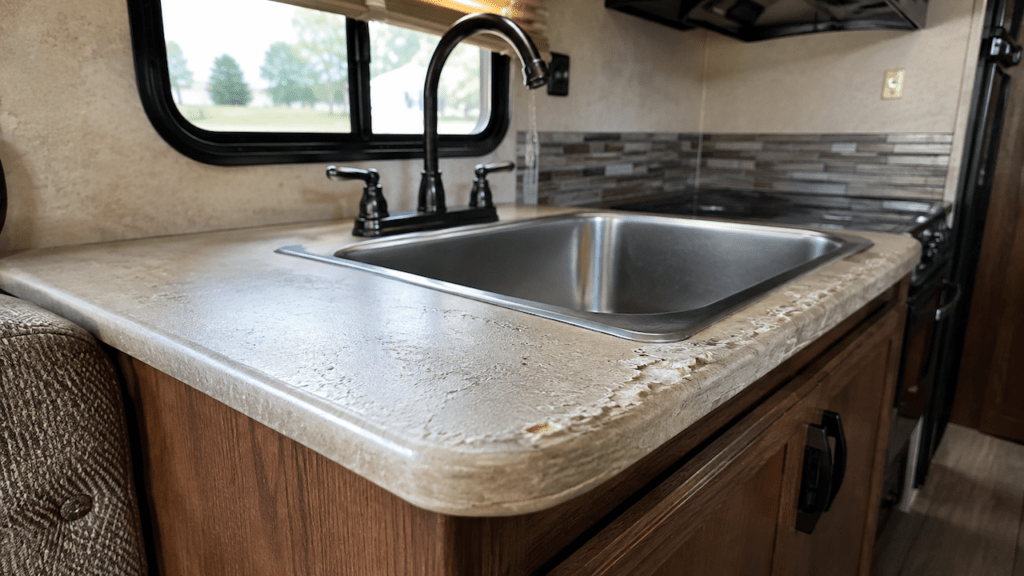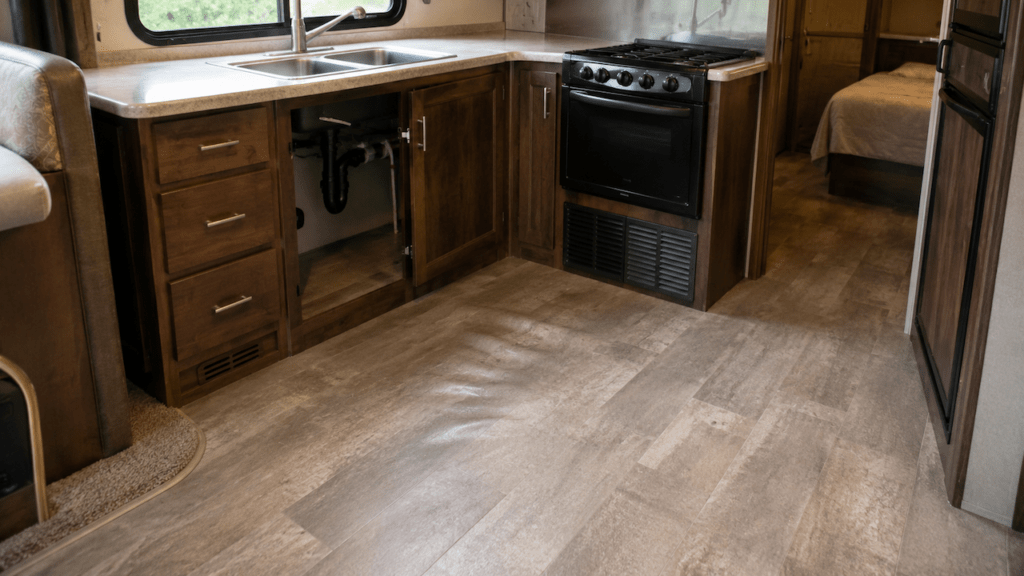
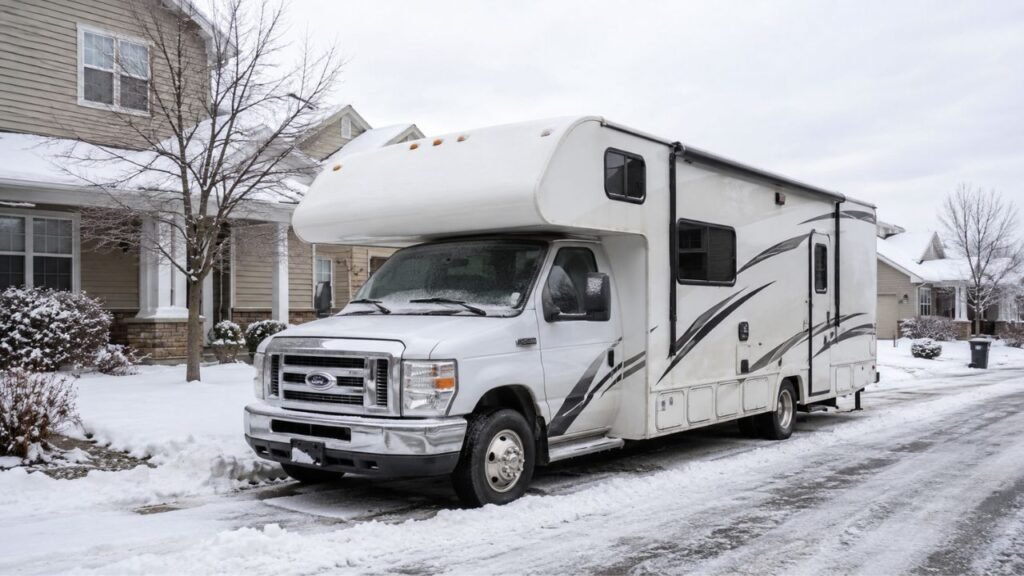
To winterize RV kitchen plumbing, drain the water system first. Then prepare the water heater, bypass filters when needed, and pump non-toxic RV antifreeze through both kitchen faucet lines. Run antifreeze through any sprayer or connected kitchen fixture. Finally, protect the kitchen sink P-trap with RV antifreeze.
I’ll walk you through the complete process below. We’ll also cover filters, sprayers, appliances, compressed air, and common winterizing mistakes.
Key Takeaways
- Drain your fresh-water system before adding RV antifreeze.
- Winterize both hot and cold kitchen faucet lines separately.
- Use only non-toxic RV or marine plumbing antifreeze.
- Never forget the kitchen faucet sprayer or flexible hose.
- Remove or bypass under-sink water filters before winterizing.
- Add RV antifreeze to the kitchen sink P-trap.
- Winterize refrigerator, dishwasher, and outdoor-kitchen lines when equipped.
- Always follow your RV manufacturer’s instructions for special plumbing systems.
Why Does RV Kitchen Plumbing Need Winterizing?
RV plumbing can hold small amounts of water after draining. That leftover water can freeze once temperatures stay below freezing.
Water expands when it freezes. Inside an RV, that expansion can damage fittings, faucet cartridges, filter housings, valves, and PEX connections.
Your kitchen has several places where water can remain hidden. The faucet, sprayer hose, filter housing, P-trap, and appliance lines can all hold moisture.
That is why simply opening the kitchen faucet is not enough. Proper winterizing protects every water-filled part that freezing temperatures can reach.
When Should You Winterize Your RV Kitchen Plumbing?
Winterize before your RV will sit unheated during freezing weather. You should not wait until several hard freezes have already arrived.
An RV may be vulnerable even during a short cold spell. Plumbing location, insulation, wind, and interior temperature all affect freezing risk.
If you are storing your RV for winter, winterize early. It is usually easier than repairing split fittings next spring.
You may not need full winterization if the RV stays heated. However, never assume an RV remains protected just because daytime temperatures rise above freezing.
What Do You Need to Winterize RV Kitchen Plumbing?
You do not need many specialized tools for most RVs. Having everything ready makes the job much easier.
- Non-toxic RV or marine antifreeze
- Water-pump winterizing hose or conversion kit
- Small bucket or container
- Towels or absorbent rags
- Basic hand tools
- Water-filter bypass plug, when required
- Water-heater drain tool, when required
- RV owner’s manual
- Appliance manuals for connected kitchen equipment
- Blowout plug and regulated compressor, if using compressed air
Never use automotive engine antifreeze in your RV plumbing. RV plumbing antifreeze is specifically intended for potable-water systems.
RV Kitchen Plumbing Parts That Need Freeze Protection
Your kitchen contains more winterization points than the faucet alone. Check each connected component before calling the job finished.
| Kitchen Component | What Needs Protection | Commonly Missed Area |
| Kitchen faucet | Hot and cold supply lines | Faucet cartridge |
| Pull-out sprayer | Flexible hose and spray head | Water inside the hose |
| Sink drain | Drain line and P-trap | Water remaining in trap |
| Under-sink filter | Housing and plumbing connections | Water inside filter bowl |
| Drinking-water faucet | Separate supply branch | Small dedicated water line |
| Refrigerator | Water supply line, if equipped | Ice-maker or inlet valve |
| Dishwasher | Supply and drain plumbing | Internal hoses or pump |
| Outdoor kitchen sink | Hot, cold, and drain lines | More exposed exterior plumbing |
Appliances require extra care because designs vary. Follow the specific refrigerator or dishwasher instructions when those appliances use water.
How Do You Winterize RV Kitchen Plumbing Step by Step?
The kitchen depends on the larger RV plumbing system. Complete the basic drainage and heater steps before protecting the kitchen fixtures themselves.
1. Disconnect the RV From City Water
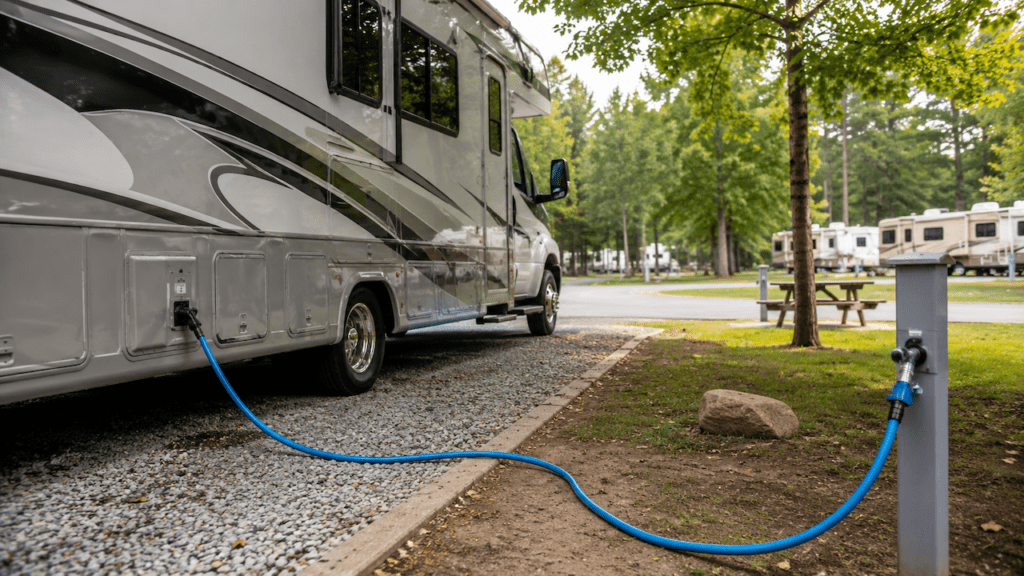
Disconnect the campground or household water hose first. You do not want outside water pressure entering the system while winterizing.
Turn the onboard water pump off.
Open the kitchen faucet briefly to relieve pressure. This makes the next drainage steps safer and cleaner.
2. Drain the Fresh-Water System
Empty the fresh-water tank completely.
Open the appropriate low-point drains for your RV. These drains help remove water sitting inside the hot and cold plumbing lines.
Open the kitchen faucet while the system drains. Let both hot and cold sides release as much water as possible.
Do not run the water pump dry for long periods. Once water stops moving, switch it off.
3. Empty the Gray-Water Tank
The kitchen sink normally drains into the gray-water tank.
Empty the gray tank at an approved dump station or sewer connection. Close the valve after everything has drained.
Starting with an empty gray tank also gives antifreeze somewhere to go later.
4. Turn Off and Drain the Water Heater
Turn off the water heater before draining anything.
Make sure both electric and propane heating modes are disabled. Allow the water inside a tank-style heater to cool before opening its drain.
Release system pressure before removing the drain plug.
Drain the heater according to your RV and water-heater instructions.
If your RV has a tankless water heater, stop here and check its manual. Tankless models can require a different winterization procedure.
5. Set the Water Heater for Winterization
Many RVs have a water-heater bypass system.
The bypass keeps several gallons of RV antifreeze from unnecessarily filling a conventional water-heater tank.
Your valve arrangement may use one, two, or three valves. Some RVs use centralized water-management panels instead.
Do not rely on a random valve diagram online. Follow the labeling inside your RV or consult the owner’s manual.
6. Remove or Bypass the Water Filter
Check under the kitchen sink and around the water pump.
If your RV has an inline or canister-style water filter, remove the cartridge before pumping antifreeze through the plumbing.
Drain any water from the housing.
Install the proper bypass plug or empty housing configuration your system requires.
A filter bowl containing plain water can crack when frozen. The cartridge itself may also be damaged by winter storage.
7. Connect the Water Pump to RV Antifreeze
Many RVs have a factory winterizing hose near the pump.
Place that hose into a container of non-toxic pink RV antifreeze. Turn the winterization valve into the correct position.
If your RV lacks a factory hose, a pump conversion kit can perform the same job.
You usually do not need to pour antifreeze into the freshwater tank. Drawing directly from the container reduces waste and simplifies spring flushing.
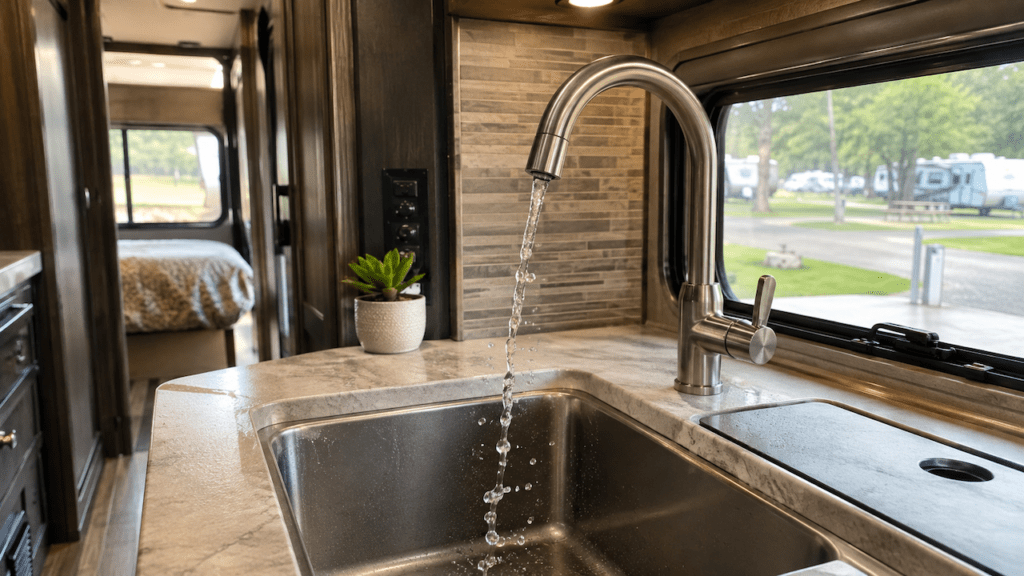
8. Run Antifreeze Through the Cold Kitchen Faucet Line
Turn the water pump on.
Open only the cold side of the kitchen faucet.
At first, you may see clear water or diluted pink liquid. Let it run until the color becomes consistently bright pink.
Once you see a steady antifreeze color, close the cold side.
That tells you the cold kitchen branch contains protected fluid.
9. Run Antifreeze Through the Hot Kitchen Faucet Line
Now open the hot side.
Even if your faucet uses one handle, hot and cold water travel through separate supply lines.
Move the handle completely toward the hot position. Let the faucet run until undiluted pink antifreeze appears.
Then close the faucet.
Treating each side separately helps remove pockets of plain water.
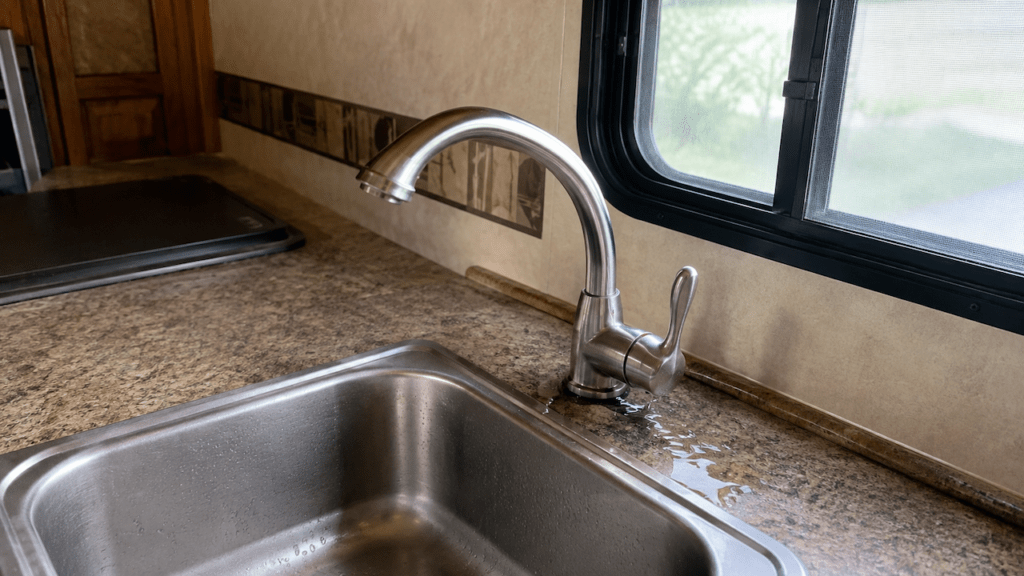
10. Winterize the Kitchen Faucet Sprayer
This step is easy to miss.
If your faucet has a pull-down head, pull-out sprayer, or separate side sprayer, activate it while the pump is running.
Let antifreeze travel through the flexible hose and spray head.
Continue until the output is consistently pink.
Water can remain trapped inside a sprayer hose even after the main faucet has already turned pink.
11. Winterize Any Secondary Kitchen Water Lines
Look around your kitchen for fixtures beyond the main faucet.
Some RVs have a separate filtered drinking-water faucet. Others include refrigerators, dishwashers, or instant hot-water dispensers connected to plumbing.
An outdoor kitchen may also share the same water system.
Winterize each connected branch according to its design.
Do not assume running the kitchen faucet automatically protects every appliance. Some appliance valves only open during specific cycles.
Follow the appliance manufacturer’s winterization instructions when necessary.
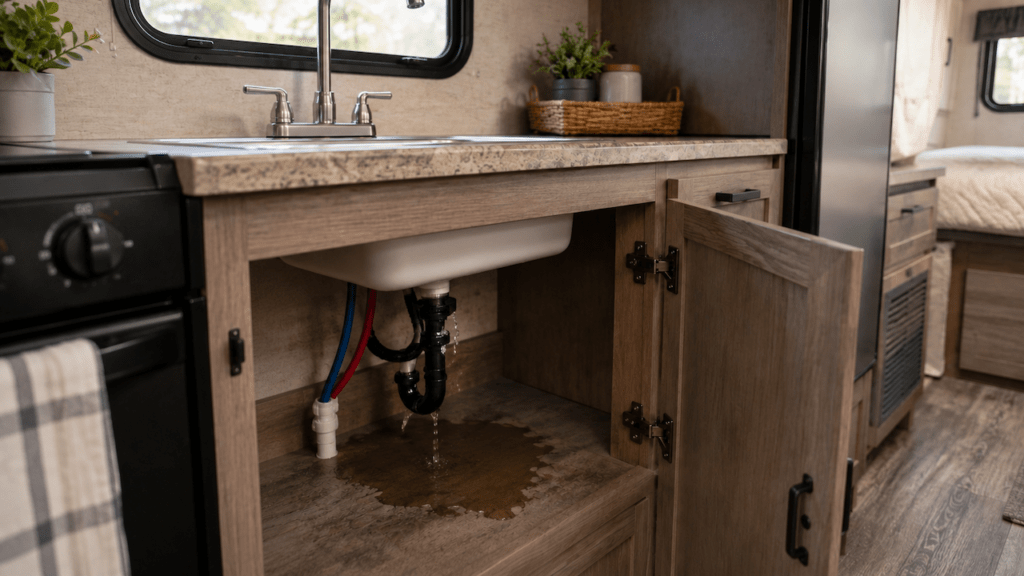
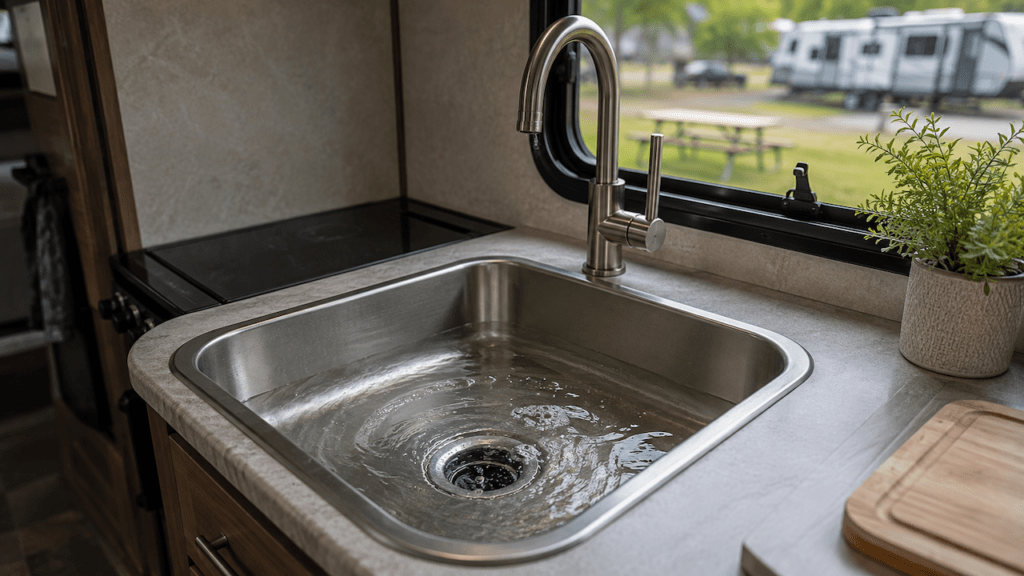
12. Protect the Kitchen Sink P-Trap
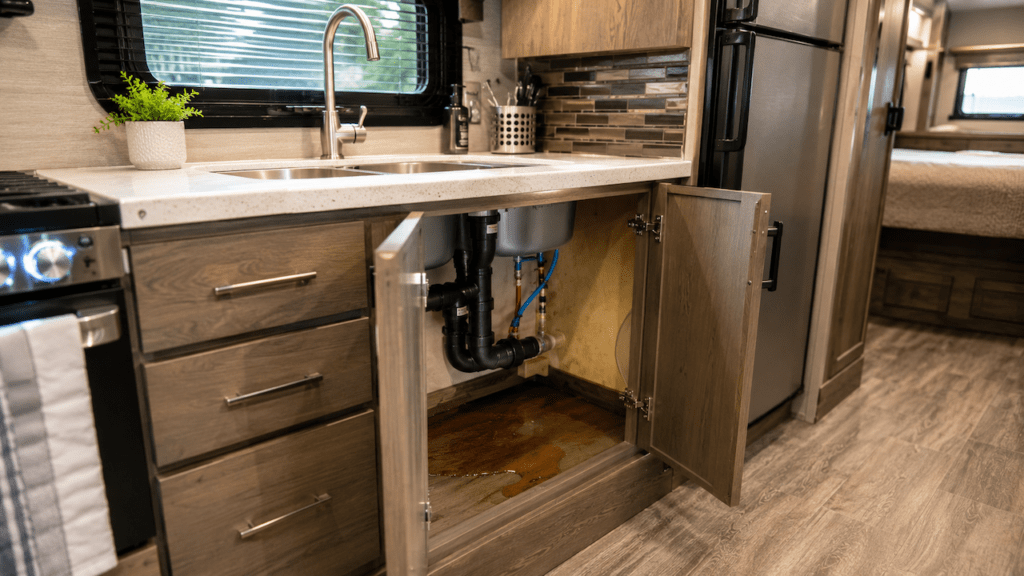
The P-trap sits below your kitchen sink.
Its curved shape intentionally holds water. That trapped water blocks gray-tank odors from entering your RV.
Unfortunately, that also means the trap can freeze.
Pour non-toxic RV antifreeze directly down the kitchen drain after winterizing the supply lines.
Use enough antifreeze to protect the water remaining inside the trap. Many RV owners use roughly one to two cups, although your RV manufacturer may specify another amount.
You should see some pink antifreeze remain inside the trap area.
13. Check Under the Kitchen Sink
Open the cabinet and inspect everything while antifreeze is circulating.
Look around:
- Faucet connections
- PEX fittings
- Filter housing
- Sprayer hose
- Drain fittings
- Appliance supply lines
Make sure nothing is dripping or leaking.
Winterizing is also a convenient time to catch loose fittings before storage.
14. Turn the Water Pump Off
Once every required fixture runs pink, turn off the water pump.
You do not need to leave it running during storage.
Return valves and faucets to the storage position recommended by your RV manufacturer.
Record any filter cartridge you removed. That makes spring de-winterizing easier.
How Much RV Antifreeze Do You Need?
The kitchen itself does not normally use much antifreeze. However, you generally winterize the entire connected plumbing system together.
The total amount depends on your RV.
A small travel trailer may need less than a large motorhome. Extra bathrooms, outdoor showers, washing machines, and appliance water lines increase the amount required.
Many RV owners keep several gallons available before starting.
Buying a little extra is usually easier than stopping halfway because the container ran empty.
Can You Winterize RV Kitchen Plumbing With Compressed Air?
Compressed air can remove most water without filling every supply line with antifreeze. However, pressure must stay within your RV manufacturer’s limits.
How the Compressed-Air Method Works
A blowout adapter connects regulated air to the city-water inlet.
You then open fixtures one at a time until water stops coming out.
For the kitchen, clear:
- Cold faucet line
- Hot faucet line
- Faucet sprayer
- Secondary drinking-water faucet
- Outdoor kitchen faucet, when equipped
Do not simply open every fixture at once. Working one branch at a time helps move water more effectively.
What Air Pressure Should You Use?
There is no safe universal pressure setting for every RV.
Manufacturers may specify different limits for their plumbing systems.
Use a regulator and follow your RV’s documented pressure recommendation. Excessive air pressure can damage fittings, valves, or appliances.
Never connect an unrestricted shop compressor directly to RV plumbing.
Do You Still Need Antifreeze in the Kitchen Drain?
Yes.
Compressed air clears pressurized water lines. It does not remove the water intentionally sitting inside the P-trap.
Pour RV antifreeze into the kitchen drain after blowing out the plumbing.
The same principle applies to bathroom sink and shower traps.
Can You Use Air and Antifreeze Together?
Yes, when your RV manufacturer allows it.
Some owners use compressed air first to remove most remaining water. They then pump RV antifreeze through the system afterward.
This can reduce dilution inside low plumbing spots.
However, either method must still follow the RV manufacturer’s approved procedure.
RV Antifreeze vs. Compressed Air for Kitchen Plumbing
RV antifreeze is easy to verify visually. When bright pink fluid reaches the faucet and sprayer, you know those branches are protected.
Compressed air uses less antifreeze inside supply lines. It can also make spring flushing faster.
However, compressed air requires proper equipment and careful pressure regulation.
I usually prefer the antifreeze method when certainty matters most. The pink color gives you an obvious confirmation at every fixture.
Using both methods can provide extra reassurance when the RV manufacturer supports that approach.
How Can You Tell the RV Kitchen Is Fully Winterized?
Before closing everything for winter, give the kitchen one final inspection. A simple checklist helps you catch overlooked plumbing.
- Cold kitchen faucet line runs solid pink.
- Hot kitchen faucet line runs solid pink.
- Pull-out or side sprayer runs pink.
- Drinking-water faucet has been winterized, if equipped.
- Water-filter cartridge has been removed or bypassed.
- Filter housing does not contain untreated water.
- Kitchen P-trap contains RV antifreeze.
- Refrigerator water line has been addressed, if equipped.
- Ice-maker plumbing has been addressed, if equipped.
- Dishwasher has been winterized, if equipped.
- Outdoor kitchen plumbing has been protected.
- Water pump has been switched off afterward.
If one connected branch still contains clear water, the job is not finished.
Common RV Kitchen Winterizing Mistakes
Most winterizing problems happen because a small branch gets forgotten. These mistakes are especially common around RV kitchens.
- Winterizing only the cold faucet line.
- Forgetting the hot faucet supply.
- Ignoring the faucet sprayer hose.
- Leaving water inside a filter housing.
- Forgetting a separate drinking-water faucet.
- Skipping the kitchen sink P-trap.
- Using automotive antifreeze.
- Filling a tank-style water heater unnecessarily.
- Assuming every tankless heater uses the same procedure.
- Forgetting refrigerator or ice-maker plumbing.
- Ignoring an outdoor kitchen sink.
- Using excessive compressed-air pressure.
- Running the water pump dry for too long.
- Assuming gravity draining removed every pocket of water.
Taking five extra minutes to check these areas can prevent expensive spring repairs.
Do You Need to Winterize the Kitchen If You Use Your RV During Winter?
Not always, but your plumbing must remain protected from freezing.
Some four-season RVs keep plumbing inside heated or insulated spaces. Owners may also use heated hoses, tank heaters, and interior heat.
That does not automatically make every RV freeze-proof.
Exterior kitchens, low-point sections, utility bays, and exposed supply lines can still become vulnerable.
If you plan to leave the RV unheated, full winterization remains the safer choice.
If you actively camp through winter, monitor temperatures around plumbing areas instead of relying only on interior thermostat readings.
Can You Winterize Only the RV Kitchen?
Usually, no.
Your kitchen is connected to the same freshwater system serving the bathroom, water heater, pump, and exterior fixtures.
Winterizing one faucet does not remove water from other connected branches.
Those untouched lines can still freeze and cause damage.
You can isolate a specific plumbing section only if your RV was designed for that purpose.
For normal seasonal storage, winterize the entire RV water system rather than just the kitchen.
How Do You De-Winterize RV Kitchen Plumbing in Spring?
Spring de-winterizing is mostly the reverse process. Take your time and check for leaks while restoring normal water pressure.
Flush the Hot and Cold Kitchen Lines
Reconnect a safe freshwater source.
Run the cold kitchen faucet until clear water replaces the pink antifreeze.
Then flush the hot side separately.
Continue until the water looks clear and the antifreeze odor has disappeared.
Flush the Faucet Sprayer
Pull out the sprayer and run fresh water through it.
This removes antifreeze trapped inside the flexible hose and spray head.
Do the same for any separate drinking-water faucet.
Reinstall the Water Filter
Install a new or properly stored filter cartridge.
Return any bypass valves or plugs to their normal operating positions.
Check the housing carefully after repressurizing.
Return the Water Heater to Normal Operation
Restore the water-heater valves to normal use.
Fill the water heater completely before turning on its electric heating element.
Never energize an empty tank-style water heater.
For tankless systems, follow the startup process in the heater manual.
Check the Kitchen for Leaks
Inspect underneath the sink once water pressure returns.
Check every supply fitting, filter housing, sprayer hose, and drain connection.
Also inspect refrigerator or dishwasher lines if they were winterized.
Catching a small leak now is much easier than finding cabinet damage later.
Final Words
Winterizing RV kitchen plumbing comes down to protecting every place water can remain.
Start by draining the larger RV water system. Prepare the heater and filters correctly. Then protect both faucet lines, the sprayer, connected appliances, and the kitchen P-trap.
The small parts are the ones most often overlooked. A forgotten sprayer hose or filter bowl can create an annoying repair later.
Give the kitchen a final inspection before storage, and you can head into winter with much more confidence.
Related FAQs
How Cold Does It Have to Be Before RV Plumbing Freezes?
RV plumbing becomes vulnerable when temperatures fall below 32°F, but freezing time depends on insulation, wind, plumbing location, interior heat, and exposure duration. Winterize before sustained freezing weather reaches an unheated RV.
How Much RV Antifreeze Should I Pour Down the Kitchen Sink?
Use enough RV antifreeze to protect the water inside the kitchen P-trap. Many owners use roughly one to two cups, but follow your RV manufacturer’s recommended amount whenever it provides one.
Do I Need to Put RV Antifreeze in the Fresh-Water Tank?
Usually, no. Most RVs can draw antifreeze directly through a winterizing hose or pump conversion kit, which uses less antifreeze and makes spring flushing easier.
Can I Use Automotive Antifreeze to Winterize RV Plumbing?
No. Automotive antifreeze is not intended for potable RV water systems. Always use non-toxic RV or marine plumbing antifreeze that is specifically labeled for winterization.
Do I Need to Winterize an RV Kitchen Faucet Sprayer?
Yes. Water can remain inside the flexible sprayer hose and spray head. Run RV antifreeze through the sprayer until the liquid coming out is consistently pink.
Does an RV Refrigerator Water Line Need Winterizing?
Yes, if your refrigerator has a water dispenser or ice maker. Follow the refrigerator manufacturer’s procedure because valves and internal tubing may require specific winterization steps.
Do I Need to Winterize an Outdoor RV Kitchen?
Yes. Outdoor kitchen plumbing is often more exposed to cold temperatures than interior plumbing. Protect the hot line, cold line, faucet, sprayer, and drain whenever they are connected.
Can I Winterize RV Plumbing Without Antifreeze?
Some RVs can be winterized using regulated compressed air when the manufacturer approves that method. You still need to protect P-traps and other areas where water cannot be removed with air.

Gregory Allen covers outdoor RV camping, essential gear, and travel preparation. His reviews are based on real conditions, not spec sheets alone. He helps RVers choose equipment that works reliably in everyday outdoor use.