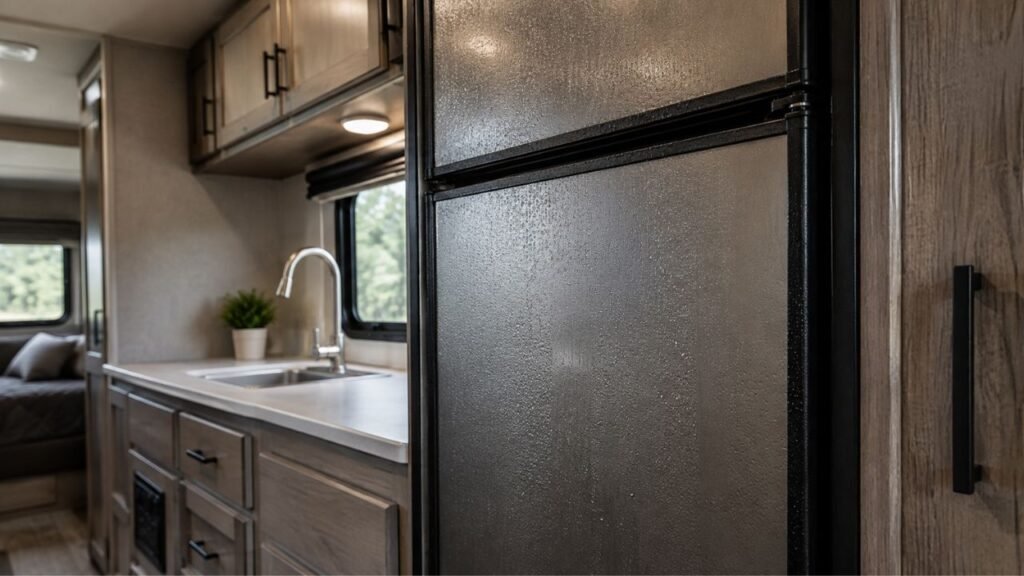
Condensation around an RV refrigerator usually forms when warm, humid air touches the refrigerator’s cold door, gasket, frame, or interior surfaces. Light sweating can be normal during humid weather. However, repeated dripping may point to a weak door seal, blocked drain, damaged drain hose, or another refrigerator problem.
In this guide, I’ll help you find where the moisture starts. Then we’ll work through the most likely causes and fixes.
Key Takeaways
- Light refrigerator sweating can happen during hot and humid weather.
- Moisture around one door edge often points to a gasket problem.
- A misaligned door can leak humid air despite a good gasket.
- Water inside the refrigerator may come from a blocked drain.
- Water underneath the refrigerator can indicate drain hose damage.
- Frequent door openings increase moisture inside the refrigerator.
- Persistent wet floors or cabinets should never be ignored.
Why Does an RV Refrigerator Develop Condensation?
Condensation happens because your refrigerator creates cold surfaces inside a warm RV.
Air inside your camper always contains some moisture. Cooking, showering, breathing, and wet clothing can increase that moisture quickly.
When humid air touches a cold refrigerator surface, it cools down. The air can no longer hold the same amount of moisture. That extra moisture then appears as small water droplets.
You may notice the problem more during humid summer camping. It can also happen during cold-weather camping when the RV interior stays warm.
A little moisture does not always indicate refrigerator failure. The important question is where the water first appears.
Where Is the Condensation? The Location Usually Reveals the Cause
Before replacing parts, figure out exactly where the moisture begins. The location often gives you the fastest clue.
| Where You See Water | Most Likely Cause | First Thing to Check | Concern Level |
| Outside door or metal frame | High humidity or cold frame | Indoor humidity | Usually low |
| Along one door gasket edge | Weak seal or door alignment | Gasket seal test | Moderate |
| Between refrigerator doors | Humidity or frame-heater issue | Humidity-control feature | Low to moderate |
| Inside refrigerator compartment | Humid air or drain issue | Door seal and drain | Moderate |
| Under crisper drawers | Blocked condensation drain | Drain opening | Moderate |
| Below refrigerator on floor | Drain hose problem | Exterior rear access area | High |
| Around surrounding cabinets | Leak, condensation, or water intrusion | Trace the moisture source | High |
One useful trick is drying everything completely first. Then watch where the next droplets appear.
That first wet spot usually tells you more than the final puddle.
Common Causes of Condensation Around an RV Refrigerator
Several problems can create very similar symptoms around an RV refrigerator. I recommend starting with simple causes before assuming something expensive failed.
High Humidity Inside the RV
High indoor humidity is one of the simplest causes.
An RV contains a relatively small volume of air. Moisture levels can therefore rise surprisingly fast.
Common moisture sources include:
- Cooking without using the range vent.
- Taking hot showers inside the RV.
- Drying wet towels or clothing indoors.
- Keeping windows and roof vents completely closed.
- Camping during very humid weather.
- Having several people inside the RV.
If moisture covers several cold surfaces throughout your RV, humidity is probably contributing.
You might also see droplets on windows and metal frames. That is another strong clue.
Run your exhaust fans during cooking and showering. Crack a roof vent when weather conditions allow.
A small dehumidifier can also help during extended humid camping.
However, humidity alone should not usually create constant puddles. Heavy localized moisture deserves a closer refrigerator inspection.
A Refrigerator Door Gasket Is Not Sealing
The refrigerator gasket should create an even seal around the door.
If part of that seal fails, warm RV air keeps entering. That humid air then contacts cold refrigerator surfaces.
You may notice moisture concentrated near one particular corner or edge.
Other signs can include:
- Frost building unusually quickly.
- Cooling performance becoming inconsistent.
- The refrigerator running longer than usual.
- One section of the gasket feeling loose.
- Visible cracks or hardened rubber.
- A door that needs extra pressure to close.
Start by cleaning the gasket with warm water and mild soap. Dirt, grease, and food residue can prevent proper contact.
Avoid harsh cleaners that may damage or dry the rubber.
If the gasket is cracked, badly distorted, or hardened, replacement may be necessary.
Some RV refrigerator models require model-specific replacement procedures. Check the exact refrigerator model before ordering parts.
The Refrigerator Door Is Misaligned
Sometimes the gasket is fine, but the door sits incorrectly.
A slightly sagging door can leave a small opening. That gap may be enough for humid air to enter continuously.
Look closely at the spacing around the entire door.
You may notice one corner sitting farther outward. The gasket may also look compressed on one side only.
Common reasons include loose hinges, hinge wear, or excess door weight.
Heavy bottles stored on door shelves can increase hinge stress. This becomes more noticeable on older RV refrigerators.
Do not force the door into position by hand. Many models have specific hinge adjustment procedures.
If the adjustment looks complicated, an RV technician can handle it safely.
The Refrigerator Is Opened Too Often
Every time you open the refrigerator, warm air enters.
That warm air usually contains more moisture than refrigerator air. Once the door closes, that moisture cools and condenses.
Frequent opening can therefore create noticeable water or frost.
This becomes worse during hot and humid weather.
Try deciding what you need before opening the door. Avoid standing with the refrigerator open while choosing food.
Also make sure children cannot accidentally leave the door slightly open.
After grocery shopping, load everything efficiently instead of making repeated trips.
Small habits like these can noticeably reduce moisture accumulation.
Warm or Uncovered Food Is Adding Moisture
Freshly cooked food releases heat and water vapor.
Putting steaming food directly into the refrigerator adds both. The moisture can later collect on cold surfaces.
Uncovered liquids can also increase moisture inside the compartment.
Use covered containers whenever possible. Keep soups, drinks, and leftovers properly sealed.
Allow very hot food to stop steaming before refrigerating it. Follow safe food-handling practices rather than leaving food out excessively.
The goal is simply avoiding unnecessary heat and steam inside.
The Condensation Drain Is Clogged
Many RV refrigerators have some method for draining condensation.
Depending on the design, water may collect in a channel. It then travels through a small drain opening or tube.
If that passage becomes blocked, water can collect inside.
You might notice moisture under the crisper drawers. Water may also pool along the refrigerator floor.
Food particles, debris, or residue can sometimes block the opening.
First, locate the drain using your refrigerator manual.
Do not push sharp wire or tools into an unknown opening. Refrigerator drain designs vary considerably between models.
Clean only the parts the manufacturer considers owner-serviceable.
If the drain remains blocked, professional service may be safer.
The Drain Hose Is Cracked, Disconnected, or Routed Incorrectly
A drain can work perfectly while the hose still causes problems.
On some RV refrigerators, condensation travels through tubing toward the exterior.
That tubing can become brittle as it ages. It can also crack, loosen, kink, or move out of position.
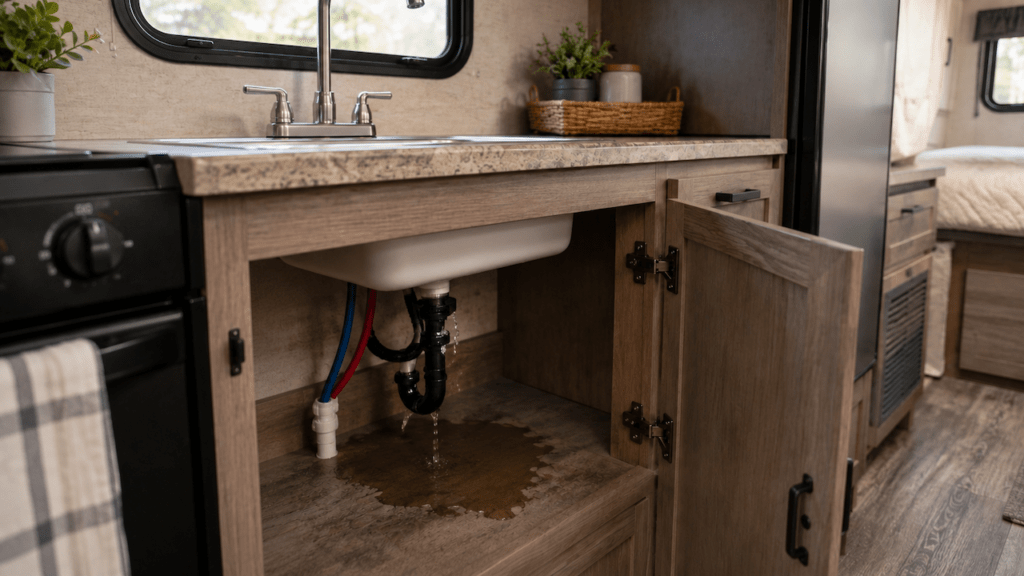
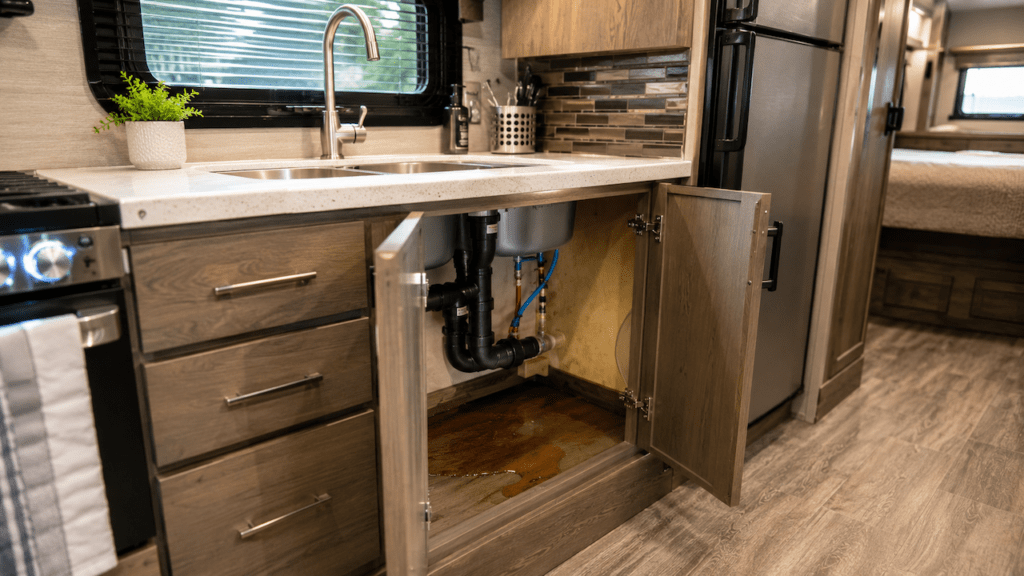
When this happens, water may drain inside the RV instead.
Look for moisture underneath the refrigerator or nearby cabinetry.
You may also notice staining around the refrigerator base.
If your refrigerator has an exterior access panel, inspect visible tubing carefully.
Look for:
- Cracked plastic tubing.
- Loose hose connections.
- Sharp bends or kinks.
- Tubing that no longer reaches its intended outlet.
- Water marks below the drain.
- Damp flooring inside the compartment.
Avoid disturbing propane fittings, electrical connections, or cooling-system components.
If access requires moving those parts, stop and call a technician.
The Anti-Condensation or Frame Heater Is Not Helping
Some RV refrigerators have a small anti-condensation heater.
This heater warms certain frame areas slightly. That reduces sweating during humid conditions.
Depending on the refrigerator, the feature may operate automatically. Older models may have a humidity or climate-control setting.
Not every RV refrigerator includes this feature.
If yours does, check the owner’s manual for proper operation.
Condensation concentrated between two refrigerator doors can sometimes involve this system.
Do not assume the heater failed immediately. Very high humidity can overwhelm normal condensation control.
First reduce indoor humidity and check the door seals.
If heavy sweating continues, the heater circuit may need professional testing.
Cold Air Is Escaping Around the Refrigerator Frame
This is less common, but it is worth understanding.
Cold air can sometimes escape somewhere other than the door gasket.
A poor seal between refrigerator components may cool the exterior frame. That cold frame then attracts condensation from humid RV air.
This problem can look similar to a bad door gasket.
However, replacing the gasket may not solve it.
If the door seals well but one frame section stays unusually cold, professional inspection makes sense.
Correcting internal frame sealing usually requires more refrigerator disassembly.
How to Find the Cause of RV Refrigerator Condensation
A systematic check can save you from replacing unnecessary parts. Start with easy observations and move toward harder inspections.
Step 1: Dry Everything First
Wipe every wet surface completely dry.
Dry the door, gasket, frame, refrigerator floor, cabinets, and RV flooring.
Then continue using the refrigerator normally.
Check the area periodically during the next few hours.
Your goal is identifying where fresh water appears first.
Step 2: Identify the First Wet Spot
Look carefully instead of focusing only on the puddle.
Water can travel downward before becoming noticeable.
Moisture starting on the outside frame often suggests humidity.
Water starting along one gasket edge suggests sealing trouble.
Water beginning inside near the drain points toward drainage.
And if, water appearing directly underneath then it deserves faster attention.
Step 3: Perform the Dollar-Bill Test
A simple paper test can reveal weak gasket contact.
- Place a dollar bill across the refrigerator gasket.
- Close the door normally.
- Gently pull the bill outward.
- You should feel noticeable resistance.
- Repeat the test around the entire door.
One loose area can identify the problem quickly.
If resistance changes significantly, inspect that section closely.
Clean the gasket before deciding it needs replacement.
Step 4: Inspect the Door Alignment
Stand directly in front of the refrigerator.
Look at the gaps around every edge.
The door should sit evenly against the refrigerator cabinet.
Watch for sagging corners or uneven gasket compression.
Open and close the door several times.
Make sure shelves, containers, or food packages are not interfering.
Also check whether the door latch fully engages.
If the hinges appear loose or damaged, avoid improvising adjustments.
Use the refrigerator manufacturer’s procedure for your exact model.
Step 5: Check the Condensation Drain
Find the refrigerator’s approved drain location.
Look for visible debris around the opening or channel.
Clean accessible residue carefully.
Do not pour aggressive drain cleaners into the refrigerator.
They can damage plastic parts or create contamination concerns.
If the drain repeatedly blocks, inspect the entire drainage path.
Step 6: Inspect the Drain Hose From the Exterior Access Area
This step mainly applies to refrigerators with accessible exterior components.
Remove the exterior service panel only when appropriate.
Look for the drain tube without disturbing other systems.
Check whether water is actually reaching the intended outlet.
A cracked hose may look fine until slightly moved.
Older plastic tubing can become extremely brittle.
Replace damaged tubing with the correct type and routing.
Step 7: Check Your Refrigerator’s Humidity-Control Feature
Look through your refrigerator control settings.
You may find a setting related to humidity control.
Some refrigerators handle this automatically instead.
Follow the manufacturer’s instructions for that specific model.
Do not assume another RV owner’s setting applies to yours.
Different refrigerator designs manage condensation differently.
How Do You Stop Condensation Around an RV Refrigerator?
Once you identify the cause, the solution is usually straightforward. Focus on correcting the moisture source rather than constantly wiping water away.
- Clean the refrigerator door gasket regularly.
- Remove items preventing the door from closing completely.
- Correct door alignment using model-specific instructions.
- Replace damaged or hardened gaskets when necessary.
- Keep the condensation drain clear.
- Replace cracked or brittle drain tubing.
- Route drain hoses exactly as designed.
- Minimize unnecessary refrigerator door openings.
- Keep liquids and moist foods covered.
- Avoid loading steaming-hot food into the refrigerator.
- Run RV ventilation while cooking and showering.
- Use a dehumidifier during persistent humid conditions.
- Use humidity-control features when your refrigerator includes them.
- Dry any water before it reaches cabinets or flooring.
Avoid treating a drain problem with humidity control alone.
A dehumidifier may reduce sweating but cannot fix broken tubing.
Likewise, replacing a gasket will not repair a clogged drain.
Match the fix to the location and cause.
How Much RV Refrigerator Condensation Is Normal?
Some refrigerator condensation can be perfectly normal.
A few small droplets may appear during very humid weather. This is especially possible on cold metal frame areas.
The moisture should reduce as humidity drops.
What I would not consider normal is repeated soaking.
Pay closer attention when water:
- Drips continuously onto the floor.
- Soaks surrounding wood or cabinets.
- Returns shortly after you wipe it away.
- Creates a persistent puddle.
- Appears with unusually heavy interior frost.
- Continues during moderate indoor humidity.
At that point, investigate the gasket and drainage system.
An RV refrigerator should not require constant towel drying.
Condensation or Water Leak? How to Tell the Difference
Not every puddle around an RV refrigerator comes from condensation. Looking at timing and location can help separate the two.
| Sign | More Likely Condensation | More Likely Leak or Drain Problem |
| Fine droplets on a cold frame | Yes | Unlikely |
| Worse during humid weather | Yes | Sometimes |
| Moisture along one door edge | Often | Possible |
| Water under crisper drawers | Possible | Drain issue likely |
| Floor repeatedly gets soaked | Less likely | Likely |
| Water appears after rain | Unlikely | Check exterior intrusion |
| Water appears during defrosting | Possible | Check drainage |
| Cabinet stays wet with fridge off | Unlikely | Look for another leak |
Also remember that exterior water intrusion can mimic refrigerator trouble.
Rainwater can sometimes enter through damaged seals or vents. Plumbing lines near the refrigerator can also leak.
If the refrigerator is turned off and water still appears, look elsewhere.
That simple test can prevent unnecessary refrigerator repairs.
Can RV Refrigerator Condensation Damage the Floor or Cabinets?
Yes, repeated condensation can eventually damage surrounding materials.
RV cabinets and floors often contain wood-based materials. They do not tolerate long-term moisture exposure well.
Persistent water may cause swelling, staining, or delamination.
You may also notice a musty smell developing nearby.
Metal hardware can begin corroding when moisture remains trapped.
The biggest concern is water reaching hidden flooring.
A small visible puddle can travel underneath nearby materials.
Over time, this may contribute to soft flooring.
That is why I recommend drying the area quickly.
Then fix the moisture source instead of repeatedly wiping it.
Occasional droplets are not usually a disaster.
Repeated soaking is the condition you should take seriously.
Does Refrigerator Type Change the Cause?
The basic condensation process stays the same across refrigerator types. However, the drainage system and repair approach can differ significantly.
Absorption RV Refrigerators
Traditional absorption refrigerators are common in many RVs.
They may use propane, 120-volt power, or multiple energy sources.
These refrigerators often have exterior access and ventilation systems.
Depending on the model, you may also find drain tubing outside.
Door seals, drainage, installation sealing, and humidity all matter.
Be especially careful around propane components during inspection.
12-Volt Compressor Refrigerators
Modern 12-volt refrigerators use compressor-based cooling.
They can still develop condensation around doors and frames.
Poor door sealing and indoor humidity remain common causes.
However, drainage and defrost arrangements may differ.
Do not assume an absorption-refrigerator repair applies to these models.
Check the manufacturer’s instructions before removing components.
Residential Refrigerators Installed in RVs
Some larger RVs use residential-style refrigerators.
These operate much like household compressor refrigerators.
Condensation may come from door seals, defrost drainage, or humidity.
Troubleshooting should follow that appliance manufacturer’s instructions.
The surrounding RV installation should still be checked for water damage.
How to Prevent Condensation From Returning
Once the problem is solved, a little maintenance can prevent repeats. Most preventive steps require only a few minutes occasionally.
- Keep refrigerator door gaskets clean.
- Check gasket contact around the complete door.
- Confirm the refrigerator door closes completely.
- Avoid overloading heavy door shelves.
- Minimize unnecessary door-opening time.
- Cover liquids and moist foods.
- Keep drainage openings free from visible debris.
- Inspect accessible drain tubing periodically.
- Vent the RV while cooking.
- Run the bathroom fan during showers.
- Reduce persistent indoor humidity.
- Wipe away occasional frame moisture promptly.
- Check surrounding cabinets for hidden dampness.
I also recommend inspecting the refrigerator area during seasonal maintenance.
Catching a small drain hose crack early is much easier.
When Should You Call an RV Refrigerator Technician?
Many condensation problems can be checked without specialized tools. However, some situations should be left to an experienced RV technician.
Call for professional help when:
- Condensation continues after correcting indoor humidity.
- The door appears warped or badly misaligned.
- The gasket cannot maintain even contact.
- The refrigerator frame remains unusually wet.
- Water reaches electrical components.
- Drain components cannot be accessed safely.
- Propane components must be disconnected.
- The frame heater appears to have failed.
- Refrigerator cooling performance also becomes poor.
- Water damage continues without a clear source.
You should also get help if floor damage is developing.
Stopping the moisture early can prevent a larger repair.
Final Words
Condensation around an RV refrigerator usually starts with humidity meeting a cold surface. But persistent water can also reveal a gasket, door, drain, or hose problem.
Start by drying everything and watching where moisture returns first. Then check the door seal, alignment, drain, and accessible tubing.
A few droplets during humid weather may be harmless. Water soaking your RV floor or cabinets deserves immediate attention.
Related FAQs
Is Condensation on the Outside of an RV Refrigerator Normal?
A small amount can be normal during hot, humid weather. Heavy or continuous dripping is different and should prompt a check of humidity, door seals, drainage, and refrigerator operation.
Why Is My RV Refrigerator Wet Around the Door Seal?
Moisture around the gasket usually means humid air is reaching a cold surface. A dirty gasket, damaged seal, door misalignment, or frequent door opening can make the problem worse.
Why Is Water Collecting Under My RV Refrigerator Drawers?
Water beneath the crisper drawers can indicate excessive interior condensation or a blocked drain. Check the refrigerator’s drain channel and confirm that water can leave normally.
Why Is Water Dripping Onto the Floor Below My RV Refrigerator?
Water below the refrigerator may come from cracked, disconnected, clogged, or incorrectly routed drain tubing. If the floor stays wet, also check for plumbing or exterior water intrusion.
How Do I Know if My RV Refrigerator Door Seal Is Bad?
Close the door on a dollar bill and gently pull it. You should feel resistance. Repeat around the entire gasket. Areas with little resistance may not be sealing properly.
Can High Humidity Make an RV Refrigerator Sweat?
Yes. Humid air can condense when it touches the refrigerator’s cold frame, door, or gasket. The problem usually becomes more noticeable during humid summer camping.
Should I Use a Dehumidifier to Stop RV Refrigerator Condensation?
A dehumidifier can help when overall RV humidity is high. However, it will not repair a damaged gasket, blocked drain, misaligned door, or cracked drain hose.
Does Every RV Refrigerator Have a Condensation Drain Tube?
No. Drainage and defrost systems vary between refrigerator types and manufacturers. Check the manual for your exact model before attempting to clean or replace drainage components.

Gregory Allen covers outdoor RV camping, essential gear, and travel preparation. His reviews are based on real conditions, not spec sheets alone. He helps RVers choose equipment that works reliably in everyday outdoor use.