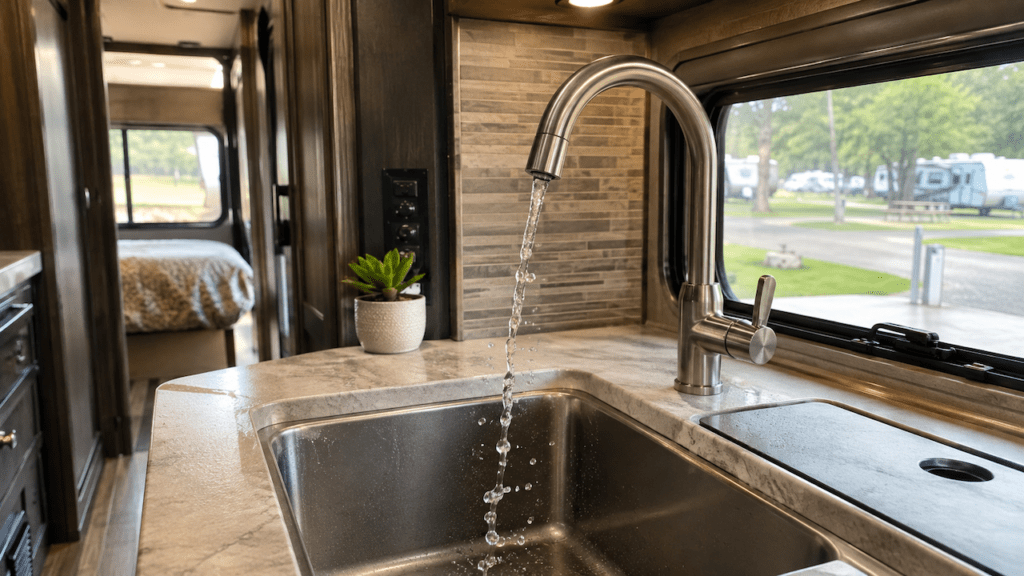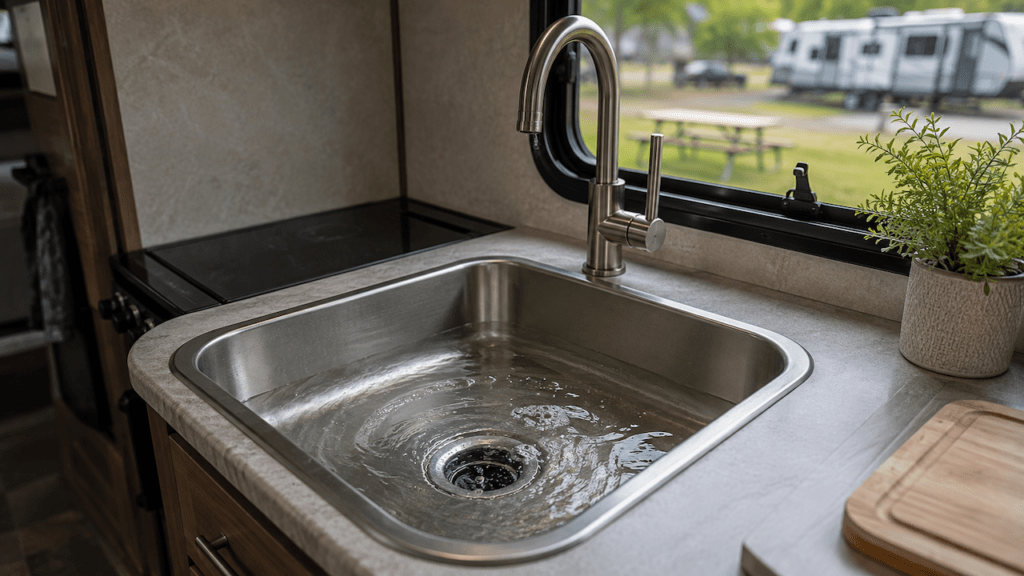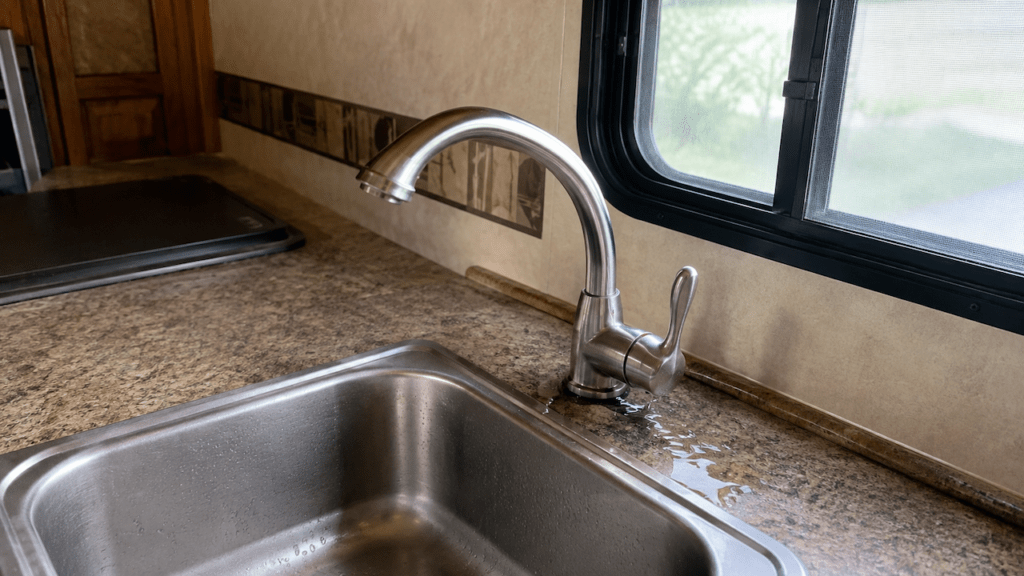
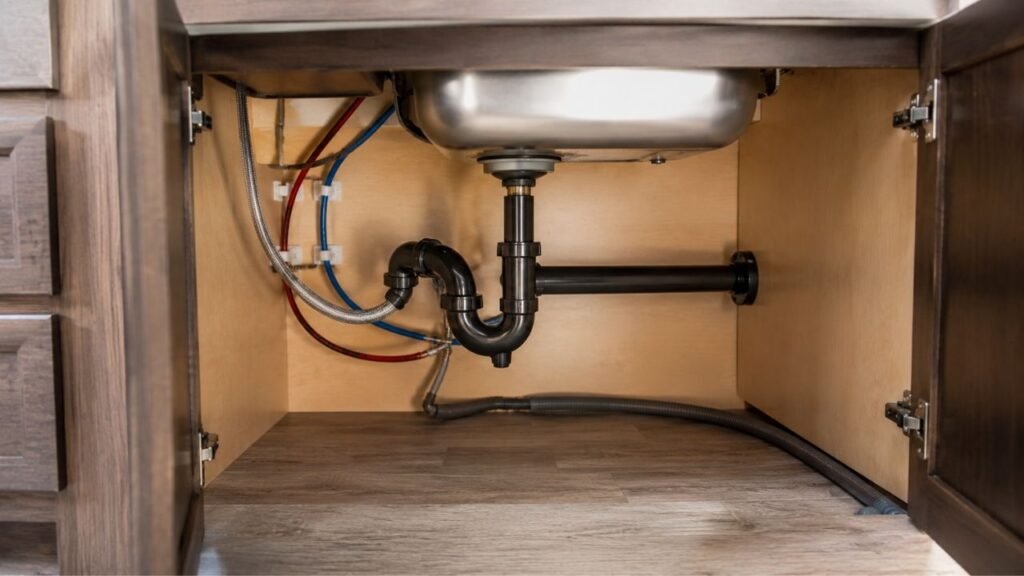
You should inspect your RV kitchen plumbing before every trip, after rough or extended travel, during spring de-winterization, before winter storage, and at least once yearly. Full-time RVers should also perform a quick monthly inspection because constant water use and pressure increase leak risks.
In this guide, I’ll show you exactly when to inspect your kitchen plumbing. We’ll also cover what to check, how to test for leaks, and which warning signs need immediate attention.
Key Takeaways
- Check under your RV kitchen sink before every trip.
- Recheck plumbing after long drives or rough road conditions.
- Perform a pressure leak test during spring de-winterization.
- Inspect connections before winterizing your RV each fall.
- Give the complete kitchen plumbing system a yearly inspection.
- Full-time RVers should perform quick checks every month.
- Investigate pump cycling, damp cabinets, odors, or swelling immediately.
How Often Should You Inspect RV Kitchen Plumbing?
There is no single inspection interval that works for every situation. I prefer using several quick checks throughout the year instead of relying on one annual inspection.
| Inspection Time | Recommended Frequency | What to Check | Approximate Time |
| Before a trip | Every trip | Faucet, supply lines, drain fittings, cabinet moisture | 2–5 minutes |
| After travel | After rough or long drives | Loose fittings, fresh drips, shifted drain parts | 2–5 minutes |
| During regular use | Monthly for frequent or full-time use | Pump behavior, moisture, drainage, odors | About 5 minutes |
| Spring de-winterization | Once each spring | Pressurized lines, fittings, seals, freeze damage | 10–20 minutes |
| Before winter storage | Every fall | Lines, filters, drains, existing leaks | 10–20 minutes |
| Deep inspection | At least yearly | Entire kitchen plumbing system | 20–30 minutes |
| After warning signs | Immediately | Suspected supply or drain leak | As needed |
For most RV owners, the most important habit is simple. Look under the sink regularly instead of waiting for obvious water damage.
A tiny drip can remain hidden for weeks. By the time you smell something musty, the cabinet may already be damaged.
Why RV Kitchen Plumbing Needs More Frequent Checks Than Home Plumbing
Your RV kitchen plumbing faces conditions that household plumbing rarely experiences.
Every drive exposes pipes, drains, faucets, and fittings to vibration. Potholes, uneven campgrounds, and rough highways can slowly loosen connections.
Temperature changes also matter. Your RV may sit in hot weather during summer and freezing conditions during winter.
Those changes cause plastic plumbing parts and seals to expand and contract.
Campground water pressure can create another problem. Pressure may change significantly whenever you move to another campground.
That is why I would never treat RV plumbing like household plumbing. An annual inspection alone is not enough for an RV that travels regularly.
Quick checks take only a few minutes. They can prevent much more expensive repairs later.
What Counts as RV Kitchen Plumbing?
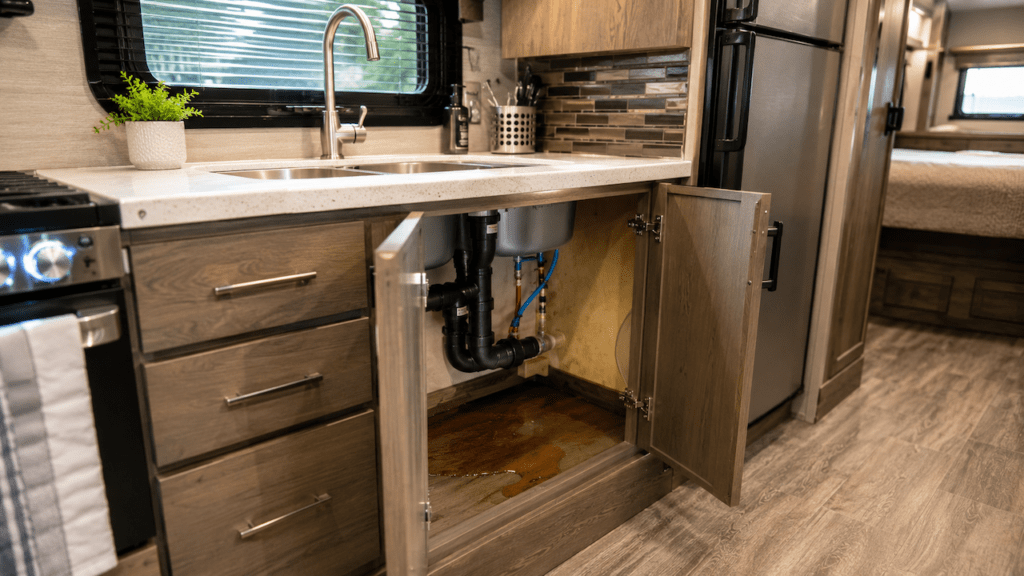
Your kitchen plumbing includes much more than the visible faucet. Several connections sit beneath the sink where small leaks can remain unnoticed.
Fresh Water Supply Side
The fresh water side carries pressurized water to your kitchen faucet.
Inspect the hot and cold supply lines carefully. Many RVs use PEX tubing combined with plastic or metal fittings.
Look for:
- Loose connections
- Dampness around fittings
- Kinked tubing
- Rubbing against cabinet edges
- Cracked plastic connectors
- Mineral deposits around joints
A white or crusty deposit around a connection often means water has leaked there previously.
Faucet and Sprayer
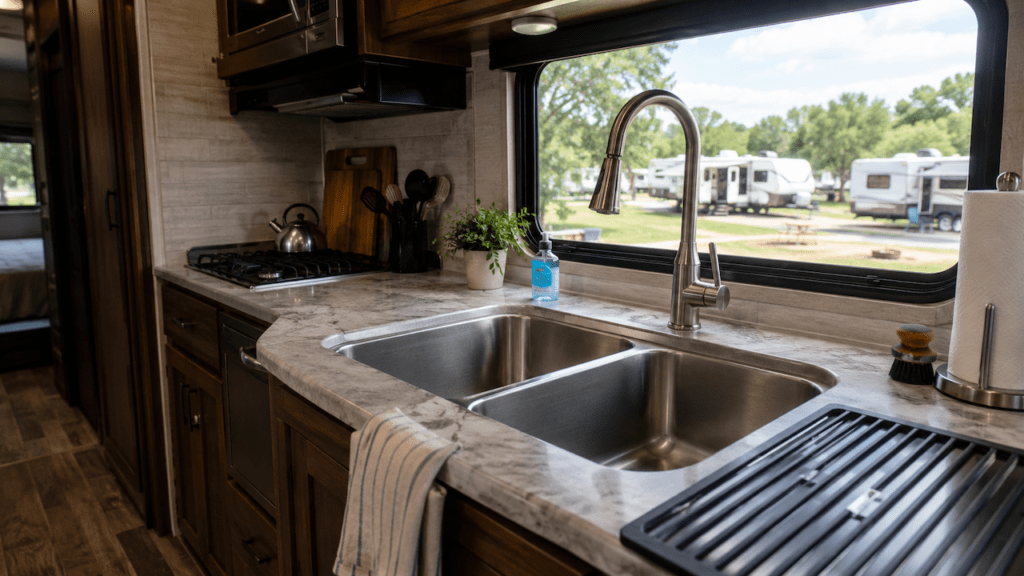
Check the faucet from above and below the countertop.
Look closely around the faucet base. Water sometimes leaks through the mounting area instead of the supply line.
If you have a pull-out sprayer, inspect the hose too.
Pull the sprayer several times while watching underneath. The hose should move smoothly without rubbing against sharp cabinet edges.
Check where the hose connects to the faucet body. That connection can slowly loosen.
Sink and Drain Side
The drain side does not stay pressurized like fresh water plumbing.
However, it can still cause serious cabinet damage.
Inspect the drain basket directly beneath the sink. Then follow the drain pipe toward the P-trap.
Look for:
- Loose slip-joint nuts
- Cracked plastic
- Water staining
- Shifted drain pipes
- Damaged washers
- Drips while draining the sink
Some drain leaks appear only when the sink contains several inches of water.
Venting Components
Some RV kitchen sinks use an air admittance valve, commonly called an AAV.
This valve helps air enter the drain system while keeping odors from escaping.
A failing valve can cause unpleasant smells or strange drain behavior.
If your sink suddenly smells like the gray tank, inspect this valve along with the drain connections.
Filters and Appliance Connections
Do not forget optional plumbing equipment.
Your RV may have an under-sink water filter. Some rigs also have refrigerator water lines or appliance connections.
Inspect filter housings, hoses, fittings, and O-rings.
These components can leak even when the main kitchen plumbing looks completely dry.
What Should You Check Before Every RV Trip?
A pre-trip plumbing check does not need to take long. I normally suggest spending around five minutes under the kitchen sink before leaving.
Look and Feel Under the Sink
Start with the cabinet completely dry.
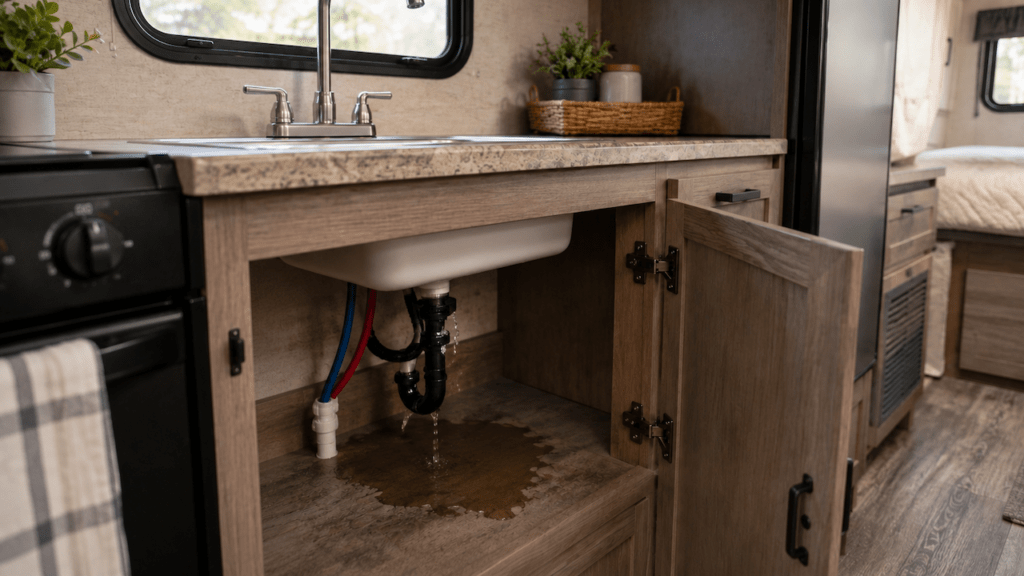
Look across the cabinet floor and around every pipe opening.
Run your fingers along the bottom corners.
Feel underneath fittings where small drops may collect.
You can also press a dry paper towel around connections. Even a tiny amount of moisture becomes easy to spot.
Watch for:
- Damp cabinet material
- Dark staining
- Swelling
- Soft spots
- Musty smells
- Water tracks
Do not ignore old stains either. They may show where an intermittent leak occurs.
Inspect the Faucet and Supply Connections
Turn on the water system and inspect both supply fittings.
Run cold water first.
Then run hot water.
Watch every connection beneath the faucet while the water flows.
A fitting may remain dry when the faucet is off but leak under pressure.
Inspect the Drain Basket and P-Trap
Look closely at the drain basket beneath the sink.
Check whether the P-trap appears straight and properly supported.
RV movement can shift lightweight drain pipes.
Gently check whether slip-joint connections feel obviously loose.
Do not aggressively tighten plastic fittings simply because you are inspecting them.
Run Hot and Cold Water
Open both sides of the faucet.
Allow water to run for around 30 seconds.
Watch underneath while doing this.
If your faucet has a sprayer, use it several times too.
Look carefully around the sprayer hose and its connection.
Watch the Drain
Allow the sink to drain normally.
Water should move away without leaking beneath the sink.
A slow drain, gurgling sound, or sewer-like smell deserves more attention.
These symptoms do not always mean a leak. However, they are good reasons to inspect the drain system carefully.
Should You Inspect RV Kitchen Plumbing After Every Trip?
You do not need a detailed plumbing inspection after every short drive.
However, I strongly recommend a quick look after rough roads or long travel days.
Road vibration can loosen something that was completely dry before departure.
Check again after:
- Driving on rough highways
- Traveling over repeated potholes
- Driving on gravel roads
- Long towing days
- Strong trailer bouncing
- Moving through steep or uneven terrain
Open the cabinet and look for fresh moisture.
Then run the faucet briefly.
A two-minute check can catch a problem before the next camping day begins.
This is especially useful if your RV stays parked with the water system pressurized afterward.
How to Perform a Simple RV Kitchen Plumbing Leak Test
You can perform a useful kitchen leak test without special plumbing equipment. The goal is to test both the pressurized supply system and the drain system separately.
Step 1: Dry Everything First
Start with a dry cabinet.
Wipe the pipes, faucet connections, drain fittings, and cabinet floor.
This makes new moisture much easier to identify.
Place dry paper towels beneath suspicious connections if needed.
Step 2: Pressurize the Fresh Water System
Add water to the fresh tank if necessary.
Turn on the RV water pump.
Allow the pump to build pressure.
Make sure every faucet and fixture is closed.
The pump should stop once pressure is reached.
Step 3: Listen to the Pump
After the pump stops, listen carefully.
It should normally remain quiet while no water is being used.
Repeated short pump cycles can mean the system is losing pressure.
Possible causes include:
- A dripping faucet
- A loose supply fitting
- A leaking toilet valve
- A pump check valve issue
- Another hidden fresh water leak
Do not assume the kitchen is responsible immediately. Use the pump cycling as a reason to investigate.
Step 4: Test the Kitchen Faucet
Turn on cold water.
Watch the cold-side fitting beneath the faucet.
Then repeat the test with hot water.
Use the sprayer if your faucet has one.
Check around the faucet base too.
A faucet may leak internally and send water underneath the countertop.
Step 5: Fill and Drain the Sink
Next, test the drain side separately.
Plug the sink and add several inches of water.
Look beneath the drain basket while the sink remains full.
Then remove the plug.
Watch the drain basket, tailpiece, P-trap, and downstream connections.
If water appears only while draining, the leak is probably drain-side.
Step 6: Recheck After Several Minutes
Do not stop the inspection immediately.
Some leaks develop very slowly.
Leave the system pressurized for several minutes.
Then check every paper towel and cabinet surface again.
A small damp spot can reveal a leak you would otherwise miss.
What Should You Inspect During Spring De-Winterization?
Spring is one of the best times for a careful plumbing inspection. You are restoring water pressure after months of storage and possible freezing temperatures.
Check for Freeze Damage Before Pressurizing
Look beneath the kitchen sink before turning on the water.
Inspect visible tubing and fittings.
Pay extra attention to filter housings and plastic connectors.
Look for:
- Split fittings
- Cracked housings
- Displaced tubing
- Loose connections
- Damaged seals
Freeze damage may not always look dramatic.
A tiny crack can become a serious leak once pressure returns.
Inspect While the System Is Pressurized
After flushing and restoring the water system, check everything again.
Run hot water and cold water.
Use the sprayer.
Watch every accessible connection.
Do not assume a fitting is safe just because it looks normal while dry.
Check the Drain and P-Trap
Inspect the kitchen drain after winter storage.
Cold temperatures and movement can affect plastic drain parts too.
Fill the sink partially and drain it.
Check the basket, P-trap, and every visible connection.
Recheck After the RV Sits Pressurized
Leave the system pressurized for a while.
Then come back and inspect again.
A slow leak may take several minutes to become visible.
This second check is one of the easiest ways to catch minor freeze damage early.
What Should You Check Before Winterizing the RV Kitchen?
A quick inspection before winterization helps you find problems before storage.
Check the following:
- Hot and cold supply lines
- Faucet connections
- Pull-out sprayer hose
- Faucet base
- Sink drain basket
- P-trap
- Drain fittings
- Under-sink water filters
- Filter housings
- Refrigerator water lines, if equipped
- Appliance water connections, if equipped
- Damp cabinet surfaces
- Swollen wood or laminate
- Signs of an existing slow leak
Fixing an active leak before storage is usually easier.
You also avoid discovering hidden water damage months later.
Always follow your RV manufacturer’s winterization instructions. Freezing water can crack fittings, valves, filter housings, and other plumbing components.
What Should an Annual RV Kitchen Plumbing Inspection Include?
Your annual inspection should go deeper than the quick checks before trips. I would use this time to inspect every accessible kitchen plumbing component closely.
PEX Lines and Fittings
Follow every visible water line beneath the sink.
Look for tubing that rubs against:
- Cabinet edges
- Screws
- Metal brackets
- Drawer hardware
- Other plumbing
Repeated travel vibration can slowly wear tubing.
Check fittings for signs of previous leakage.
Pay attention to stains, deposits, corrosion, or moisture.
Faucet, Sprayer, and Supply Hoses
Inspect the faucet mounting area underneath.
Check whether the faucet feels loose.
Move the sprayer hose through its normal range.
Make sure nothing catches or pinches it.
Inspect hose connections for moisture.
Sink Seal and Drain Basket
Examine the area where the sink meets the countertop.
Look for gaps, movement, or deteriorated sealant.
Then inspect the drain basket from underneath.
A leak around the drain basket can slowly damage the cabinet without producing a large puddle.
P-Trap and Drain Connections
Inspect the entire P-trap assembly.
Look for cracked plastic and strained joints.
Drain pipes should not rely on excessive sideways pressure to remain aligned.
If a pipe appears forced into position, investigate the cause.
Air Admittance Valve
If your RV has an AAV beneath the sink, inspect it.
Watch for damaged threads or obvious looseness.
Pay attention to recurring gray tank odors around the kitchen.
A bad AAV can sometimes allow odors into the RV.
Water Filter Connections
If you have an under-sink filter, inspect it closely.
Check the filter housing and fitting connections.
Look around the O-ring sealing area.
Confirm that the housing is supported properly.
A loose or cracked filter housing can release a surprising amount of water.
Cabinet, Countertop, and Floor
Do not finish the inspection after checking the pipes.
Look at the surrounding structure.
Inspect for:
- Swelling
- Discoloration
- Delamination
- Soft cabinet panels
- Musty odors
- Water tracks
- Soft flooring
These signs may reveal a leak that happens only occasionally.
When Should You Inspect RV Kitchen Plumbing Immediately?
Scheduled inspections are helpful, but warning signs override the schedule.
Inspect your kitchen plumbing immediately if you notice:
- The water pump runs with every faucet closed.
- The pump cycles briefly throughout the day.
- The cabinet beneath the sink feels damp.
- The countertop swells around the sink.
- You smell a musty odor.
- Water pressure suddenly drops.
- Your faucet begins sputtering unexpectedly.
- Water appears beneath the RV.
- The sink starts draining slowly.
- The kitchen drain begins gurgling.
- You smell gray tank odors near the sink.
- The faucet leaks around its base.
- The plumbing has frozen.
- The RV was exposed to near-freezing temperatures.
- Campground pressure seemed unusually high.
- You recently repaired a plumbing fitting.
- The RV traveled over extremely rough roads.
Do not wait for the next scheduled inspection when these signs appear.
Water damage usually becomes more expensive the longer it continues.
Do Full-Time RVers Need to Inspect Kitchen Plumbing More Often?
Yes. Full-time RVers should check their kitchen plumbing more frequently.
I recommend a quick visual inspection about once every month.
You are using the faucet, drain, pump, and supply connections much more often.
Your RV may also stay connected to city water for long periods.
That means a small supply leak can remain continuously pressurized.
Check again whenever you move to another campground.
Different campgrounds can have different water pressure conditions.
A connection that handled one campground may begin leaking at another.
Monthly inspection does not need to be complicated.
Open the cabinet, run water, inspect connections, and check the cabinet surface.
Does Campground Water Pressure Affect How Often You Should Check?
Yes. Campground water pressure can affect your RV plumbing.
Some campgrounds supply stronger pressure than others.
High pressure can expose weak fittings, worn seals, or loose connections.
I recommend checking beneath the sink shortly after connecting at a new campground.
Run the faucet while watching the supply connections.
Then inspect everything again after the plumbing has remained pressurized.
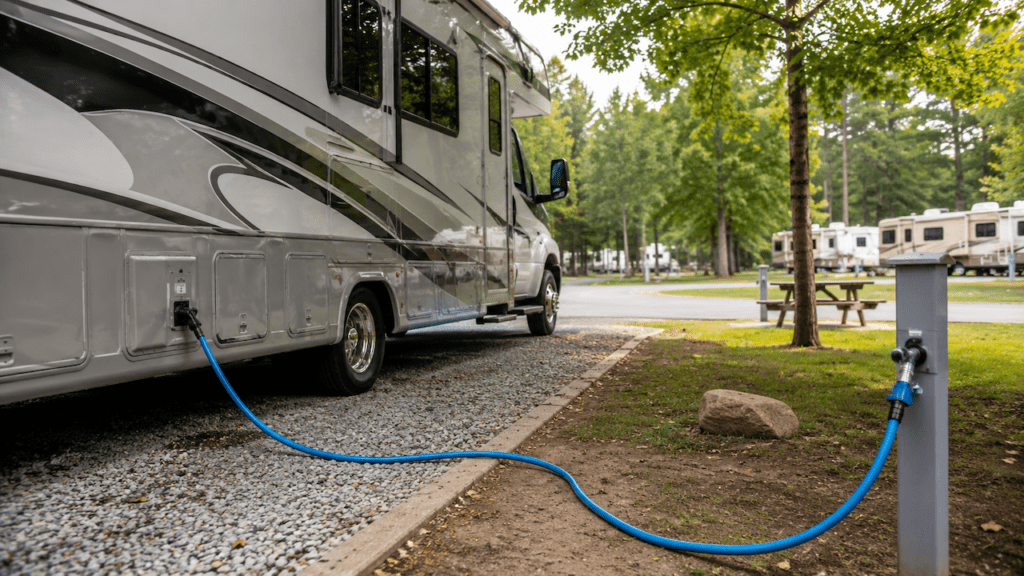
Using an RV water pressure regulator can help protect your system.
However, do not rely on the regulator alone.
Follow the water pressure limits recommended by your RV manufacturer.
You should also inspect the regulator and hose connections periodically.
Should You Tighten RV Plumbing Fittings During Every Inspection?
No. Inspection does not mean tightening every fitting.
This is an important distinction.
Plastic RV plumbing fittings can crack when overtightened.
You can also deform washers and create new leaks.
Instead, look for an actual problem first.
If a fitting is leaking or clearly loose, correct it according to its design.
Some connections need hand tightening only.
Others may require specific tools or replacement parts.
When you are unsure, avoid forcing the connection.
A small plumbing repair is much easier than replacing a cracked fitting.
When Should an RV Technician Inspect the Kitchen Plumbing?
Many routine checks are easy to perform yourself.
However, some problems deserve professional attention.
Consider an RV technician when:
- Water comes from behind a wall.
- The leak source cannot be found.
- A PEX crimp needs replacement.
- A fitting repeatedly starts leaking.
- Cabinetry or flooring has become soft.
- The water pump cannot hold pressure.
- Freeze damage may exist inside hidden plumbing.
- Water reached nearby electrical components.
- A filter housing or valve cracked.
- The drain system remains misaligned.
- You are unsure whether the leak is fresh water or drain related.
An RV technician is familiar with lightweight plumbing systems and tight access areas.
That experience can be useful when the leak is hidden.
Common RV Kitchen Plumbing Inspection Mistakes
Even careful RV owners can overlook small details. Avoiding these common mistakes makes your inspections much more useful.
Checking Only for Active Drips
A leak does not need to be dripping during your inspection.
Look for evidence that water leaked previously.
Common clues include stains, mineral buildup, swelling, and soft cabinet material.
A fitting may leak only while driving or under certain pressure conditions.
Looking Only While the Water Is Off
Some supply leaks appear only when the system is pressurized.
Always test the plumbing while water is running.
Then inspect again with the pump or city water maintaining pressure.
Testing the Faucet but Not the Drain
Fresh water plumbing and drain plumbing fail differently.
Test them separately.
Run the faucet while checking supply connections.
Then fill and drain the sink while checking drain fittings.
This makes troubleshooting much easier.
Automatically Tightening Plastic Fittings
More tightening does not always stop a leak.
Overtightening can crack plastic parts or damage seals.
Inspect first.
Repair only when you find an actual problem.
Forgetting Hidden Water Connections
Do not focus only on the obvious pipes.
Check:
- Sprayer hoses
- Filter connections
- Refrigerator water lines
- Optional appliance lines
- Shutoff valves
- Connections behind stored items
Move cleaning supplies out of the cabinet during inspection.
They can hide moisture or damaged plumbing.
Skipping the Check After De-Winterization
Winterization does not guarantee everything survived winter.
A fitting may crack during freezing conditions.
You may not discover the problem until the system becomes pressurized again.
Always perform a thorough spring leak check.
Is RV Plumbing Inspection the Same as Sanitizing?
No. Inspecting and sanitizing are separate maintenance tasks.
A plumbing inspection looks for leaks, loose connections, worn parts, and damage.
Sanitizing focuses on keeping the fresh water system clean.
You may sanitize the fresh tank and lines without finding a leaking fitting.
Likewise, your plumbing can be leak-free but still need sanitization.
Treat both jobs as separate parts of RV water system maintenance.
Follow your RV manufacturer’s instructions for sanitizing and winterization intervals.
Final Words
You do not need to spend hours inspecting RV kitchen plumbing.
Most routine checks take only a few minutes.
Check before trips, look again after rough travel, and inspect carefully during seasonal maintenance.
Then perform a deeper inspection at least once every year.
The most important thing is consistency.
A small leak beneath an RV sink can quietly damage cabinetry and flooring. Finding that leak during a five-minute inspection is much easier than repairing the damage later.
Related FAQs
How Often Should I Check Under My RV Kitchen Sink?
Check beneath your RV kitchen sink before every trip and after rough travel. Full-time RVers should also perform a quick visual check about once each month.
Should I Check RV Plumbing After a Long Drive?
Yes. Check your plumbing after long or rough drives because vibration can loosen fittings and shift lightweight drain pipes, even when everything was dry before departure.
How Can I Tell If My RV Has a Hidden Plumbing Leak?
Common signs include unexplained water pump cycling, damp cabinets, musty odors, swollen wood, soft flooring, water stains, or falling water pressure when no fixture is running.
Why Does My RV Water Pump Run When No Faucet Is Open?
The system may be losing pressure through a leak, dripping fixture, toilet valve, pump check valve, or another plumbing problem. Inspect accessible connections before assuming the pump itself is bad.
Can Road Vibration Loosen RV Plumbing Fittings?
Yes. Regular travel vibration can gradually loosen fittings, hose connections, drain joints, and mounting hardware. That is one reason quick pre-trip and post-trip inspections are useful.
Can High Campground Water Pressure Cause an RV Kitchen Leak?
Yes. Excessive water pressure can stress fittings, faucets, hoses, and seals. Use a suitable RV pressure regulator and follow your RV manufacturer’s recommended pressure limits.
Should I Pressure-Test My RV Plumbing Every Year?
Yes. A yearly pressure check is a good minimum, but you should also inspect the system during spring de-winterization and whenever symptoms suggest a possible leak.
Do I Need to Inspect RV Plumbing After De-Winterizing?
Yes. De-winterization is one of the most important inspection times because fittings, filters, or lines may have developed freeze damage while the RV was stored.
How Often Should Full-Time RVers Check for Plumbing Leaks?
Full-time RVers should perform a quick kitchen plumbing inspection about once a month, in addition to checks after travel or whenever they connect to a different campground water source.
Can an RV Kitchen Drain Leak Even If the Water Lines Are Fine?
Yes. The drain basket, tailpiece, P-trap, slip-joint washers, or gray-water drain pipe can leak independently from the pressurized fresh water lines.

Gregory Allen covers outdoor RV camping, essential gear, and travel preparation. His reviews are based on real conditions, not spec sheets alone. He helps RVers choose equipment that works reliably in everyday outdoor use.